Advanced setup
11
74
En
Chapter 11
Advanced setup
The System Setup menu
The System Setup menu is where you can make
customized settings to reflect how you are using the
receiver.
1 Switch on the receiver and your TV.
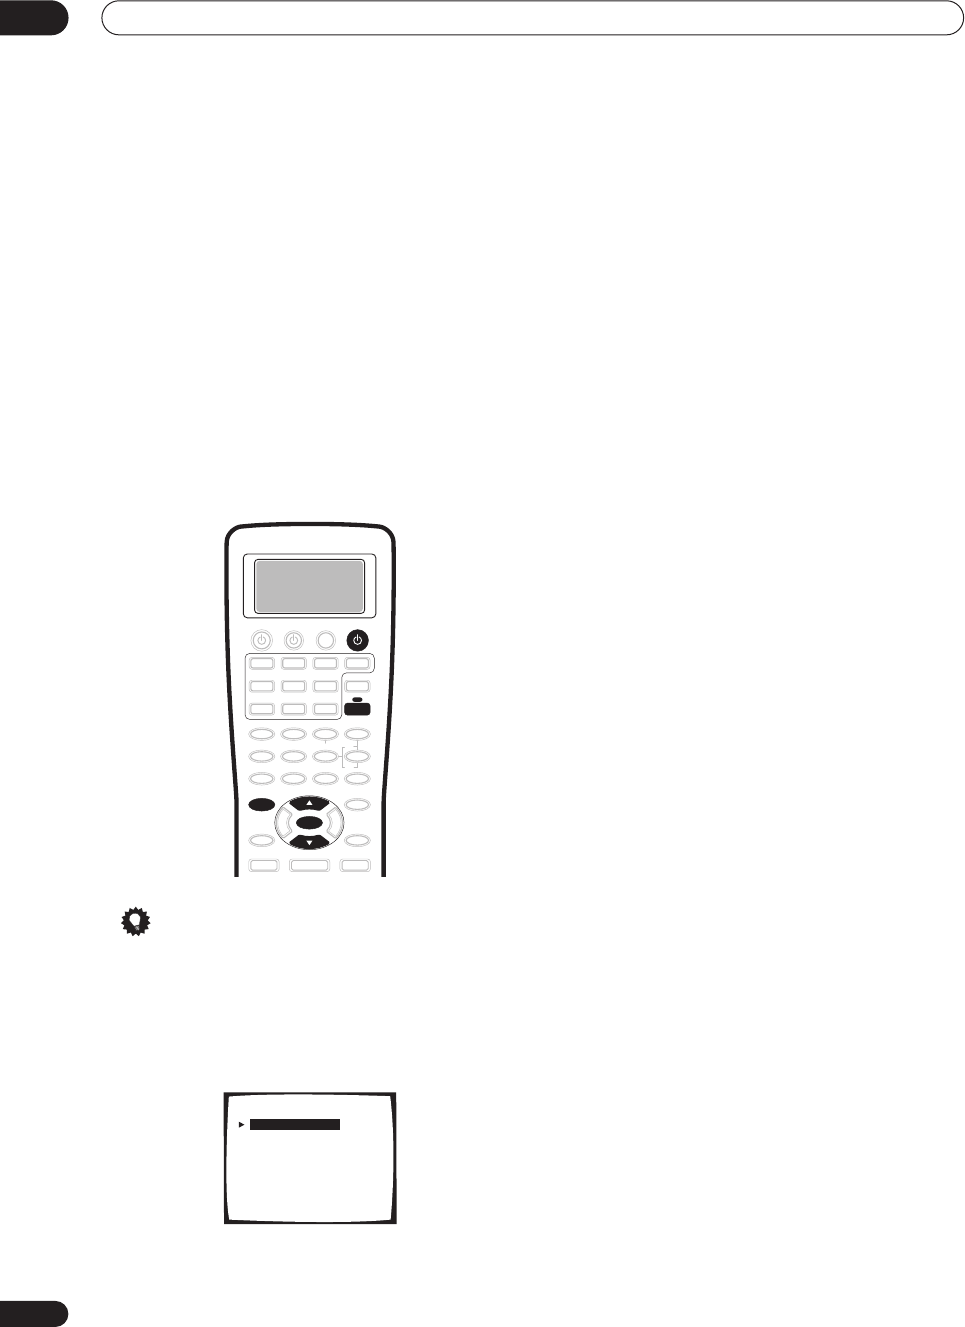
2 Using the remote control, press RECEIVER, then
press the SYSTEM SETUP button.
An on-screen display (OSD) appears on your TV. Use the
/
(cursor up/down) buttons and
ENTER
on the remote
control to navigate through the screens and select menu
items.
Tip
• You can also use the front panel display to make
settings. You can also use the
MULTI JOG
dial and
ENTER
on the front panel instead of the
/
(cursor
up/down) buttons and
ENTER
on the remote control.
3 Select the setting you want to adjust then press
ENTER.
•
Surround Setup
– Access the setup menu for basic
surround sound settings (see
Making receiver
settings from the Surround Setup menu
on page 50
for more on this).
•
THX CINEMA Setup
– Select the decoding method
used with the
THX CINEMA
mode (see
THX CINEMA
Setup
below).
•
Input Assign
– Specify what you’ve connected to the
digital and component video inputs (see
The Input
Assign menu
below).
•
Function Rename
– Change the names that appear
on the receiver display and on-screen display (see
Function Rename
on page 76).
•
PHONO/LINE Setup
– Specify how you’re using the
PHONO
jack on the rear of the receiver (see
PHONO/
LINE Setup
on page 77).
•
Multi Room
– Specify your volume setting for a
multi-room setup and your IR receiver type (see
Multi-
Room and IR receiver setup
on page 78).
•
12V Trigger
– Specify which components are
switched on or off using the 12 volt trigger (see
12 Volt
Trigger
on page 78).
4 Make the adjustments necessary for each
setting, pressing ENTER to confirm after each
setting.
SYSTEM SETUP
ENTER
RECEIVER
RECEIVER
System Setup
[ 1. Surround Setup ]
[ 2. THX CINEMA Setup ]
[ 3. Input Assign ]
[ 4. Function Rename ]
[ 5. PHONO/LINE Setup ]
[ 6. Multi Room ]
[ 7. 12V Trigger ]
[ Exit ]
VSX-9300.book 74 ページ 2004年5月21日 金曜日 午前11時28分


