


i
RECORDING
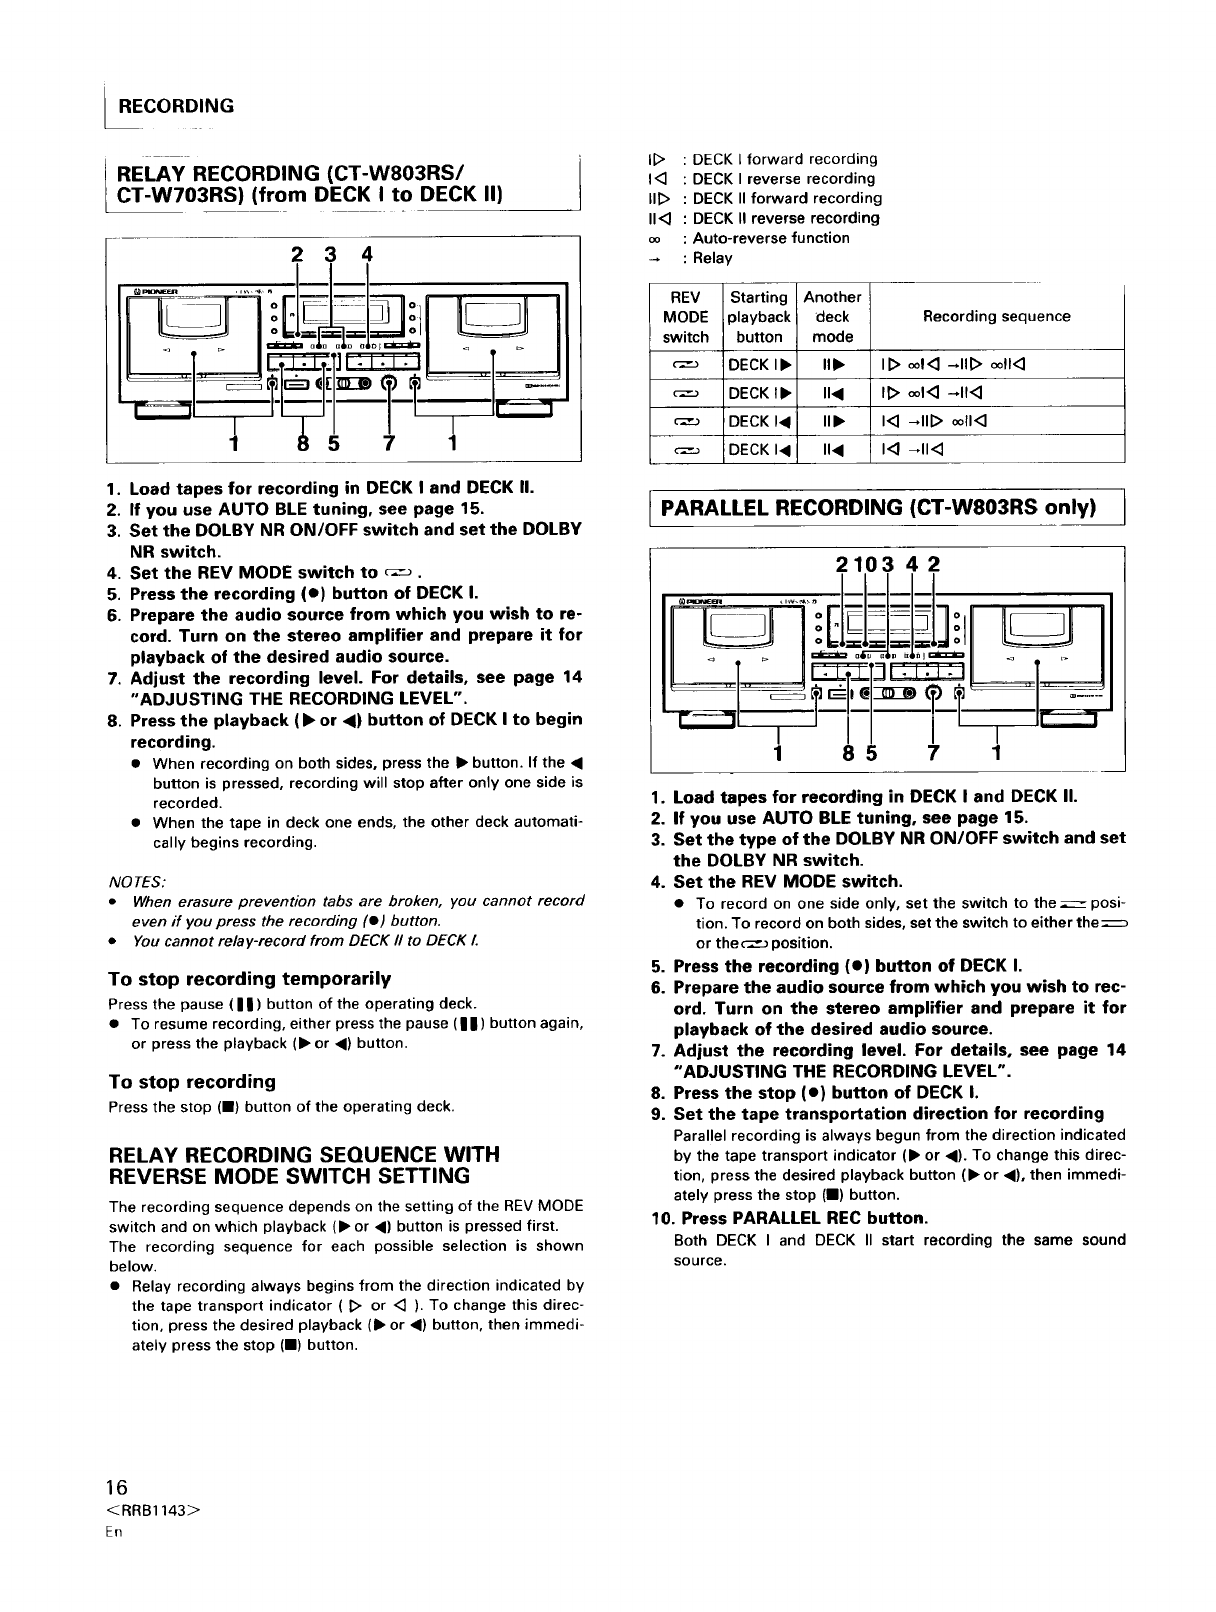
RELAY RECORDING (CT-W803RS/
CT-W703RS) (from DECK I to DECK II)
2 3 4
5 7 1
1. Load tapes for recording in DECK I and DECK II.
2. If you use AUTO BLE tuning, see page 15.
3. Set the DOLBY NR ON/OFF switch and set the DOLBY
NR switch.
4. Set the REV MODE switch to _-_.
5. Press the recording (e) button of DECK I.
6. Prepare the audio source from which you wish to re-
cord. Turn on the stereo amplifier and prepare it for
playback of the desired audio source.
7. Adjust the recording level. For details, see page 14
"ADJUSTING THE RECORDING LEVEL".
8. Press the playback (• or <) button of DECK I to begin
recording.
• When recording on both sides, press the b" button. If the •
button is pressed, recording will stop after only one side is
recorded.
• When the tape in deck one ends, the other deck automati-
cally begins recording.
NOTES:
• When erasure prevention tabs are broken, you cannot record
even if you press the recording (o) button.
• You cannot relay-record from DECK II to DECK L
To stop recording temporarily
Press the pause ( I II) button of the operating deck.
• To resume recording, either press the pause (11II) button again,
or press the playback (b" or •) button.
To stop recording
Press the stop (11) button of the operating deck.
RELAY RECORDING SEQUENCE WITH
REVERSE MODE SWITCH SETTING
The recording sequence depends on the setting of the REV MODE
switch and on which playback (b" or •) button is pressed first.
The recording sequence for each possible selection is shown
below.
• Relay recording always begins from the direction indicated by
the tape transport indicator ( [> or <3 ). To change this direc-
tion, press the desired playback (b" or •) button, then immedi-
ately press the stop (11) button.
ID : DECK I forward recording
1<3 : DECK I reverse recording
lid : DECK II forward recording
11<3 : DECK II reverse recording
oo : Auto-reverse function
: Relay
REV Starting Another
MODE playback deck Recording sequence
switch button mode
DECK lb" II• ID ooi<3_lll>ooli<:3
DECK Ib" II• I_ oo1<3_11<3
_-) DECK I• lib" 1<3_IID oo11<3
c--,J DECK I• I1• 1<3_11<3
[ PARALLEL RECORDING (CT-W803RS only) J
2103 42
1 85 7 1
1. Load tapes for recording in DECK I and DECK II.
2. If you use AUTO BLE tuning, see page 15.
3. Set the type of the DOLBY NR ON/OFF switch and set
the DOLBY NR switch.
4. Set the REV MODE switch.
• To record on one side only, set the switch to the------posi-
tion. To record on both sides, set the switch to either the ----_
or the (-".,-Jposition.
5. Press the recording (e) button of DECK I.
6. Prepare the audio source from which you wish to rec-
ord. Turn on the stereo amplifier and prepare it for
playback of the desired audio source.
7. Adjust the recording level. For details, see page 14
"ADJUSTING THE RECORDING LEVEL".
8. Press the stop (e) button of DECK |.
9. Set the tape transportation direction for recording
Parallel recording is always begun from the direction indicated
by the tape transport indicator (b" or •). To change this direc-
tion, press the desired playback button (b'or •), then immedi-
ately press the stop (11) button.
10. Press PARALLEL REC button.
Both DECK I and DECK II start recording the same sound
source.
16
<RRB1143>
En