


RQT8043
RQTV0286
ESPAÑOLESPAÑOLESPAÑOLESPAÑOLESPAÑOL
19
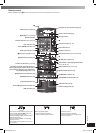
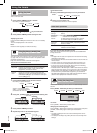
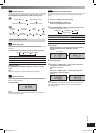
Display function
This function allows you to display the information during recording.
Press [DISPLAY] repeatedly during USB recording mode.
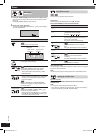
Elapsed play time Remaining play time
USB remaining REC time Recording REC mode
Elapsed
play time
Remaining
play time
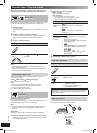
Album
Name
Tag
(Artist)
Tag
(Track)
Tag
(Album)
Track
Name
Recording
REC mode
USB remaining
REC time
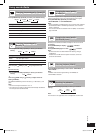
Other recording functions
Recording mode
You can select the desired recording mode before you start
recording.
Press [REC MODE] repeatedly to select your desired setting.
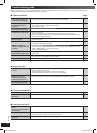
128 KBPS 192 KBPS 320 KBPS
Recording mode Effect
128 KBPS Long play mode
192 KBPS Normal mode
320 KBPS High quality sound mode
During recording
Press [DISPLAY] repeatedly to display the current recording
mode.
Note:
You cannot change the recording mode during recording.
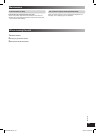
Display function
You are able to check the USB device’s remaining recording time
before or during recording.
Press [DISPLAY].
Note:
During recording, the remaining time displayed is an estimation of
the current recording mode.
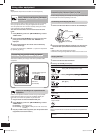
Erasing the recorded tracks
This function allows you to erase unwanted tracks quickly and
easily.
1 Press [6, USB] and then [7, CLEAR].
2 Press [PLAY MODE] to select ALL.
Select your desired album or tracks.
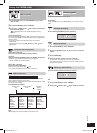
3 Press [EDIT MODE] to select your desired erasing mode.
Each time you press the button:
TRACKDEL
Original display
ALBUMDEL FORMAT
Edit Mode Action
TRACKDEL Erase single track
ALBUMDEL Erase one album
FORMAT Erase all albums (format USB device)
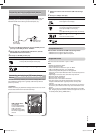
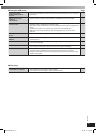
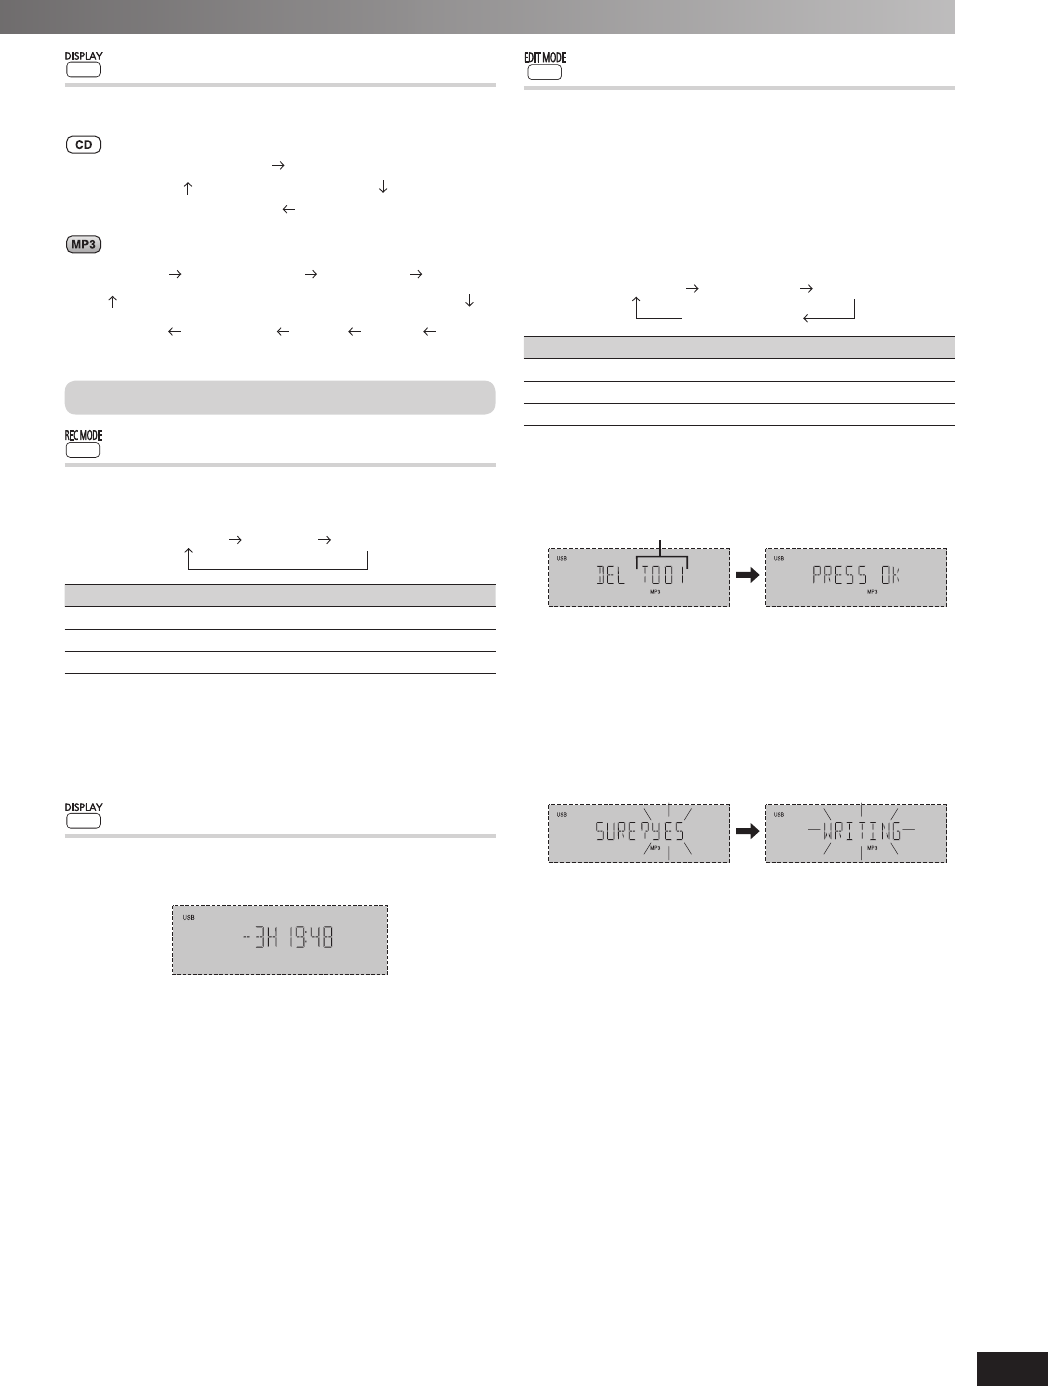
4 Press [OK].
Within 2 seconds or so, the selected item to be erased is
displayed followed by the “PRESS OK” display.
Example:
Track number
5 Press [OK] again.
6 Press [4, 4/REW] or [¢, 3/FF] to select “YES” then
press [OK] to confi rm the erasure.
“WRITING” is displayed.
OR
Press [4,
4/REW] or [¢, 3/FF] to select “NO” then
press [OK] to cancel the erasure.
Example:
Note:
For “ALBUM DEL”, only 999 tracks in albums which contain more
than 1000 tracks will be erased. To erase the selected album,
repeat steps 2 to 6.
RQTV0286-1B.indd 19RQTV0286-1B.indd 19 5/5/08 3:54:25 PM5/5/08 3:54:25 PM