27
Input source signal format
Analog PCM*
4
Dolby Digital*
5
dts MULTI CH*
6
Source software Tape, Record, CD, Audio DVD, Video DVD, LD, CD, LD, Video DVD
Tuner Video DVD Digital satellite Video DVD
Listening mode broadcast
STEREO*
1
●●●●
PRO LOGIC II*
2
●●●
DOLBY D ●
DTS ●
ORCHESTRA*
3
●●
UNPLUGGED*
3
●●
ALL CH ST*
3
●●
MULTI CH ●
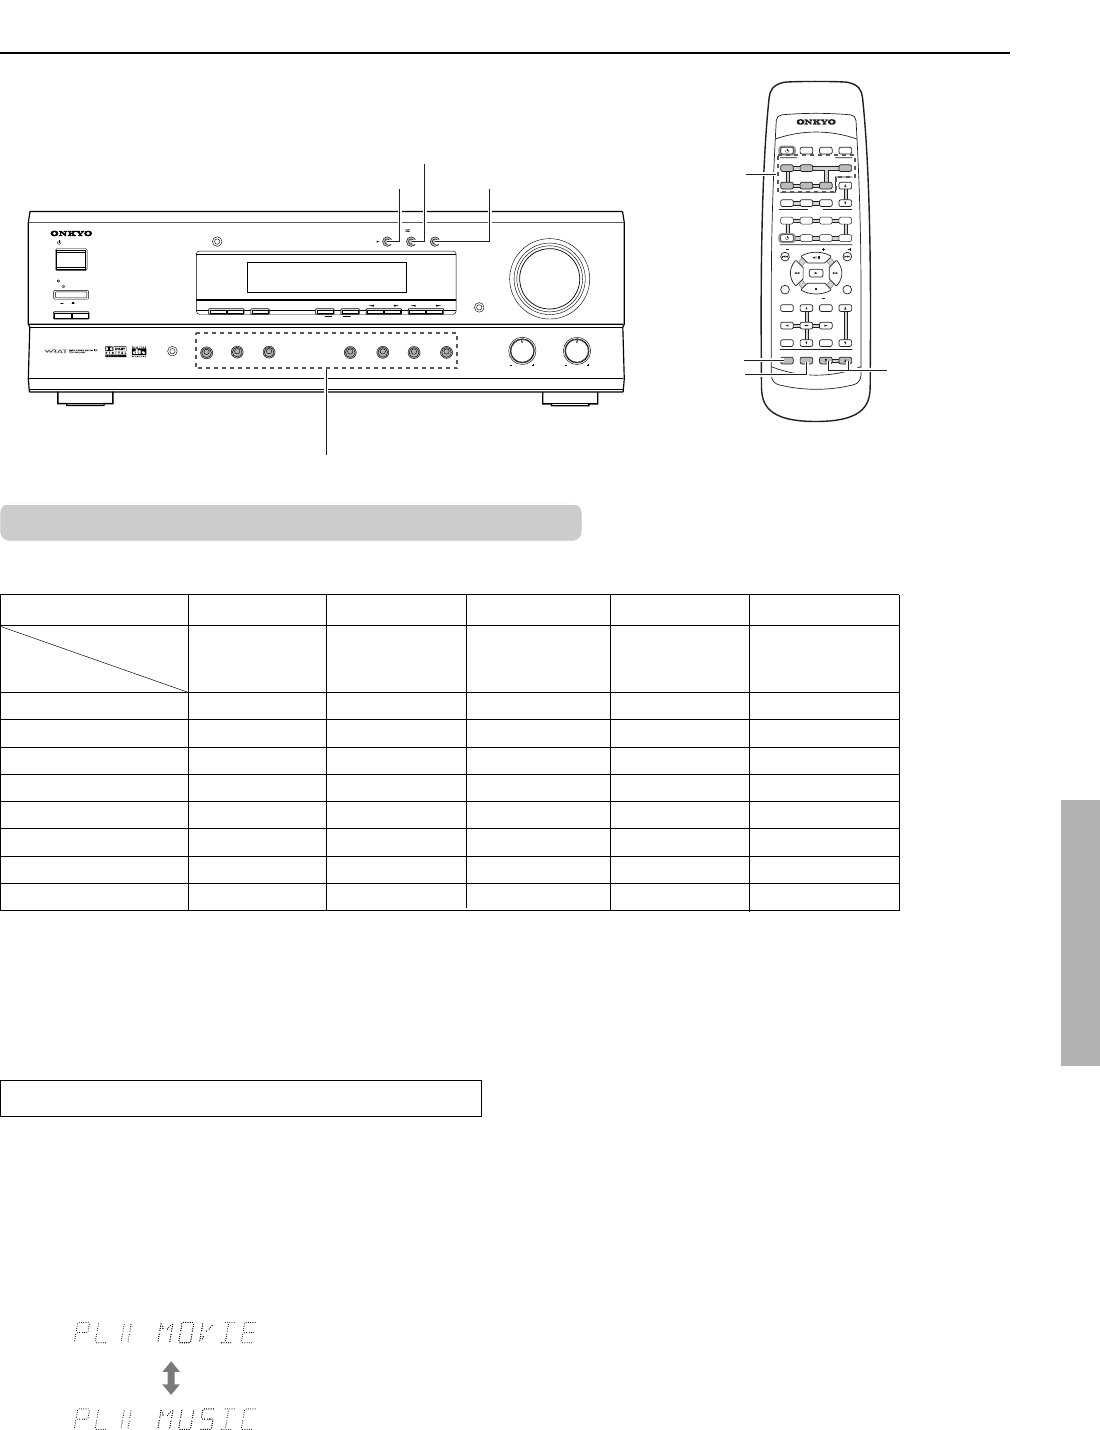
Relationship between input sources and surround modes
The surround modes that can be selected are variable depending on the signal formats employed with the input sources.
Input selector
R
C
-
4
4
6
M
R
E
M
O
T
E
C
O
N
T
R
O
L
L
E
R
STANDBY/ON
OFF
ON
POWER
MASTER VOLUME
BASS
TREBLE
AV
RECEIVER
HT-R490
FM
AM C
D
TAPE
VIDEO
1
DVD
ABSPEAKERS
DIMMER
SURROUND
DTS/
VIDEO
2
VCR
AUDIO
SELECTOR
LISTENING MODE
DSP
STEREO
DISPLAY
STANDBY
SP SEL TUNING PRESET
MEMORY
SW
MODE
DIGITAL
INPUT
FM
MODE
CLEAR
INPUT SELECTOR
SLEEP DIMMERDISPLAY
CD TAPE TUNER
D V D VIDEO 1 VIDEO 2
SUR MODE
SW MODEAUDIO SEL
TUNER
PRESET
STANDBY/ ON
DISC
MUTING
VOLUME
TOP MENU
MENU
CH SEL
RETURN
SETUP
TEST TONE
LEVEL
ENTER
LEVEL 5/∞
TEST TONE
INPUT SELECTOR
CH SEL
DSP
STEREO
Ÿ/DTS SURROUND
CH
TV/VCR
CH TV VOL
TV VOL
MODE
TV CABLESATELLIT E
VCR
STANDBY/ ON
DVD CD TAPE
*1 Only STEREO can be selected when SP SEL is set to 2 ch or when SPEAKERS B is selected.
*2 When SP SEL is set to 3 ch, “3 ST” is displayed in place of “PL II”.
*3 These modes cannot be selected when SP SEL is set to 2 ch or 3 ch.
*4 Only STEREO can be selected when the PCM source has been recorded with a sampling rate 96 kHz.
*5 Only DOLBY D (PL II if the source is a 2-channel source) or STEREO can be selected when Dolby Digital surround audio is reproduced.
*6 The surround mode cannot be selected when MULTI CH is selected.
Selecting DOLBY PRO LOGIC II surround
1. Press an input selector button to select the
desired sound source.
2.
Press the Ÿ/DTS SURROUND button repeatedly
to select DOLBY PRO LOGIC II.
The selected mode appears in the display. Each time you press
the button, the surround mode changes as follows:
3. Play the selected sound source.
You can adjust the level of each speaker.
1. Press the CH SEL button on the remote controller to select a
speaker.
2. Press the LEVEL 5/∞ buttons on the remote controller to
raise or lower the level.
• The speaker levels set here are cleared when this unit is set to
STANDBY. (The speaker levels return to the levels set using
the test tone.)
• When the TEST TONE button on the remote controller is
pressed after the above adjustment, the set levels will become
the levels adjusted using the test tone by overwriting the
existing ones.
To enjoy Surround mode


