


8
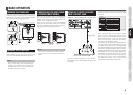
BEFORE USE NAME OF PARTS
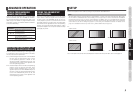
BASIC
OPERATION
ADVANCED
OPERATION
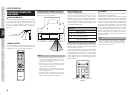
REMOTE CONTROLLER
OPERATION
TROUBLESHOOTING
OTHERSSETUP
SETUP
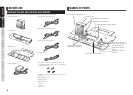
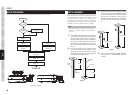
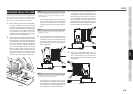
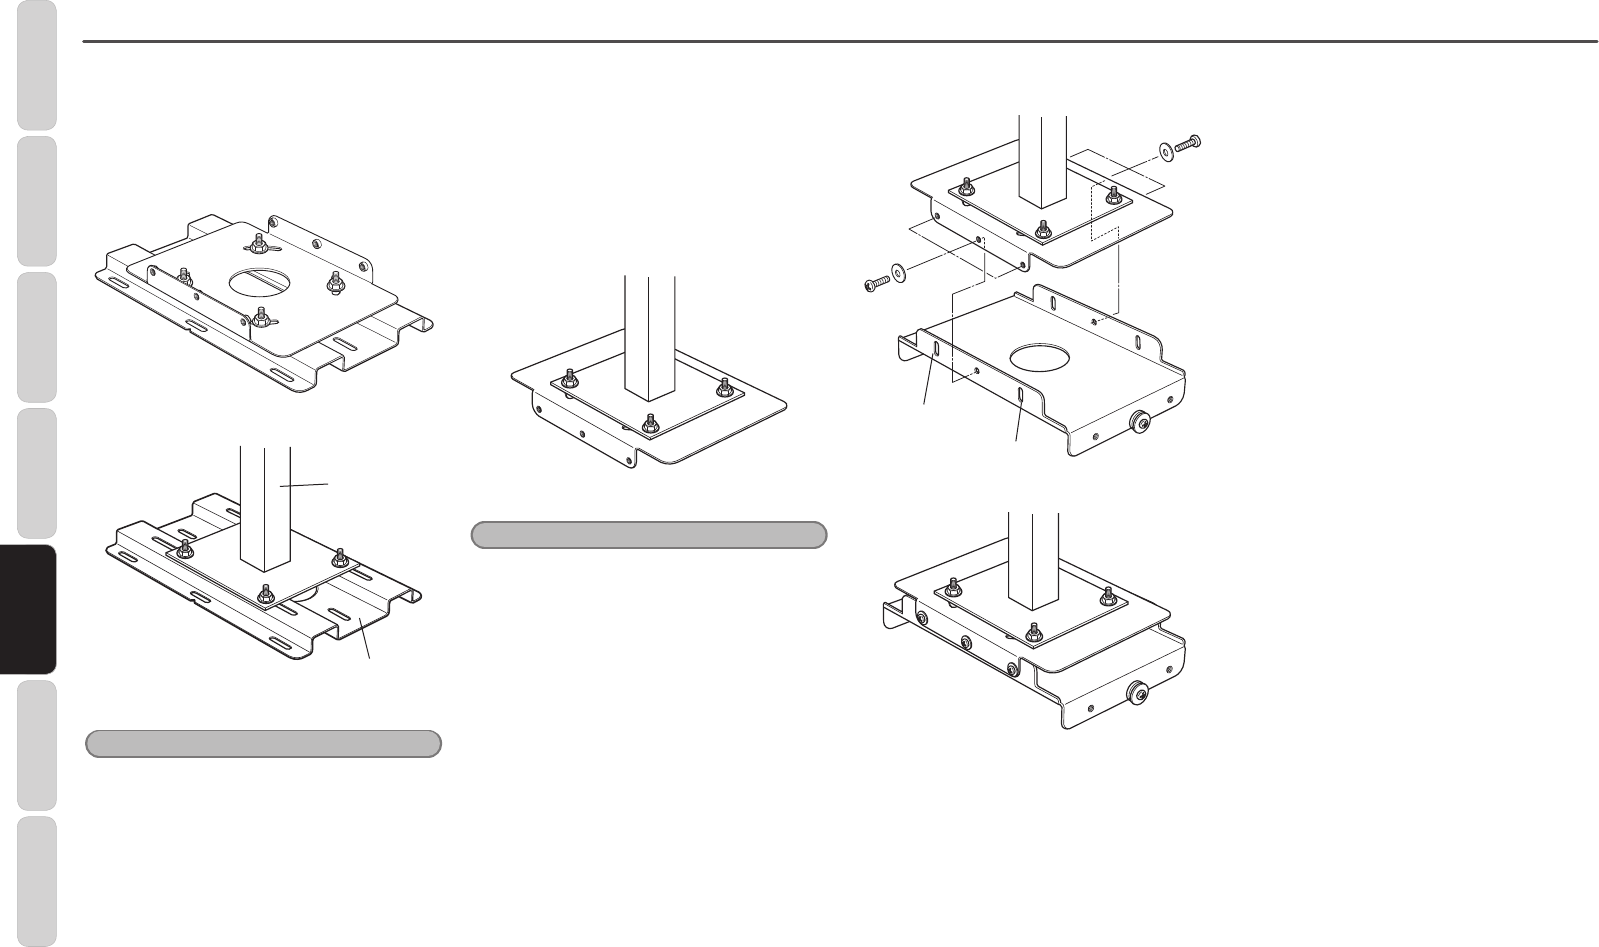
3. Install the combined Plates #1 and #2 (or
Plate 1 with the EXT10) securely to the
Building Structure following all of the
Local Building/Construction Codes. Use
suitable hardware in adequate quantity
and size depending on the installation
requirements.
Figure 11
Figure 12
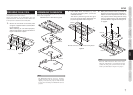
Plate #3
EXT10
Plate #1
Caution:
The Projector together with the mounting brackets
weighs 59 pounds (26.7kg).
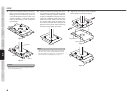
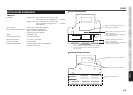
4. Attach the Horizontal Tilting Plate #3 to
the previously combined plates (already
installed on ceiling) using the 1/4-20 inch
screws provided. Refer to Figures ?? and ??.
Install two 1/4-20inch screws with rubber
spacers and metal washers part way into
the welded metal studs (indicated #1).
The newly combined Plate 3 provides 10
degrees of horizontal tilt. After positioning
the plate, loosely tighten the screws.
Figure 13
Note:
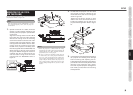
When the EXT10 Extension Pole will be used, attach
the “Inner Pole” end to combined Plate #2 and #3
(instead of Plate #2) using four (4) 5/16-18 inch
nuts and washers provided. Refer to Figure 13.
Wire
Access
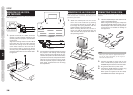
5. Tighten all the recently install hardware
and proceed to install the LN-11S1A.
Figure 14
Titing Capability
Titing Capability
Figure 15