


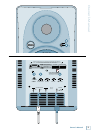

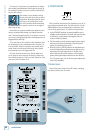

HR84 MK
HR824 MK2
Feel free to experiment.
In many respects, every room is unique in terms of its
acoustics.
Even after you’ve read about how to set the HR824
MK2’s rear panel switches, try other settings to see if
your particular room environment requires different
adjustments.
And, even after you’ve placed your monitors where you
think they’ll sound best, try moving them around. You
might be pleasantly surprised.
Finally, keep an open mind about
improving your room’s acoustics
and bass-handling ability.
Nobody likes to buy a new set of monitor speakers
and then be told that they should spend extra bucks on
bass traps or a remodeling job. But the simple fact is,
“standard” rooms, i.e., rectangular rooms in convention-
al business or residential structures, are rarely if ever
conducive to optimal low bass reproduction without
some modifications.
Luckily, there are plenty of options short of building
a new control room, many of which are covered in this
manual.
Additional Tidbits of Wisdom
• When you shut down your equipment, turn off the
HR824 MK2 studio monitors first to prevent thumps
and other noises generated by any upstream equipment
from coming out the speakers. When powering up, turn
on the monitors last.
• Save the shipping box! You may need it someday, and
you don’t want to have to pay for another one.
• Save your sales receipt in a safe place.
• Also record all HR824 MK2 serial numbers in the space
provided on the next page, along with where and when
you bought them.
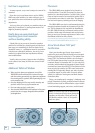
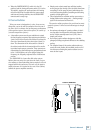
Placement
The HR824 MK2s were designed to be placed in a
vertical position. If you find it necessary to place the
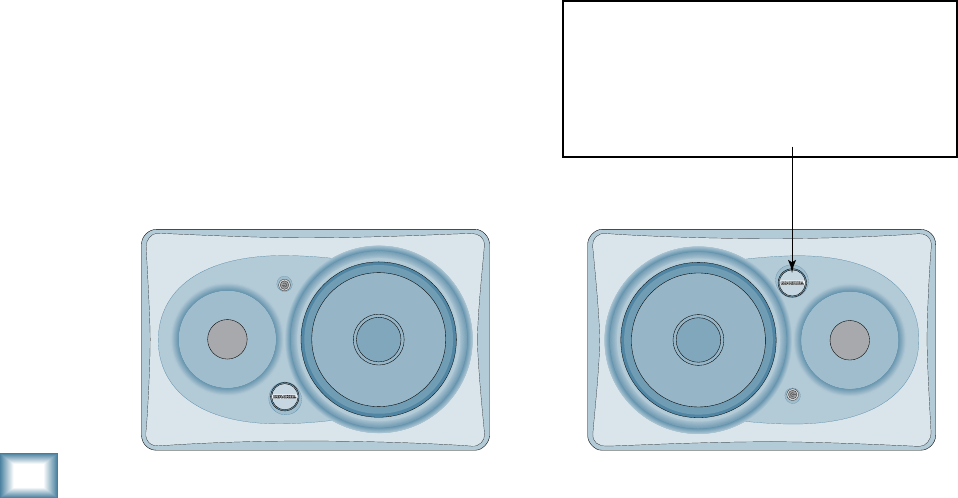
speakers in a horizontal position (on their sides), place
them so that the woofers are toward the inside; that is,
so the woofers are closest to each other. This provides
the best low-frequency summing and overall imaging.
The HR824 MK2s can also be wall-mounted using the
mounting hardware located on the bottom of the cabi-
net. This is designed to be used with the OmniMount
60.0 WB (Wall-to-Bottom) wall-mount bracket, which
provides a wide range of horizontal and vertical move-
ment to meet your coverage requirements. Refer to the
OmniMount website for more details.
www.omnimount.com/pro/product.aspx?ProductId=1ec10a27-
b84e-4ec8-9155-db5b646335bd&CurrentId=1.1.1.1
A Few Words About THX™ pm™
Certication
Nearly two decades ago, George Lucas turned a
passion for great sound into the world’s most accepted
and trusted solution for achieving it. The standard was
named THX (for Tomlinson Holman, who developed
the THX Sound System when he was the research and
technical director at Lucasfilm Ltd.™ in the early 80s),
and today, with hundreds of thousands of home theater
customers and more than 3000 THX Certified movie the-
aters enjoying its benefits, the THX name has become
nothing short of legendary. Simply put: when it comes
to premium sound, no other name so closely defines
‘quality’ for millions of movie-goers and home theater
enthusiasts alike.
Today, a new landscape is emerging. A landscape com-
prised of hundreds of small, professional multi-channel
facilities, whose need for differentiation, expert techni-
cal and marketing support, and a true, multi-channel
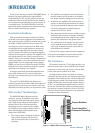
Note: The Mackie logo can be rotated 90º so
that it is oriented correctly when placing the
speakers on their sides. Gently pull out on
the Mackie emblem, rotate it, and push it
back into place.