


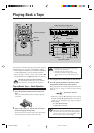
24
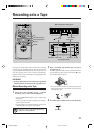
Synchronized Recording from a CD
CD application on UX-G66 system can be recorded with
a simple, one-touch operation.
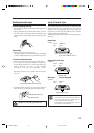
1
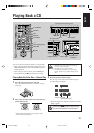
Place a recordable tape and a source CD into each
tray.
• To record using Dolby B NR, press the DOLBY B
NR button before recording so that its lamp near the
button lights orange.
2
Press 6 (play/pause) button on the CD unit, then
7 (stop) button to set the system to CD operation
mode.
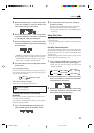
3
Press REC MODE button behind the sliding panel.
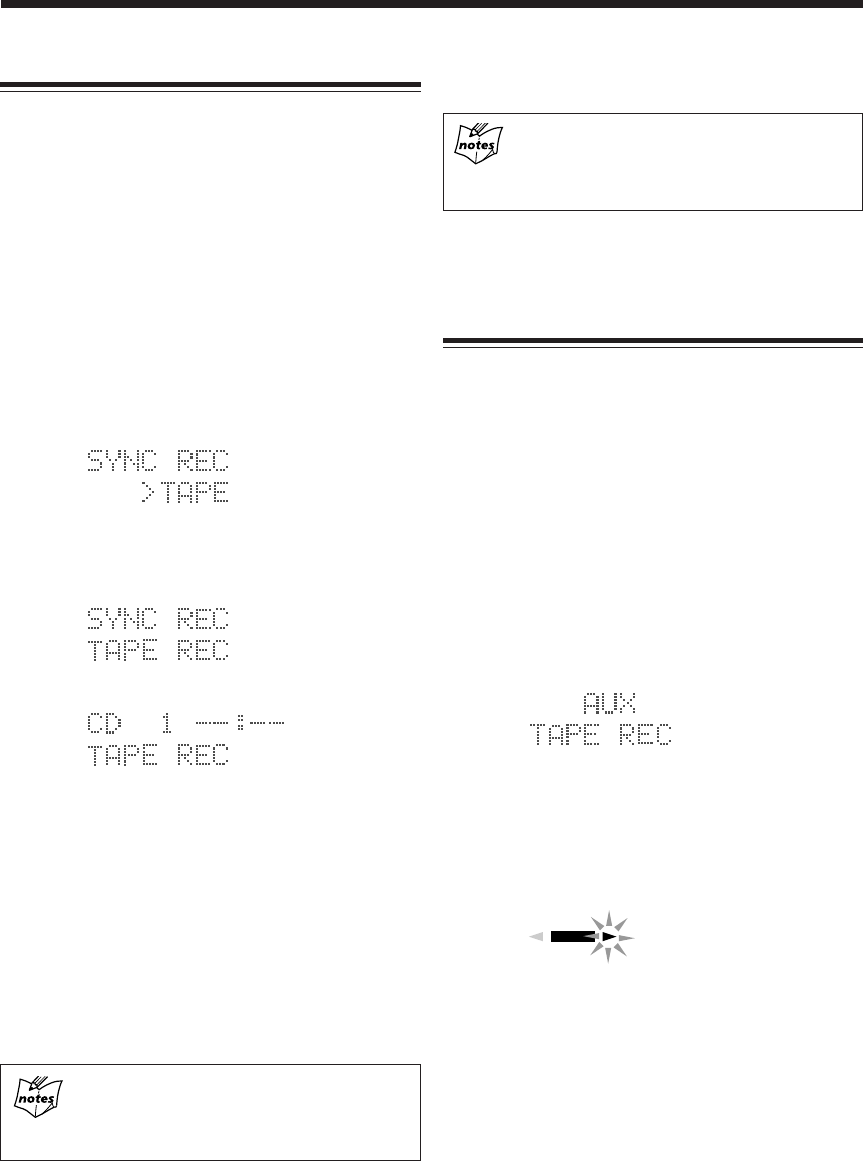
The display window shows information as follows:
4
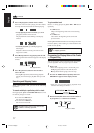
Press SET button.
Display window shows as follows:
then
UX-G66 starts playback on the CD unit as well as
recording on the cassette deck unit simultaneously.
You can get an entire copy of the source CD.
To select a particular track or program, use REC
PAUSE button on the cassette deck unit. During SYNC
REC mode, you cannot operate CD unit except 7 (stop)
button.
• To make recording pause temporarily, press REC
PAUSE button on the cassette deck unit.
• To resume recording, press ` (playback) button
on the cassette deck unit.
Using Program play for CD recording
To edit CD’s tracks to be recorded, it is useful to set
the desired tracks to be played back into a program
in advance.
When CD playback finished, the CD unit first, then
the cassette deck stops recording automatically.
Cassette deck unit will stop after leaving a non-
recorded portion of 4 seconds.
If you want to quit recording immediately, press
7 (stop) button on the cassette deck unit.
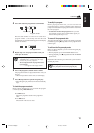
5
Press 0 (open/close) button on each unit to remove
the CD and the tape.
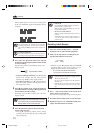
Recording from the External Equipment
You can record audio sources played-back on the external
equipment onto a tape manually.
First of all, make sure to connect the external equipment
properly (see also page 9).
Recording an external audio source manually
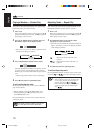
1
Press AUX button to show “AUX” in the display
window.
The external audio source is selected.
2
Repeat the steps 2 and 3 on page 22 to prepare a
tape to record.
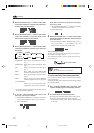
Information appears as follows:
3
Press ` (playback) button on the cassette deck unit
or TAPE ` (playback) button on the remote control
to start recording.
Tape direction indicator starts blinking slowly in the
display window.
4
Start playing back the external equipment.
• To stop recording for a moment, press REC PAUSE
button on the cassette deck unit. Tape direction
indicator stops blinking in the display window.
• To resume recording, press ` (playback) button
again.
• To end the recording, press 7 (stop) button on the
cassette deck unit.
Recording stops and REC indicator goes off in the
display window.
REC
Tape direction indicator
EN20-28.UX-G66[A]f 12/11/00, 11:44 AM24