


23
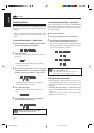
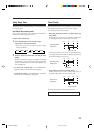
• Dolby B NR
Press DOLBY B NR button before recording to
reduce frequency response noise.
When the tape is played back later, also press the
button with its lamp lit.
• BEAT CUT on AM (MW/LW)
When recording AM broadcast, beats noise may
be heard.
Set the BEAT CUT selector to either position 1 or
2 on the rear panel of the cassette deck unit to
reduce the noise.
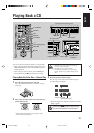
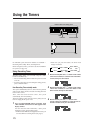
Recording in Auto Reverse
1
Select one of the recording sources — FM/AM
broadcasts, CD, or other external equipments.
2
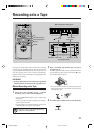
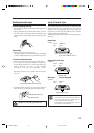
Make sure the tape side for recording meets the
tape direction indicator 3 (forward).
• Each time to press ` (playback) button or TAPE `
(playback) button on the remote control, you can
change the tape direction to be recorded onto.
3 : Good, records onto the forward side.
2 : No good, records onto the reverse side.
• The recording in the auto reverse mode stops
automatically after completing recording onto the
2 (reverse) direction side.
Be sure to start recording from the 3 (forward)
direction side.
• When the auto reverse mode is set to off, recording
stops after having recorded onto one side of the
tape.
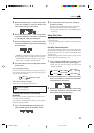
3
Press π (auto reverse) button on the cassette deck
unit to set the reverse mode on.
The auto reverse lamp lights orange on the front panel.
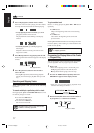
4
Press REC PAUSE button on the cassette deck unit.
5
Repeat the steps 4 to 5 of “Manual Recording onto
a Tape” mentioned in the left column.
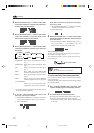
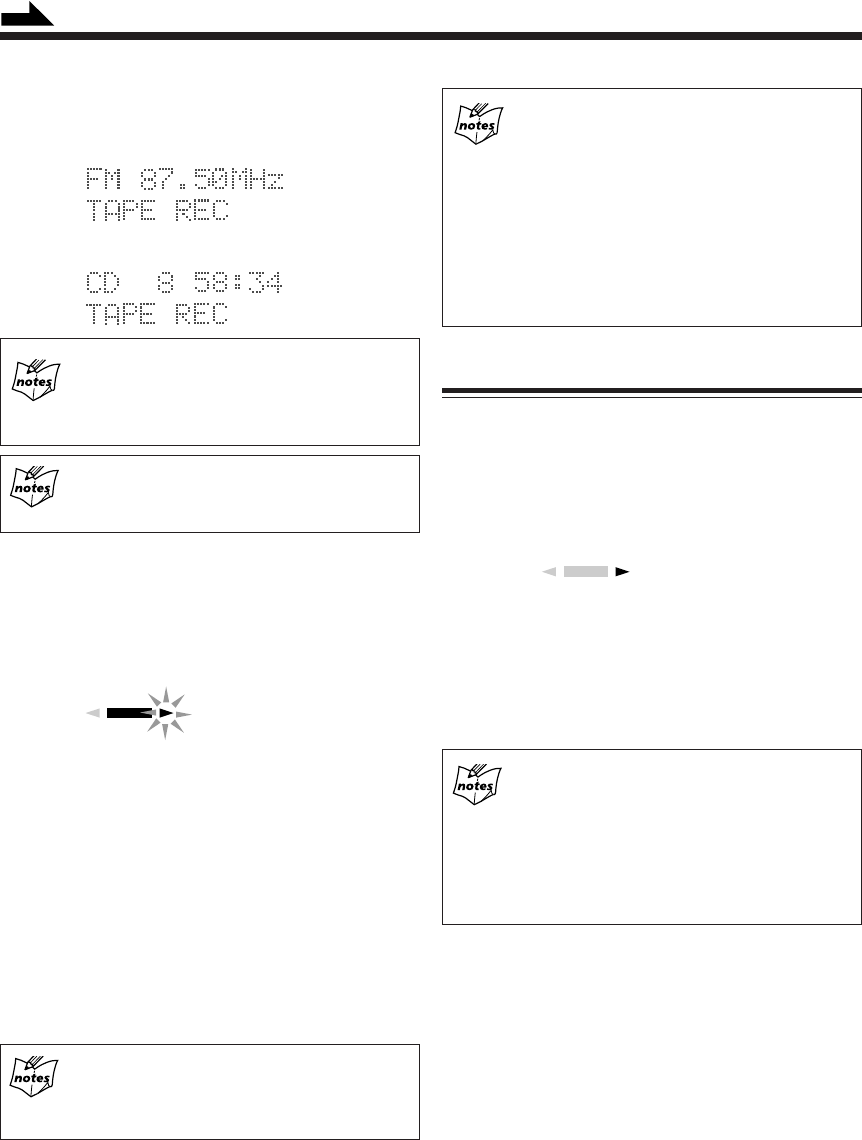
REC indicator lights red to show the recording pause
mode, and “TAPE REC” appears in the display window
as follows,
or
To change the recording source
You cannot change the selected source during the
recording pause mode. To exit from the recording
pause mode, press 7 (stop) button on the cassette deck
unit.
To make the blank tape
Press AUX button to start recording without
connecting nor playing back the external equipment.
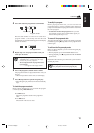
4
Press Tape ` (playback) button for FM/AM
broadcasts or 6 (play/pause) button on the CD unit
to start recording.
Tape direction indicator starts blinking slowly in the
display window.
• To stop recording for a moment, press REC PAUSE
button on the cassette deck unit. Tape direction
indicator stops blinking in the display window.
• To resume recording, press ` (playback) button
again. Recording continues from the point where it
was stopped for a while.
5
Press 7 (stop) button on the cassette deck unit for
FM/AM broadcasts recording, or 7 (stop) button on
the CD unit for the CD recording.
Recording stops and REC indicator goes off in the
display window.
On CD recording, cassette deck unit will stop
after leaving a non-recorded portion of 4 seconds.
If you want to quit recording immediately, press
7 (stop) button on the cassette deck unit.
6
Press 0 (open/close) button on the cassette deck
unit to remove the tape.
• Pressing 0 (open/close) button directly during
recording , the cassette deck unit stops recording and
opens the tape tray.
REC
Tape direction indicator
REC
forward
reverse
Continued
EN20-28.UX-G66[A]f 12/11/00, 11:44 AM23