


26
Using the Timers
English
Preparation for each music source:
Perform the following operation according to the music source
you have selected. Then, the System enters Volume Setting
mode.
When selecting TUNER FM or TUNER AM:
Press the 4 or ¢ button to select the preset station
number, then press the SET button.
When selecting 1CD – 001:
1. Press the 4 or ¢ button to select the disc number, then
press the SET button.
Each time you press the button the disc number changes as
follows:
1CD – 001= 2CD – 001 = 3CD – 001 = (back to the be-
ginning)
2. Press the 4 or ¢ button to select the track number, then
press the SET button.
When selecting TAPE:
Before turning off the system, select either the Deck A or Deck
B. (See page 20)
When selecting AUX:
Prepare the external equipment so that it will turn on at the ON
time set by the System.
To allow this, the equipment should have the timer function.
6
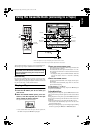
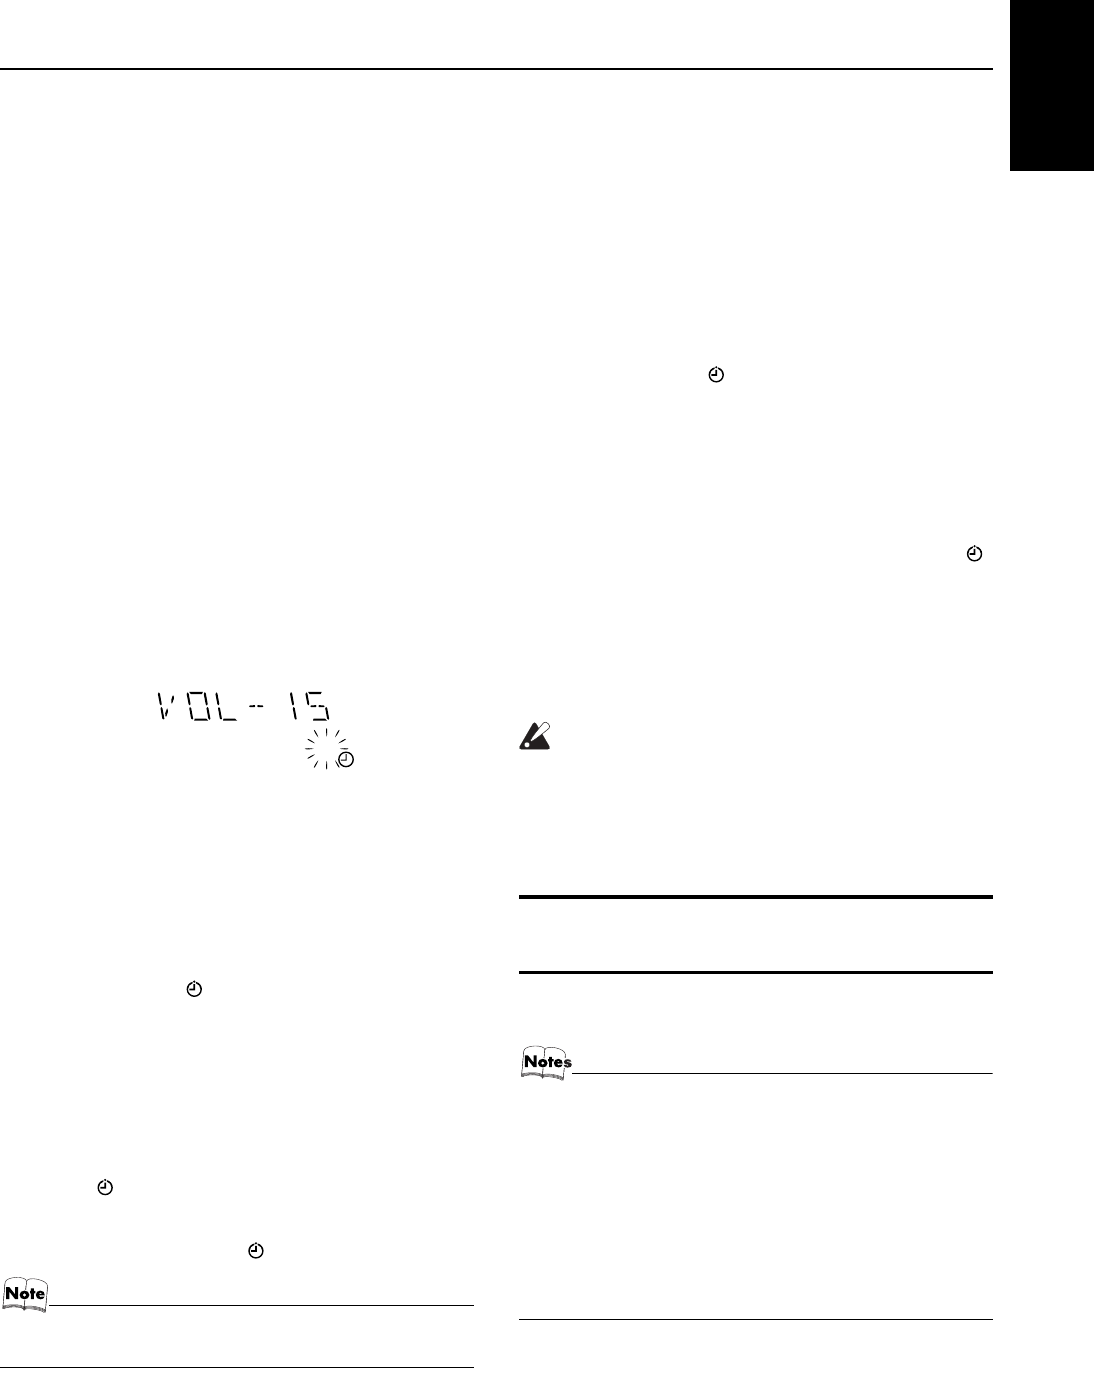
Setting the volume level.
Press the 4 or ¢ button to select the volume level.
VOL – – – : The current volume level will be used.
VOL-5, -10, or -15: When the timer is turned on, the Volume
will be automatically set to the selected level.
7
Press the SET button.
The timer setting is completed, and the “DAILY” indicator
stops blinking and remains lit. Each setting you have made ap-
pears on the display in the order of ON time, OFF time, music
source and volume. Then, the display returns to the display be-
fore you set the Timer.
8
Press the
%
%%
%
STANDBY/ON button to turn
off the System.
The Timer indicator ( ) and “DAILY” indicator are lit on the
display, showing that the Daily Timer is set to on.
To change the timer setting, repeat the setting procedure from
the beginning.
When the timer ON-time comes:
The following operation will be automatically repeated every day.
• When the timer ON-time comes, and the System automatically
turns on. The music source you have set is played. The Timer
indicator ( ) blinks during timer operation.
• When the timer OFF-time comes, “OFF” blinks on the display
just before the OFF-time and the System automatically turns
off. Then, the Timer indicator ( ) remains lit on the display.
• If the System is already on when the timer ON-time
comes, the Daily Timer does not work.
Turning the Daily Timer On and Off
Once you have set the Daily Timer, it is stored in memory. So, the
Daily Timer will be activated at the same time every day until it is
canceled.
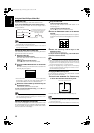
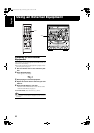
To cancel the Daily Timer temporarily:
1
Press the CLOCK/TIMER button on the Unit
repeatedly until the “DAILY” appears on the
display.
2
Press the CANCEL button on the Unit.
The “DAILY” indicator goes out and “OFF” appears on the
display.
The Timer indicator ( ) and “DAILY” indicator go out and
the Daily Timer is canceled temporarily.
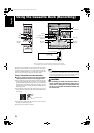
To activate the cancelled Daily Timer:
1
Press the CLOCK/TIMER button on the Unit
repeatedly until the “DAILY” appears on the
display.
The “DAILY” indicator blinks and the Timer indicator ( )
lights up on the display.
2
Press the SET button on the Unit.
The “DAILY” indicator remains lit. Each setting already made
appears on the display in the order of ON time, OFF time, mu-
sic source and volume, and then the display returns to the orig-
inal display.
CAUTION:
• If the System is unplugged, or a power failure oc-
curs, the timer setting loses its setting immedi-
ately. You will need to reset the clock first, then
the timer.
Setting the REC (Recording)
Timer
With the Recording Timer, you can make a tape of a radio broad-
cast automatically whether or not you are home.
• You can set the REC Timer whether the System is on or
off.
• Perform each setting within 30 seconds. Otherwise, set-
ting will be cleared and the procedure must be repeated
from the beginning.
• If you have made a mistake while setting the timer, press
the CANCEL button on the Unit. However, this does not al-
ways cancel the current setting. If the CANCEL button
does not work, press the CLOCK/TIMER button on the
Unit repeatedly until the display returns to the original dis-
play, and start from the first step.
DAILY
MX-GA3V(US).book Page 26 Thursday, April 10, 2003 9:45 AM