


31
3
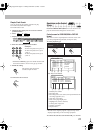
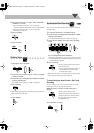
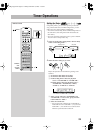
Start playing the source—“FM,” “AM,” “DVD/CD,”
“TAPE-A” or “AUX.”
• When recording from a disc, you can also use
“Synchronized Disc Recording” (see the right column).
• When recording from deck A, you can also use
“Dubbing” (see below).
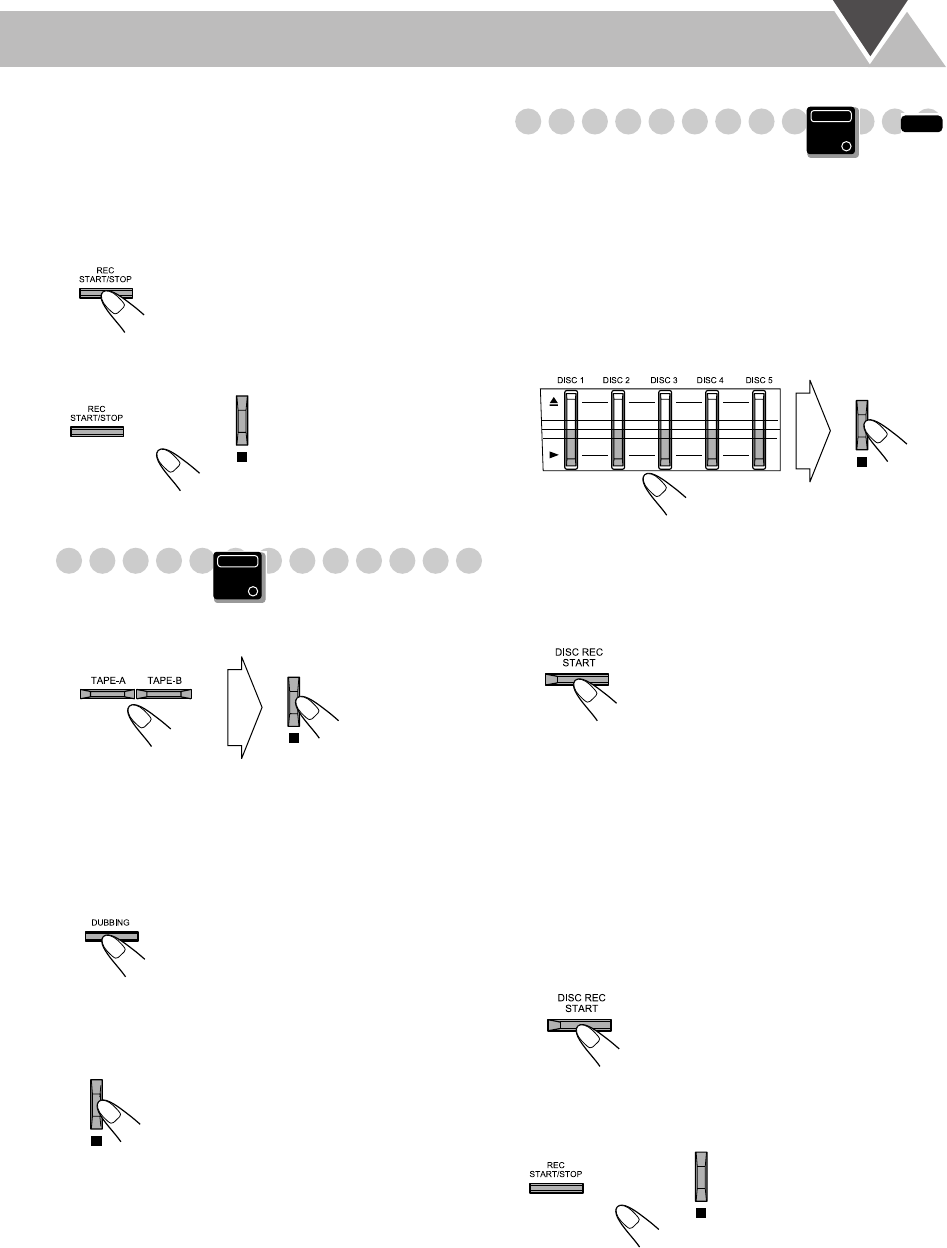
4
Start recording.
To stop recording
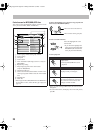
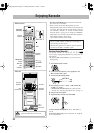
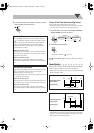
Dubbing Tapes
1
Change the source to TAPE.
2
Insert the source cassette in deck A, and a recordable
cassette in deck B.
3
Check the tape running direction and Reverse Mode
settings on the display.
See step
2
of “Recording on a Tape” on page 30.
4
Start dubbing.
• When either tape playback or recording ends, both cassette
decks stop at the same time.
To stop dubbing
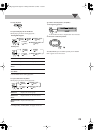
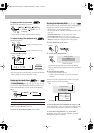
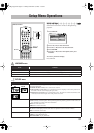
Synchronized Disc Recording
You can start and stop both disc play and tape recording at
the same time.
1
Load a disc and insert a recordable cassette.
2
Check the tape running direction and Reverse Mode
settings on the display.
• See step
2
of “Recording on a Tape” on page 30.
3
Select the disc number you want to start recording
from.
For recording desired tracks from discs:
You can program tracks to record in your preferred order.
• Select Program Play (and make a program; see page 20)
without starting playback.
4
Start recording.
• When either disc play or recording ends, both disc player
and the cassette deck stop at the same time.
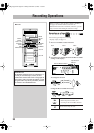
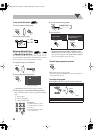
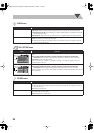
To record only your favorite track—One Track
Recording
You can specify tracks to be recorded on the tape while
listening to a disc (except for DVD Video).
While the track you want to record on the tape is
playing...
To cancel while recording
or
Main Unit
ONLY
The disc playback and recording start
from the first track.
• The System automatically creates 4-
second blanks between the tunes
recorded on the tapes.
The disc player returns to the
beginning of that track and the track is
recorded on the tape. After recording,
the disc player and cassette deck
automatically stop.
INFO
Main Unit
ONLY
or
DX_T9[J].book Page 31 Tuesday, December 13, 2005 1:53 PM