


15
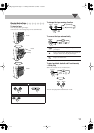
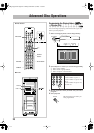
Changing the Scanning Mode
• If you connect a progressive TV through the
COMPONENT jacks, you can enjoy a high quality picture
from the built-in DVD player by selecting progressive
scanning mode.
• You can change the setting only while the disc playback is
stopped.
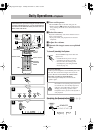
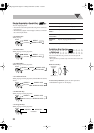
1
Enter the scanning mode setting mode.
2
Select the scanning mode.
3
Store the setting.
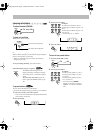
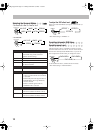
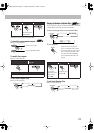
Changing the Picture Tone
While viewing a playback picture on the TV, you can select
the preset picture tone, or adjust it and store your own
preference.
To select a preset picture tone
1
While playing, display VFP setting screen.
2
Select a preset picture tone.
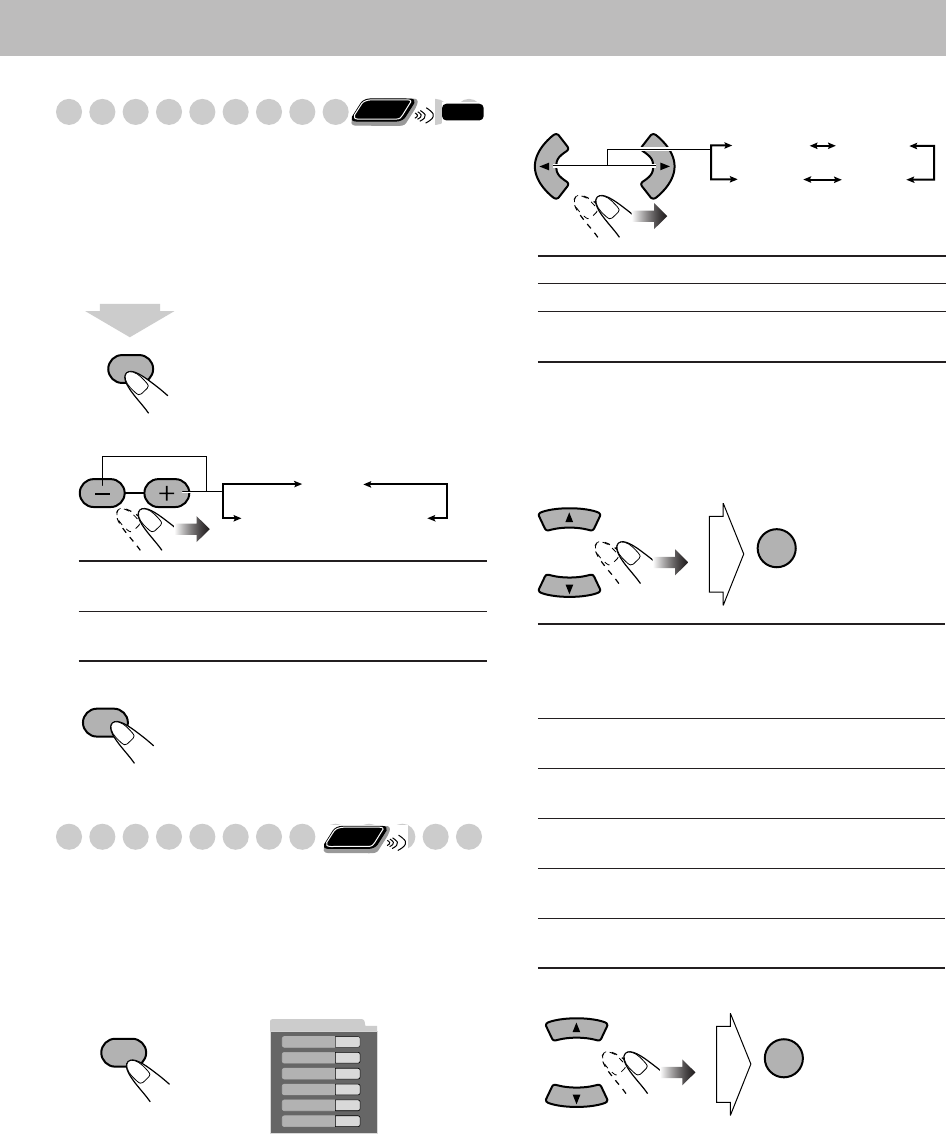
To adjust the picture tone
1
Select “USER1” or “USER2.”
• Follow steps
1
and
2
above.
2
Select a parameter you want to adjust.
3
Adjust the parameter.
4
Repeat steps
2
to
3
to adjust other parameters.
To erase the VFP screen,
press VFP again.
NTSC
Interlaced scanning.
For a conventional TV.
NTSC
PROGRESSIVE
Progressive scanning.
For a progressive TV.
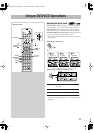
Remote
ONLY
INFO
SCAN MODE
VFP
4
sec.
NTSC PROGRESSIVE
NTSC
SET
Remote
ONLY
SCAN MODE
VFP
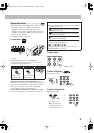
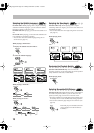
NORMAL
GAMMA
BRIGHTNESS
CONTRAST
SATURATION
TINT
SHARPNESS
0
0
0
0
0
0
On the TV screen
NORMAL
Normally select this.
CINEMA
Suitable for a movie source.
USER1/USER2
You can adjust parameters and can
store the settings (see below).
GAMMA
Adjust if the neutral color is bright
or dark. The brightness of dark and
bright portions is maintained
(–3 to +3).
BRIGHTNESS
Adjust if the picture is bright or dark
as a whole (–8 to +8).
CONTRAST
Adjust if the far and near position is
unnatural (–7 to +7).
SATURATION
Adjust if the picture is whitish or
blackish (–7 to +7).
TINT
Adjust if human skin color is
unnatural (–7 to +7).
SHARPNESS
Adjust if the picture is indistinct
(–8 to +8).
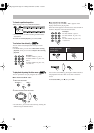
NORMAL CINEMA
USER2 USER1
ENTER
ENTER
DX_T9[J].book Page 15 Tuesday, December 13, 2005 1:53 PM