


– 10 –
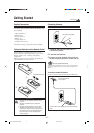
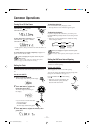
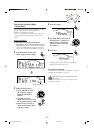
Use a screwdriver to rotate the voltage selector so the voltage
number the voltage mark is pointing at is the same as the
voltage where you are plugging in the unit. (See the back
cover page.)
DO NOT plug in before setting the voltage selector
on the rear of the unit and all connection
procedures are complete.
Adjusting the Voltage Selector
Before plugging in the unit, set the correct voltage for your
area with the voltage selector on the rear of the unit.
Now, you can plug the AC power cord.
When connecting the AC power cord into a wall outlet, the
unit automatically starts display demonstration.
• If the wall outlet does not match the AC plug, use the
supplied AC plug adaptor.
IMPORTANT: Be sure to check all connections to be done
before plugging the AC power cord into a wall outlet.
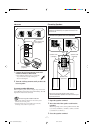
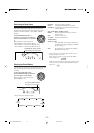
Canceling the Display Demonstration
On the unit ONLY:
To cancel the display demonstration, press
CANCEL/DEMO until “DEMO OFF” appears
on the display.
When you press other buttons
The display demonstration stops temporarily. It will start
automatically again (if no operation is done for 2 minutes) unless
you cancel it by pressing CANCEL/DEMO.
To start the display demonstration manually
Press and hold CANCEL/DEMO for more than 1 second.
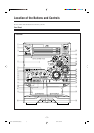
Voltage mark
VOLTAGE
SELECTOR
230V
240V
127V
220V
110V
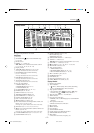
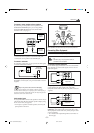
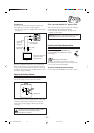
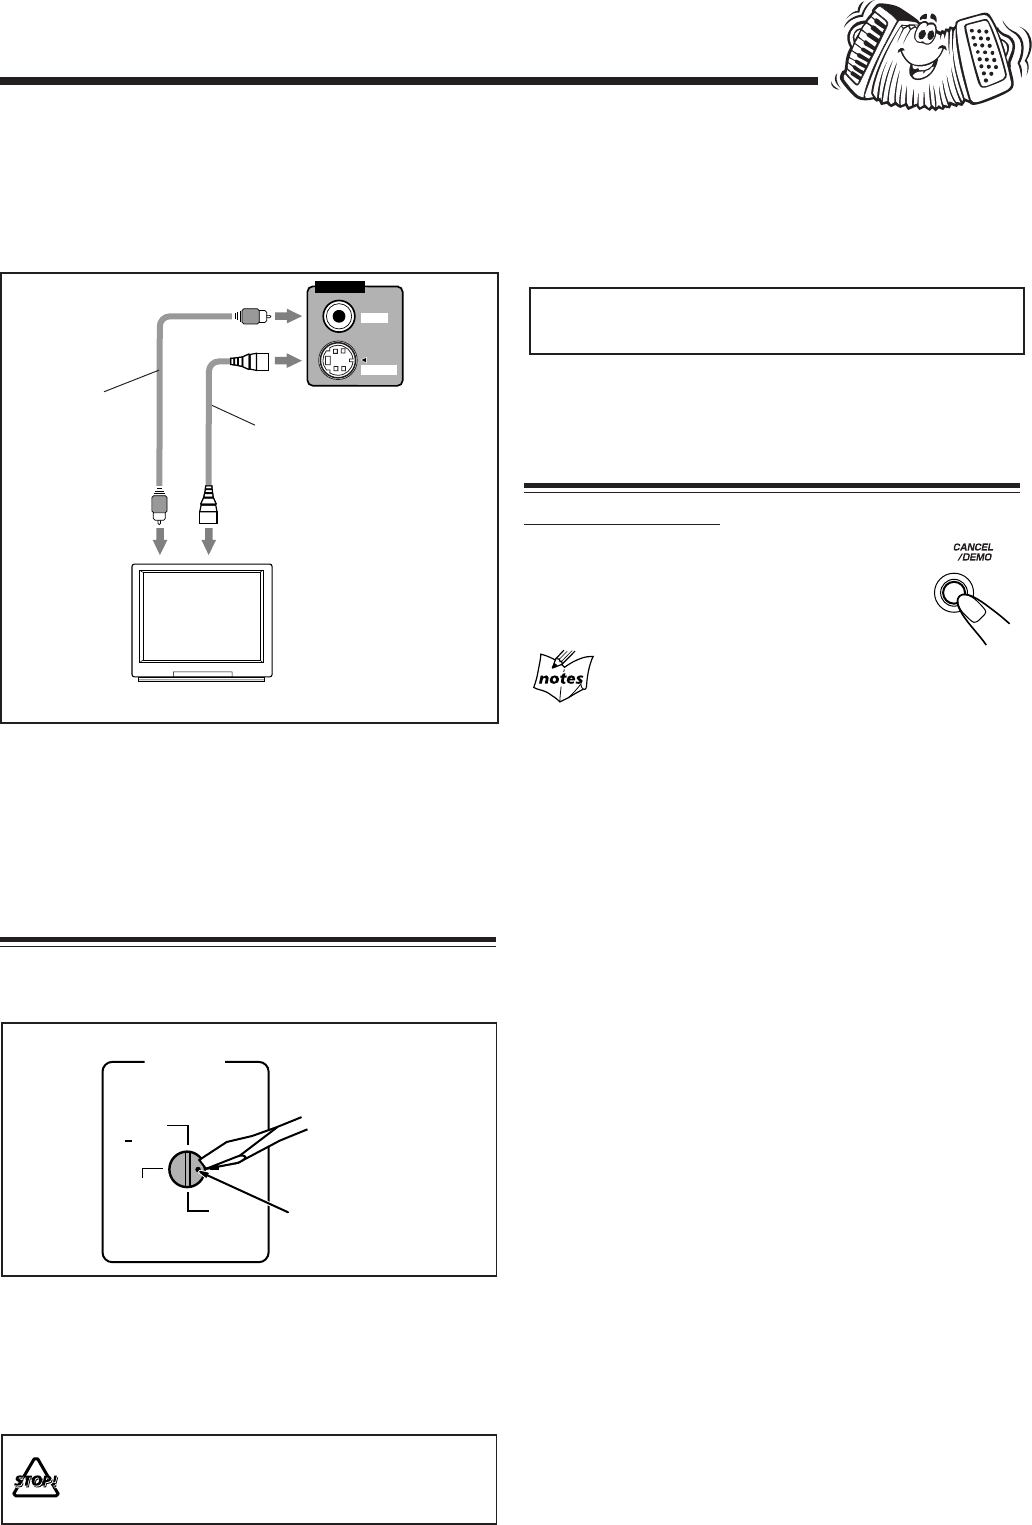
To connect a TV
Connect your TV and this unit using the composite video
cord (supplied) or an S-video cord (not supplied).
• You can also use JVC’s AV COMPU LINK control system.
(See page 48.)
This unit is compatible with the color systems of PAL and
NTSC. Check your TV’s color system and select the correct
one by pressing and holding SET while the unit is turned off
(on standby). Each time you press and hold the button, “PAL”
and “NTSC” appears alternately.
TV
Composite
video cord
(supplied)
S-video cord*
(not supplied)
VIDEO
S-VIDEO
VIDEO OUT
To composite
video input
To S-video
input
* Using an S-video cord
gives you a better
quality pictures.
EN01-10.CA-MXDVB10,B9,A9_f 02.4.24, 9:41 AM10