


PLAYER/RADIO MENU 25
ENGLISH
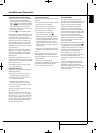
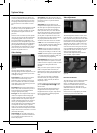
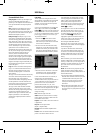
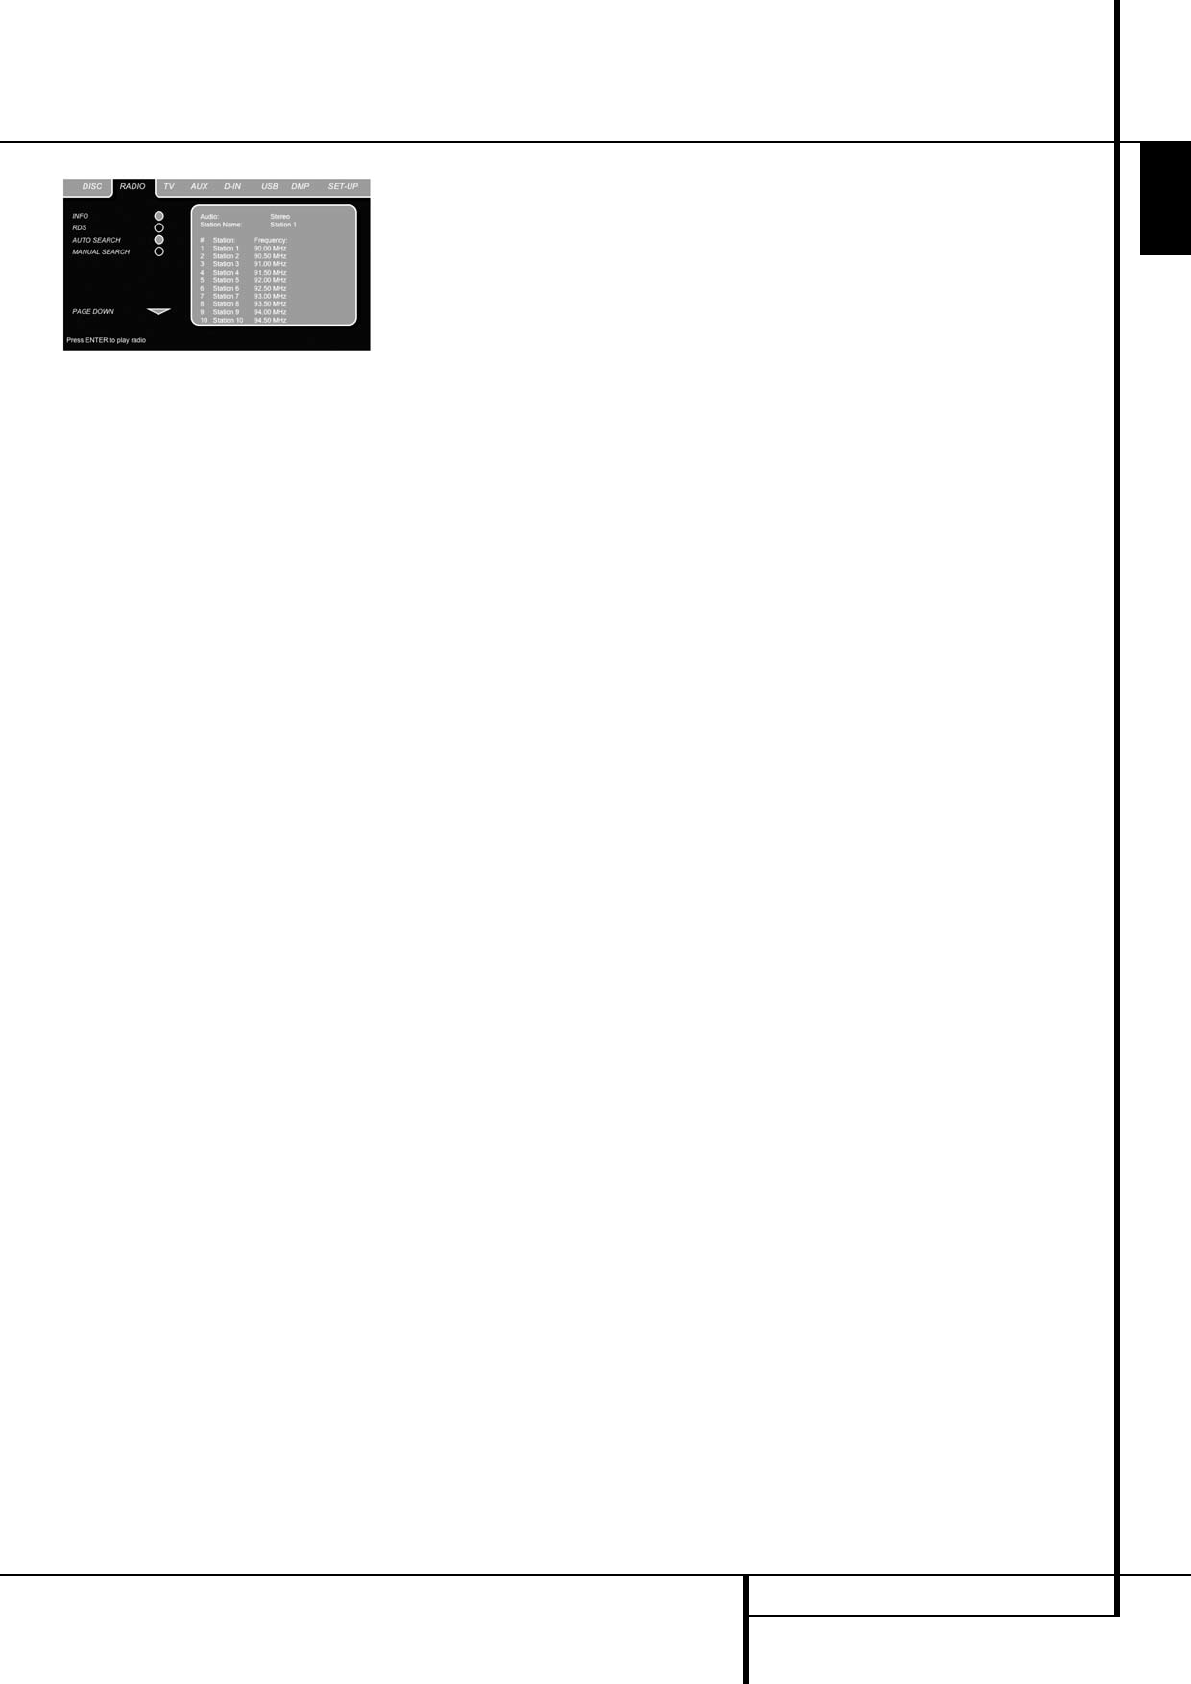
Figure 13
The RADIO Menu shows the selected Audio
mode, the name of a station currently played (as
long as RDS is available) and a Station list listing
the 30 stations with their preset, station name
and frequency.
Note: The stations can be preset auto -
matically or manually. The Manual Preset
mode is described first. The Auto Preset
mode is described later in this manual.
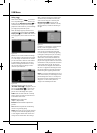
3. The RDS and AUTO Tune functions are
switched on by default, shown by the dark
blue icons, to make the process of tuning your
favorite stations as easy as possible. Move the
cursor to the end of the first station line in the
menu. The fre quency will be highlighted and a
brief explanation will appear in the Upper
Menu Line on the bottom of the menu.
NOTE: Both RDS and AUTO Tune functions can
be switched off by moving the cursor button to
the icon at the left side of the menu and pressing
the Enter Button on the remote control so that it
turns light blue.
4. Pressing the search
G
/
H
button
HJ
will scan the FM band for the first available
radio station with acceptable reception. The
scan will stop once a station is found and the
name of the station will be displayed (as long
as RDS is transmitted by the station).
The station will be stored automatically on the
current preset.
If you know the frequency of your station, you
can also tune the frequency directly with the help
of the numeric keys of the remote control. Move
the cursor to the end of the station line and press
the frequency with the numeric keys. Press
ENTER
6
twice to store.
5. Move the cursor to the next station line in the
menu. Follow the directions in step 3 and in
the Upper Menu Line to store all your radio
stations in the tuner’s memory.
Rearranging the station list
Once all the stations have been stored in the
memory, you can rearrange the station list,
putting your favorite stations on top of the list.
1. Move the cursor in the left column in the
station list to the first station you would like to
rearrange.
2. Press ENTER
6
to activate the current sta-
tion. The cursor will move to the Lower Menu
Line of the screen.
3. Select the desired preset from the list by
moving the cursor right or left. Press ENTER
6
to activate the change. The cursor will
move back to the new station line.
4. Repeat step 3 until all radio stations have
been rearranged according to your
preferences.
Selecting presets
Once rearranged, presets can be chosen at any
time by pressing the numeric key corresponding
to the preset you would like to listen to.
Depending on whether the RDS function is
active, the station name will show on the front
panel Information Display.
Pressing the Previous/Next
I
/
J
Button
EF
will select the next radio station.
Presets can also be chosen in the Radio Menu.
Move the cursor to the preset you would like to
listen to and press ENTER
6
to activate. An
arrow in front of the preset will light to show the
active radio station. The cursor can be moved
around the menu without changing the current
radio station. Pressing the Previous/Next
I
/
J
Button
EF
at any position in the menu will
select the next radio station, that is for instance
from preset 3 to preset 4, even if the cursor is
highlighting preset 11. Pressing the Play button
will always return the cursor to the current
station played, no matter were it was previously
(even when another menu is open).
Removing presets
If you wish to remove presets from your preset
list, follow the steps below.
1. Move the cursor in the left column in the
station list to the preset you would like to
remove.
2. Press ENTER
6
to activate the current
station. The cursor will move to the Lower
Menu Line of the screen.
3. Select Remove from the list and press Enter
6
. The cursor will move back to the original
station line.
4. Repeat step 3 until all radio stations you
would like to delete have been removed.
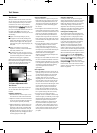
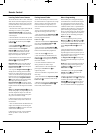
Auto Preset function
When the cursor is moved to the " # " icon on
top of the preset numbers you can activate the
Auto Preset function, clear the complete
frequency list or restore all default frequencies
set by the factory.
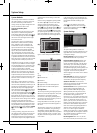
When the Auto Preset is selected the tuner will
scan the full FM range and store all stations with
acceptable reception one after another on the
presets. The frequency scanned will appear on
the left lower side of the menu while the
frequency of each station stored will be shown
on the right side of the list. When the complete
FM range is scanned or all presets (30) are
loaded with stations the scan will stop and the
first preset be selected.
You also can stop the scan at any time by pressing
the STOP button
I
. Stations can be rearranged
by following the explanations in the chapter
"Rearranging the station list" on page 25.
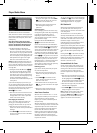
RDS Station ID
With the help of RDS (Radio Data System) you
can show the name of the station you are
currently listening to as well as the station names
of all other presets.
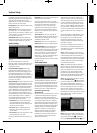
The RDS function is set to active by default,
shown by the dark blue RDS icon at the left of
the menu. In this mode, all station names will be
visible both on the OSD menu as well as on the
Information Display on the front panel.
If the RDS function on the left side of the menu is
inactive (light blue), you will only see the
frequency of the current preset shown in the menu
and on the front panel display. The Station Name
line on top of the menu will disappear, but the
name of all other stations preset will keep in the
list.
Pressing STATUS
D
on the remote will change
the front panels display’s indication from the
frequency to the name of an RDS station or vice
versa and will simultaneously turn the RDS
indication in the OSD on or off.
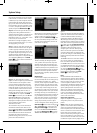
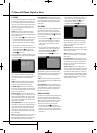
Surround Mode for Tuner
As with all other inputs of the HS 350, you can
also select your preferred surround mode when
listening to the radio. The actual surround mode
is listed on the first line of the tuner menu.
Follow the steps below to change the surround
format:
1. Move the cursor to the AUDIO line on the top
of the tuner menu. The actual surround format
will be highlighted. Press ENTER
6
to acti-
vate the possible surround formats. These will
be shown in the bottom line of the menu.
2. Move the cursor right or left, until the desired
surround format is highlighted.
3. Press ENTER
6
to activate the change. The
setting will apply to all tuner presets.
Note: Like with all other inputs of the HS 350
the Audio mode can easily be selected by
pressing the AUDIO button
5
on the remote
repeatedly until the desired surround mode
appears in the first line of the OSD menu.
Player/Radio Menu
0096CSK - HK HS 350 OM ENG.qxp:34252_HS350_Eng 20/01/09 10:38 Side 25