


22
ENGLISH
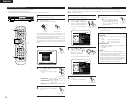
DTS Digital Surround
Digital Theater Surround (also called simply DTS) is a multi-channel digital signal format developed by Digital Theater Systems.
DTS offers the same “5.1” playback channels as Dolby Digital (front left, front right and center, surround left and surround right) as
well as the stereo 2-channel mode. The signals for the different channels are fully independent, eliminating the risk of deterioration
of sound quality due to interference between signals, crosstalk, etc.
DTS features a relatively higher bit rate as compared to Dolby Digital (1234 kbps for CDs and LDs, 1536 kbps for DVDs) so it
operates with a relatively low compression rate. Because of this the amount of data is great, and when DTS playback is used in
movie theaters, a separate CD-ROM synchronized with the film is played.
With LDs and DVDs, there is of course no need for an extra disc; the pictures and sound can be recorded simultaneously on the
same disc, so the discs can be handled in the same way as discs with other formats.
Other media include CDs recorded in DTS. These are the same discs as conventional CDs (recorded in 2 channels) but include 5.1
channel surround signals. They do not include images, but they do permit surround playback on the ADV-1000 and on CD
players.DTS surround track playback offers the same intricate, grand sound as in a movie theater, right in your own listening room.
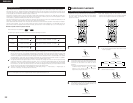
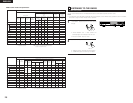
2 DTS compatible media and playback methods
Marks indicating DTS compatibility: and .
The following are general examples. Also refer to the player’s operating instructions.
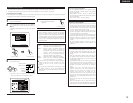
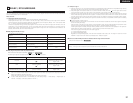
Media
CD
LD (VDP)
DVD
DTS Digital output jacks
Optical or coaxial digital output
(same as for PCM) 2
Optical or coaxial digital output
(same as for PCM) 2
Optical or coaxial digital output
(same as for PCM) 3
Playback method (reference page)
Set the input mode to “AUTO” or “DTS” (pages 19, 20).
Never set the mode to “ANALOG” or “PCM”. 1
Set the input mode to “AUTO” or “DTS” (pages 19, 20).
Never set the mode to “ANALOG” or “PCM”. 1
Set the input mode to “AUTO” or “DTS” (pages 19, 20).
1 DTS signals are recorded in the same way on CDs and LDs as PCM signals. Because of this, the un-decoded DTS signals
are output as random “hissy” noise from the CD or LD player’s analog outputs. If this noise is played with the amplifier
set at a very high volume, it may possibly cause damage to the speakers. To avoid this, be sure to switch the input mode
to “AUTO” or “DTS” before playing CDs or LDs recorded in DTS. Also, never switch the input mode to “ANALOG” or
“PCM” during playback. The same is true when playing CDs and LDs recorded in DTS on the ADV-1000 or on LD/DVD
compatible players. With DVDs, the DTS signals are recorded with a special recording method so there is no problem.
For DVDs, the DTS signals are recorded in a special way so this problem does not occur.
2 The signals provided at the digital outputs of a CD or LD player may undergo some sort of internal signal processing
(output level adjustment, sampling frequency conversion, etc.). In this case the DTS-encoded signals may be processed
erroneously, in which case they cannot be decoded by this unit, or may only produce noise. Before playing DTS signals
for the first time, turn down the master volume to a low level, start playing the DTS disc, then check whether the DTS
indicator on this unit (see pages 19, 20) lights before turning up the master volume.
3 To play in DTS Digital Surround on the ADV-1000, set “DVD setting change” — “Audio setting” — “Digital output” to
“Normal” in the setup. (The factory default is “Normal”.)
“DTS” and “DTS Digital Surround” are registered trademarks of Digital Theater Systems, Inc.
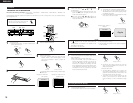
(1) Before playing with the surround function
14
SURROUND PLAYBACK
• Adjustments using the test tones can only be performed in
the “Auto” mode and are only valid for the Auto decode
Surround modes. The adjusted levels are automatically
stored in the memory.
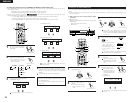
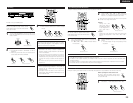
1
Press the TEST TONE button.
2
Test tones are output from the different speakers. Use
the channel volume adjust buttons to adjust so that the
volume of the test tones is the same for all the
speakers.
• The channel to be adjusted can be changed using the
CH.SELECT button and the ( and ) cursor
buttons on the remote control unit during the
adjustments using the test tones.
3
After adjusting using the test tones, adjust the channel
levels either according to the playback sources or to
suit your tastes, as described below.
VOLUME
ENTER
BAND
MODE
MENU
FUNCTION
DISPLAY RETURN INPUT MODE SURROUND
TOP MENU
SETUP
SDB/TONE
MUTE
SURR.PARA
SUB TITLE ANGLE
AUDIO
SHIFT
CH.SELECT
CH
T.TONE
TU
PROG/DIRECT
REPEAT A-B
REPEAT RANDOM
DVD
TV/VCR
SLEEP
REMOCON MODE
8
9
CLEAR
CALL
0
+10
7
STATUS
CDR/MD/TAPE
TUNER/TV/VCR
VCR POWER
TV POWERTV POWER
TV
NTSC/PAL
MEMO
POWER
CH
2
1,3
2
T.TONE
Remote control unit
Remote control unit
T.TONE
Remote control unit
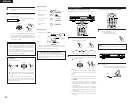
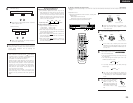
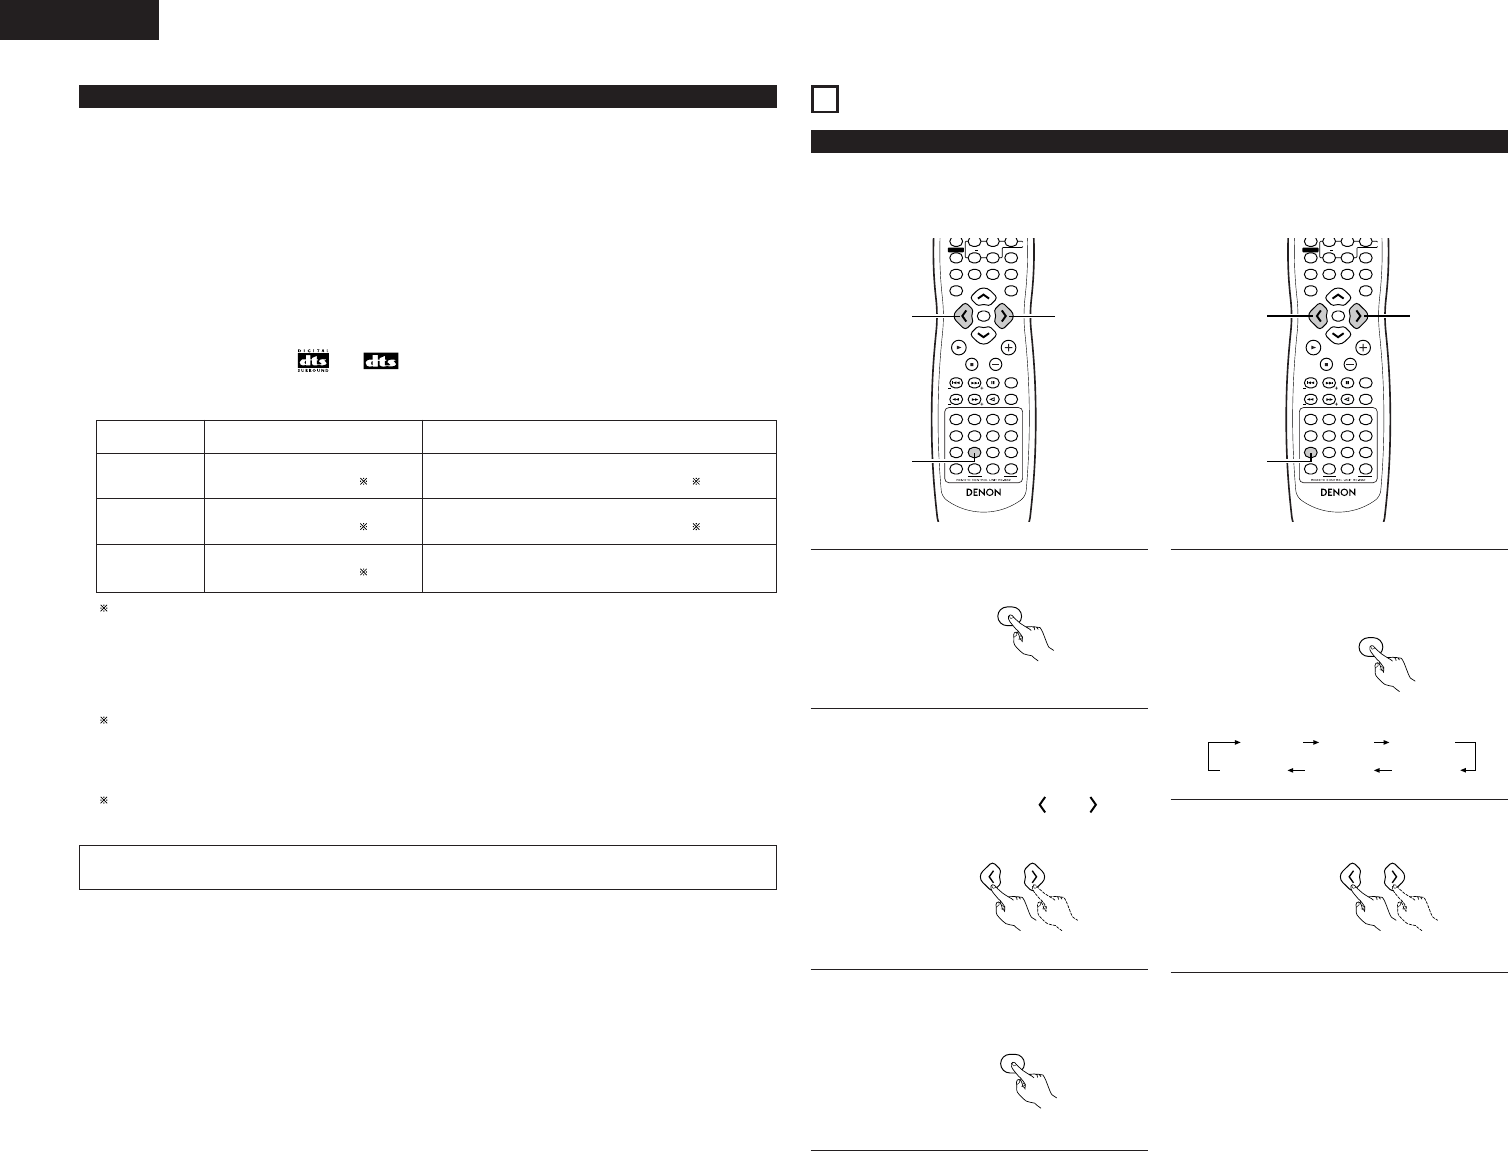
• Even after adjusting using the test tones, the various
channels can be adjusted using the procedure described
below to suit the program source and your preferences.
1
Select the speaker whose level you want to adjust.
• The channel switches as shown below each time the
button is pressed.
CH.SELECT
Remote control unit
2
Adjust the volume level of the selected speaker while
the channel level is displayed.
Remote control unit
VOLUME
ENTER
BAND
MODE
MENU
FUNCTION
DISPLAY RETURN INPUT MODE SURROUND
TOP MENU
SETUP
SDB/TONE
MUTE
SURR.PARA
SUB TITLE ANGLE
AUDIO
SHIFT
CH.SELECT
CH
T.TONE
TU
PROG/DIRECT
REPEAT A-B
REPEAT RANDOM
DVD
TV/VCR
SLEEP
REMOCON MODE
8
9
CLEAR
CALL
0
+10
7
STATUS
CDR/MD/TAPE
TUNER/TV/VCR
VCR POWER
TV POWERTV POWER
TV
NTSC/PAL
MEMO
POWER
CH
2
1
2
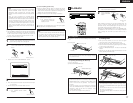
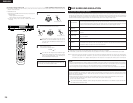
FRONT L
CENTER
FRONT R
SURROUND R
SURROUND L
SUBWOOFER