ENGLISH
86
10
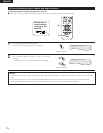
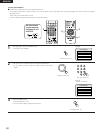
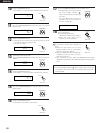
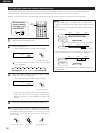
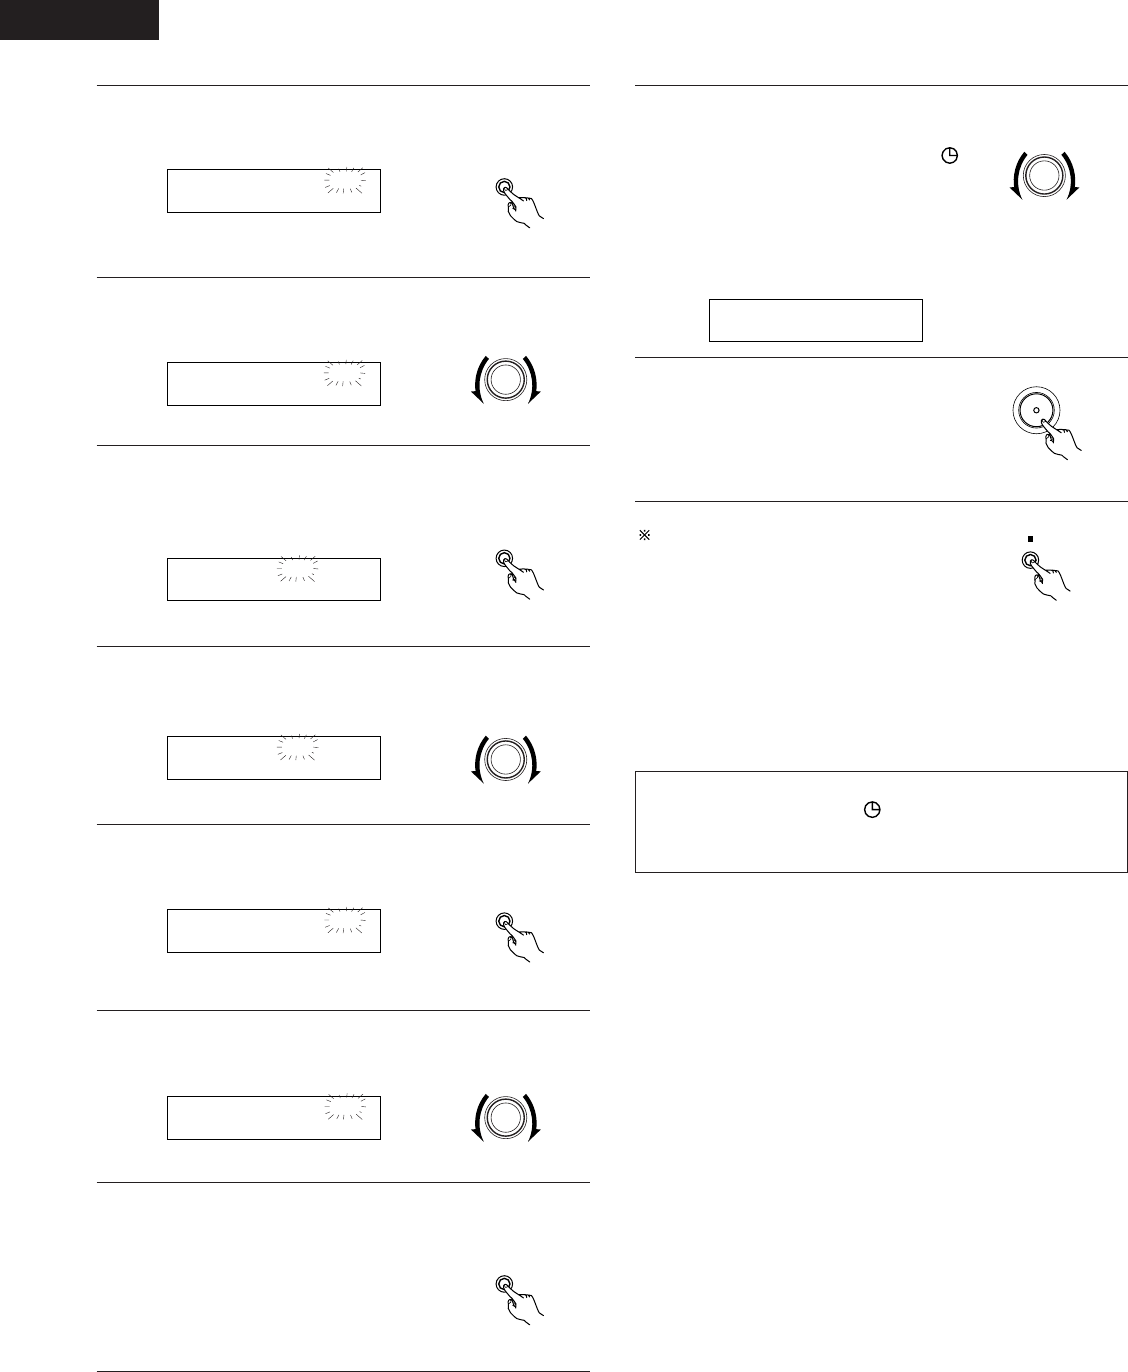
Press the MENU/SET button.
• The “PM12” in the hours place is stored in the memory.
MENU/SET
Main unit
E on PM12:00
11
Turn the SURROUND/SELECT knob and set the minutes
place to “35”.
E on PM12:35
SURROUND/ SELECT
PUSH
-
PARAM.
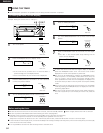
12
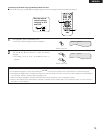
Press the MENU/SET button.
• The start time is stored in the memory and the unit is set
to the timer stop time setting mode.
•“E” and “off” light.
Main unit
MENU/SET
Main unit
E offAM12:00
13
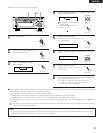
<Setting the timer stop time>
Turn the SURROUND/SELECT knob to set the hours place to
“PM12”.
E offPM12:00
SURROUND/ SELECT
PUSH
-
PARAM.
Main unit
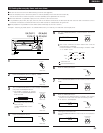
14
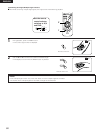
Press the MENU/SET button.
• The “PM12” in the hours place is stored in the memory.
MENU/SET
Main unit
E offPM12:00
15
Turn the SURROUND/SELECT knob and set the minutes
place to “56”.
E offPM12:56
SURROUND/ SELECT
PUSH
-
PARAM.
Main unit
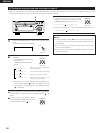
16
Press the MENU/SET button.
• The stop time is stored in the memory.
MENU/SET
Main unit
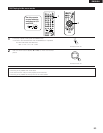
17
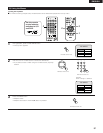
Turn the SURROUND/SELECT knob to display “Eon”.
• The everyday timer is turned on and
the timer standby indicator
lights. This completes the setting of
the timer.
For more details, see “Turning the
everyday timer and once timer on
and off” on page 85.
SURROUND/ SELECT
PUSH
-
PARAM.
Main unit
1 off/E on
18
ON / STANDBY
Main unit
Turn off the power.
• The standby mode is set.
(The power indicator turns orange.)
• When the timer start time is
reached, the timer operates.
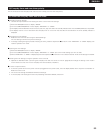
If you make a mistake when setting the
timer
• Press the stop button at any point
between steps 4 and 15. (The display
returns to as it was in step 3.)
• Press the MENU/SET button repeatedly
to display the item you want to correct,
then correct the item.
• After correcting the item, press the MENU/SET button again
repeatedly to proceed to step 18 and complete the setting of the
timer.
NOTE:
• The timer standby indicator does not light if the current time
has not been set. Set the current time before setting the timer.
(See page 84.)
BAND
Main unit


