


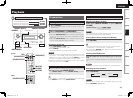

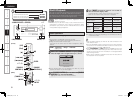
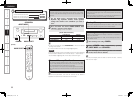
Getting Started Connections Setup Playback Remote Control Multi-zone Information Troubleshooting
ENGLISH
Specifications
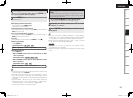
Convenient Functions
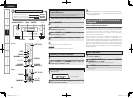
HDMI Control Function
When AVR-889 is connected to a TV and player compatible with
HDMI control function, you can perform the following operations.
Settings other than AVR-889 settings must be made on the
respective devices. (Check the operating instructions of each
device for details.)
NOTE
When using the HDMI control function, do not assign HDMI input
to “TV/CBL” by setting “Input Setup” – “Assign” – “HDMI In” in the
menu.
• When you want to listen to TV audio by AVR-889, connect optical
digital or analog (vpage 9).
If the TV you are using has both connection jacks, use the optical
digital connection.
• When using these functions set as follows: menu “Manual Setup”
– “HDMI Setup” – “HDMI Control” set to “ON” (vpage 26).
• AVR-889 power off can be linked to the TV power off step.
When you set “Output audio from amp” in the TV audio output setup
operation, you can switch the amp power on.
• You can switch audio output devices with a TV operation.
(When outputting from the TV speakers, output switches from
speakers connected to AVR-889).
• You can adjust AVR-889 volume in the TV volume adjustment
operation.
• You can switch AVR-889 input source through linkage to TV input
switching.
• When playing the player, the AVR-889 input function switches to the
function of that player.
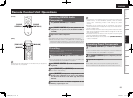
1
Press <SELECT/ENTER> or [CH SELECT/ENTER].
2
Press ui, <SELECT/ENTER> or [CH SELECT/ENTER]
to select “Fader”.
3
Use o p to adjust the volume of the speakers.
(o: front, p: rear)
• The fader function does not affect the subwoofer.
• The fader can be adjusted until the volume of the speaker adjusted
to the lowest value is –12 dB.
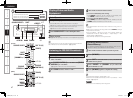
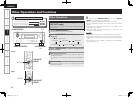
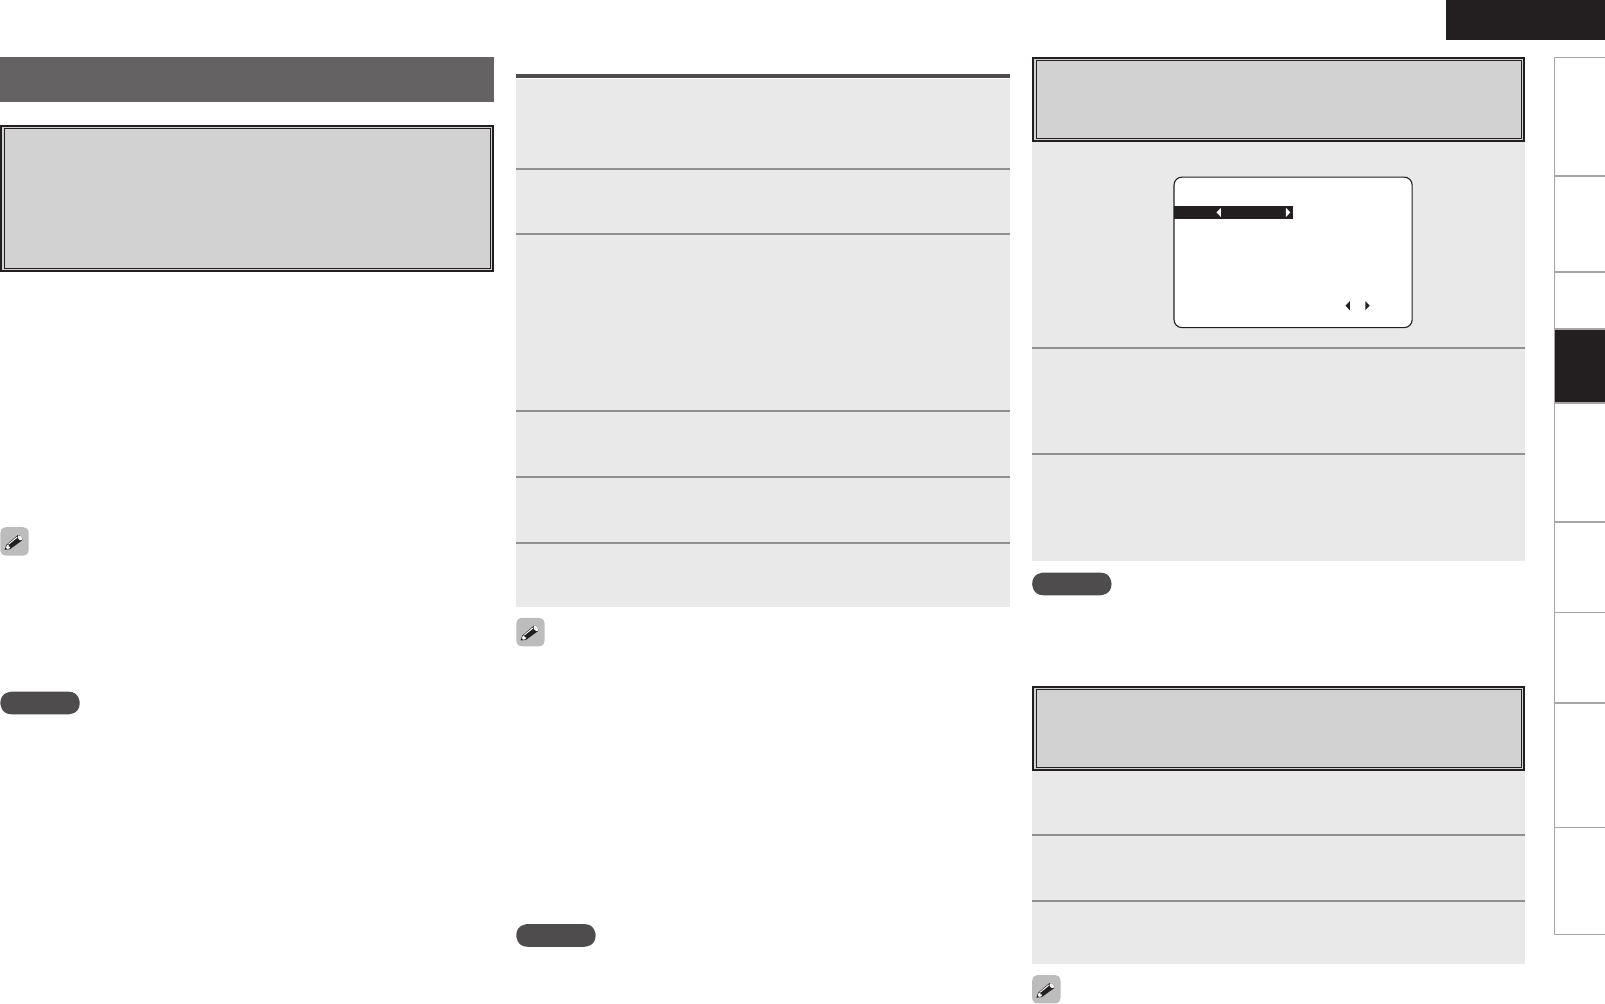
Fader Function
This function lets you adjust (fade) the sound from all the front or
rear speakers at once.
1
Press <SELECT/ENTER> or [CH SELECT/ENTER].
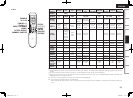
Channel Volume
FL 0.0
dB
SR 0.0
dB
C 0.0
dB
SBR 0.0
dB
FR 0.0
dB
SBL 0.0
dB
SW 0.0
dB
SL 0.0
dB
Fader
FRONT : REAR
2
Use ui, <SELECT/ENTER> or [CH SELECT/ENTER]
to select the speaker.
The speaker that can be set switches each time one of the
buttons is pressed.
3
Use o p to adjust the volume.
b In the case of a subwoofer, reducing the volume when it is at “–12
dB” will change the setting to “OFF” (none).
Channel Level
You can adjust the channel level either according to the playback
sources or to suit your taste, as described below.
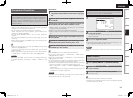
1
Connect the HDMI to the AVR-889 with equipment
compatible with the HDMI control function (vpage
54).
2
Put the power on for all the equipment connected to
the HDMI.
3
Check the settings for all the equipment connected to
the HDMI and make HDMI available to them.
b Please consult the operating instructions for the connected
equipment to check the settings.
b Steps 1~3 do not have to be repeated once started.
b Carryout steps 2 and 3 should any of the equipment be plugged
out.
4
Switch the television input to the HDMI connected to
the AVR-889.
5
Switch the AVR-889 input to the HDMI input source
and check if the picture from the player is ok.
6
Put the television power on standby and check if the
AVR-889 goes into standby.
If the AVR-889 does not work please check the following.
• Is the menu “Manual Setup” – “HDMI Setup” – “HDMI Control”
(vpage 26) set to “ON”?
• Is the menu “Manual Setup” – “HDMI Setup” – “Power Off Control”
(vpage 26) set to “ON”?
• Is the control function used for the television HDMI properly set?
(Check the television operating instructions for details.)
• Should any of the operations below be performed, the interlocking
function may be reset, in which case, repeat step’s 2 and 3.
•
Menu “Input Setup” – “Assign” – “HDMI In” (vpage 34) setting
has changed.
•
There is a change to the connection between the equipment and
the HDMI, or an increase in equipment.
Operations
NOTE
When the input source is “iPod”, you cannot perform channel level
setting.
Playback
NOTE
When you power off AVR-889, the HDMI control function does not
operate. Either power on or set to standby.
1.AVR889_ENG_107.indd 57 2008/08/01 11:37:41