


18
Speaker setup
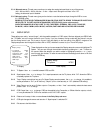
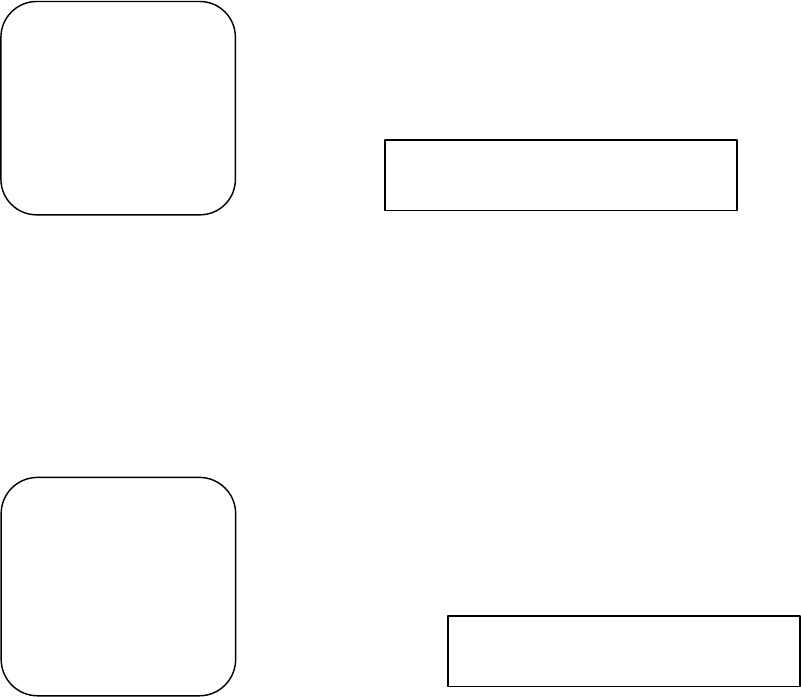
Level setup
Level setup
Left: 0.0dB
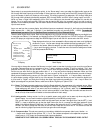
Speaker setup
>Level setup
Distance setup
Size setup
Level autocalibrate?
Dist. autocalibrate?
Exit
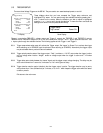
Level setup
>Left 0dB
Center 0dB
Right 0dB
Right surround 0dB
Right back 0dB
Left back 0dB
Left surround 0dB
Subwoofer 0dB
Exit
5.2 SPEAKER SETUP:
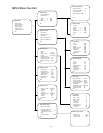
Although this manual is following the setup sub-menus in the order they appear on the Main menu screen, you will need to
set up the speakers first in the “Size setup” - Section 5.2.4. It will make it easier to properly set the speaker output levels if
you have configured the SSP-60 so it “knows” what speakers you have in the system as well as the speaker sizes. You
should also consult the manual for the speakers and for the subwoofer and decide what crossover frequency you should
set for the subwoofer. Usually the crossover frequency will be around 80 Hz, but if your speakers are small and have no
real bass capability you may wish to get more information from the woofer by setting the crossover at 100 or 120Hz. You
may also wish to check with your dealer about this section of the setup sequence.
Once the speaker sizes are set, use the “Distance setup” (Section 5.2.3), or ‘Dist. autocalibrate’ (Section 5.2.5) to set the
correct distances before moving on to the “Level setup” or “Level autocalibrate” sub-menus.
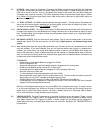
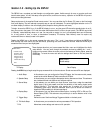
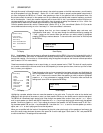
These displays show that you have accessed the Speaker setup sub-menu and
highlighted the Level setup. You can scan through the available choices by pressing the
\/ and /\ buttons on the remote. When the sub-menu you wish to adjust is highlighted
press the ENTER key to make a selection. To leave this menu scroll down to Exit and press
the ENTER key.
TV Display Panel Display
5.2.1
Level setup:
There are two ways to calibrate the speakers with the SSP-60. You can do it by hand with the aid of
a Sound Pressure Level (SPL) meter. An inexpensive but relatively accurate meter is available at most Radio Shack stores, or
through their catalog. You can also do it automatically using the supplied microphone and the auto-calibrate procedure
(refer to section 5.2.4 for more details).
Classé recommends all speakers be set at equal levels, at a sound pressure level of 75dB. This level will usually enable
you to watch movies with the Volume control set at 0dB, depending of course upon the show, how loud you like to listen
and, of course, your neighbors.
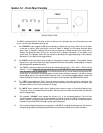
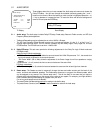
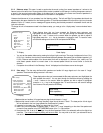
These displays show that you have accessed the Level setup sub-menu and highlighted the
Left Front speaker level control. You can scan through the available choices by pressing
the \/ and /\ buttons on the remote. When the speaker you wish to adjust is highlighted
press the < or > key to decrease or increase the level. To leave the menu and save the
settings scroll down to Exit and press the ENTER key.
TV Display Panel Display
Highlighting a speaker selection does not cause that speaker to play pink noise. To play pink noise at the relative level
displayed on the right side of the screen or panel, you must press the CAL key on the remote control to start the test signal.
The SSP-60 will immediately begin playing pink noise through one speaker after another. Next, use the /\ or \/ keys to
scroll to each speaker you wish to test/adjust. Press either the < or > key to begin playing pink noise through the selected
speaker. Continue to press the < and > key to adjust the volume of that speaker until the SPL meter reads 75 dB. The >
key increases speaker SPL and the < key decreases SPL. Use either the /\ or \/ to scroll to the next speaker you wish to
adjust, use < or > to start it playing and correct the adjustment.
When you are satisfied with the levels of the speakers let the pink noise cycle through all the speakers a few times to be
sure all the audio output levels are the same, then press CAL to exit the test signal. Scroll down to “Exit” and press ENTER
to exit the Level Menu. The settings will be memorized.