17
S
TEPS TO INSTALLING
English Français NederlandsDeutsch Italiano
Make the speaker connections
You need a Phillips-head screwdriver for this step.
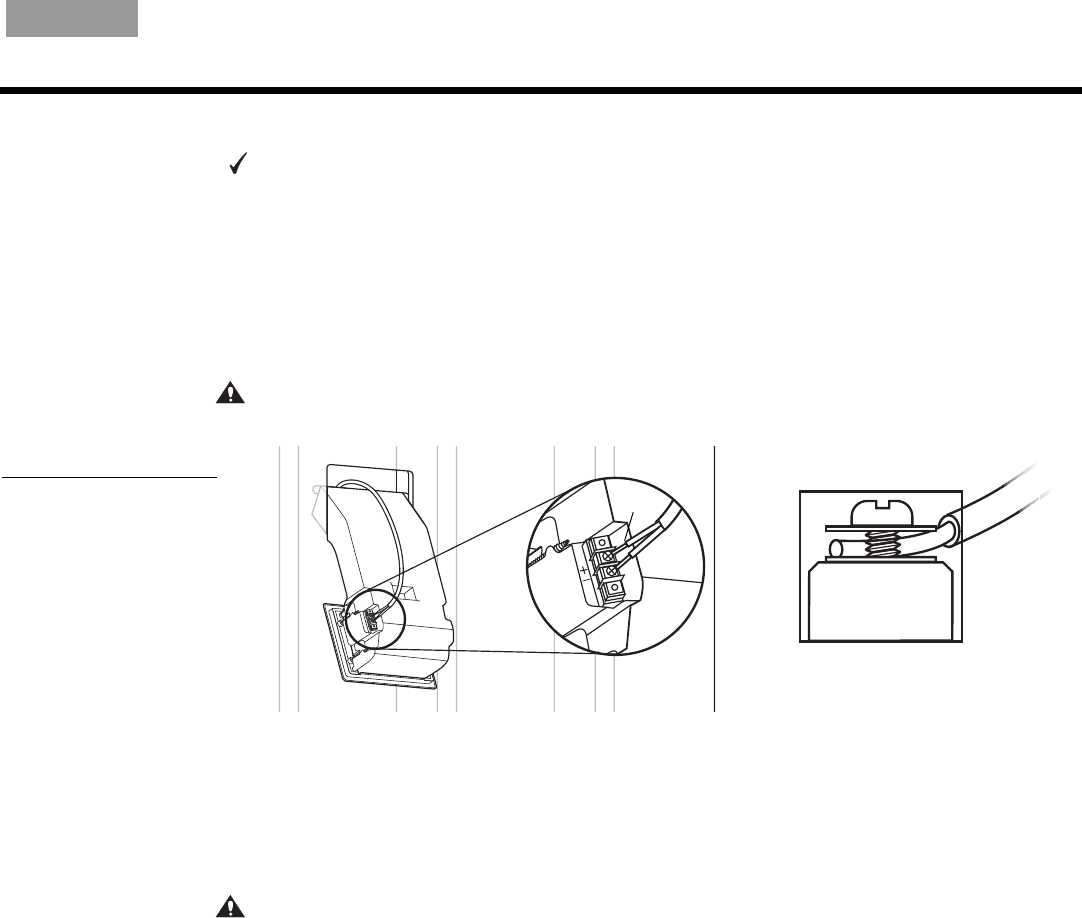
7LSPay attention to maintaining the proper polarity (+ to + and – to –) with these connections.
An error here will adversely affect speaker performance. Also be sure to tighten each screw
securely, but not enough to cause undesirable compression of the wire.
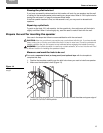
1. If you have not done so earlier, loosen the screws on both terminals.
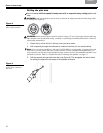
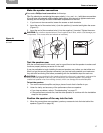
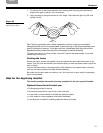
2. Insert the end of the marked wire (+) into the positive (+) terminal and tighten the screw
(Figure 21).
3. Insert the end of the unmarked wire (–) into the negative (–) terminal. Tighten the screw.
CAUTION:
Do not allow exposed wires to brush against each other, which could damage your
components. Trim excess wire and reinsert as necessary.
Figure 21
Attaching wires to the
terminals
+
Test the speaker now
With the connections still within reach, now is a good time to test the speaker to make sure it
functions properly before you secure it in the wall.
It may be preferable to begin installing the second speaker now, before you test either one.
When you get the second speaker connected, you can test both speakers, and make sure
they are both functioning fine before proceeding with the installation steps for each one.
CAUTION: If
you are testing the first speaker before the other one is connected, make sure the
wire to that first speaker is the only one connected to the receiver/amplifier. This prevents
unattached speaker wires from making contact, which can damage the receiver/amplifier.
To test the speaker:
1. Turn on the receiver/amplifier and play a piece of music that is familiar to you.
2. Listen for clarity and accuracy of the performance from one speaker.
• If you hear a problem, refer to “Troubleshooting” on page 27.
• If the performance sounds fine, test the other speaker, or continue with the installation
steps for this speaker.
Position the speaker all the way into the hole
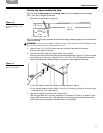
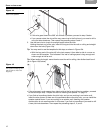
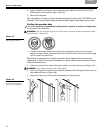
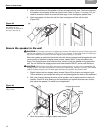
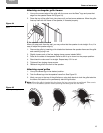
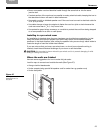
1. When the connections are completed, push any excess wire into the hole behind the
speaker (Figure 22 on page 18).


