Installation
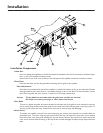
Installation Components
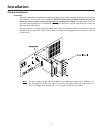
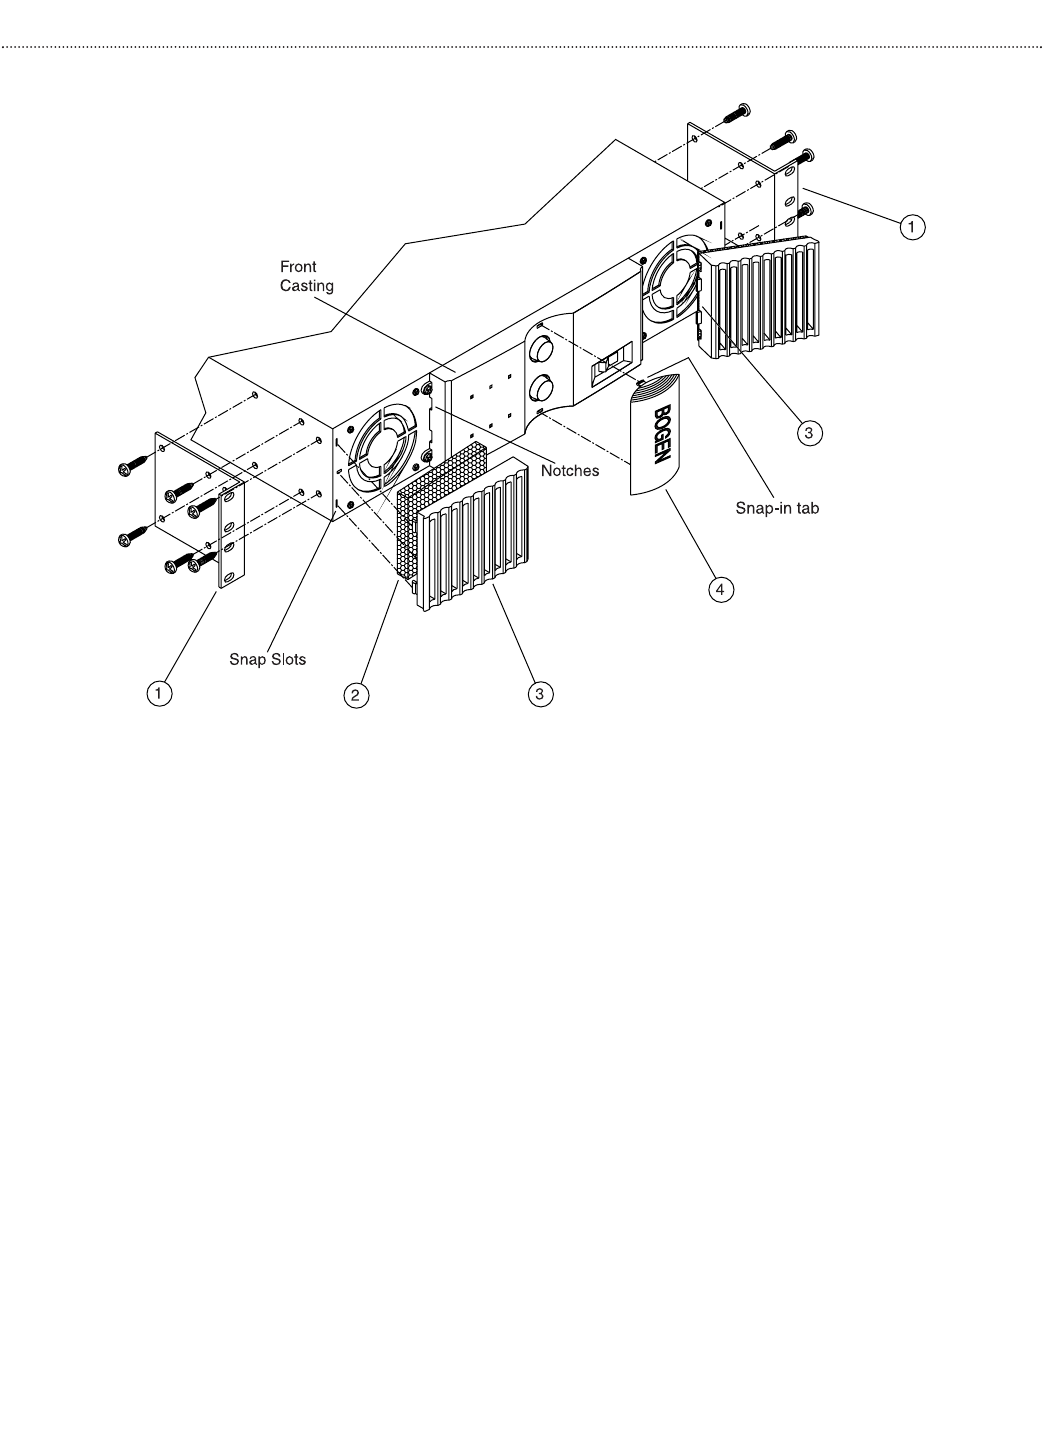
1. Rack Ears
Prior to installing the amplifier,you will need to attach the installation rack ears if you intend to install the ampli-
fier in a rack and complete the setup process.
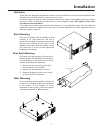
Remove the 6 front most cover screws on each side panel of the amplifier and attach rack ears as shown.
2. Dust Filter
Insert the dust filter into the fan grille before attaching the fan grille to the amplifier.
Filter Maintenance
Dust filters are provided with the M-Class amplifier to reduce the build up of dust on the heat sinks. Periodic
cleaning should be done when there is a noticeable build up of dust on the filters.To clean the filters, remove
them from the grilles and wash, vacuum, or tap them out. Promptly replace them.
Caution: The fan blades are accessible when the grille cover and filter are removed.
Be careful not to place your finger or other objects into the fan.
3. Fan Grille
To insert or replace the grilles, first insert the tabs on the wider end of the grille in to the notches in the front,
center casting. Snap the other end of the grille in to the snap slots. Check that the grille is securely in place. To
remove, pry the end of the cover closest to the rack ears up until the snap tabs disengage.
4. Knob Cover
To protect the amplifier controls from casual tampering, the volume level controls are concealed behind a
removable cover. The cover snaps into place with tabs at the top and bottom.To remove the cover, squeeze
both ends of the cover, then gently dislodge the top and then the bottom. Be careful not to tip the top of the
cover too far forward while removing or the snap-in tabs could be damaged.To replace, simply snap it back into
place.
4


