


Al EDIT RECORDING
3,7.-
4
5-
3,7 ~
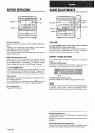
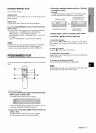
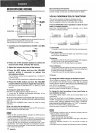
The Al edit function enables CD recording without worrying about
tape length and track length. When a CD is inserted, the unit
automatically calculates the total track length. If necessary, the
order of tracks is rearranged so that no track is cut short.
(Al: Artificial Intelligence)
m
Al edit recording will not-start from a point halfway into the tape.
The tape must be recorded from the beginning of either side.
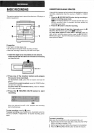
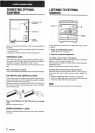
7 Insert
the tape into deck 2.
Insert the tape with the side to be recorded on first facing out
from the unit.
2 Press the
CD button and load the disc(s).
3 Press the EDIT/CHECK button once while
pressing the SHIFT button on the remote control:
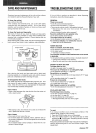
“EDIT” and “Al” light upon the display.
Each time it is pressed, the display changes as follows.
Al EDIT — PRGM EDIT
~
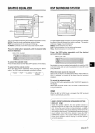
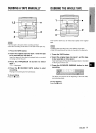
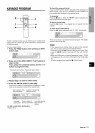
Press one of the DISC DIRECT PLAY buttons to
select a disc.
5 Press the numbered buttons on the remote
control to designate the tape length.
10 to 99 minutes can be specified.
Example: When using a 60-minute tape, press the 6 and O
buttons.
In a few seconds, the microcomputer programes the tracks
to be recorded on each side of the tape.
● The < and - buttons are also available to designate
the tape length.
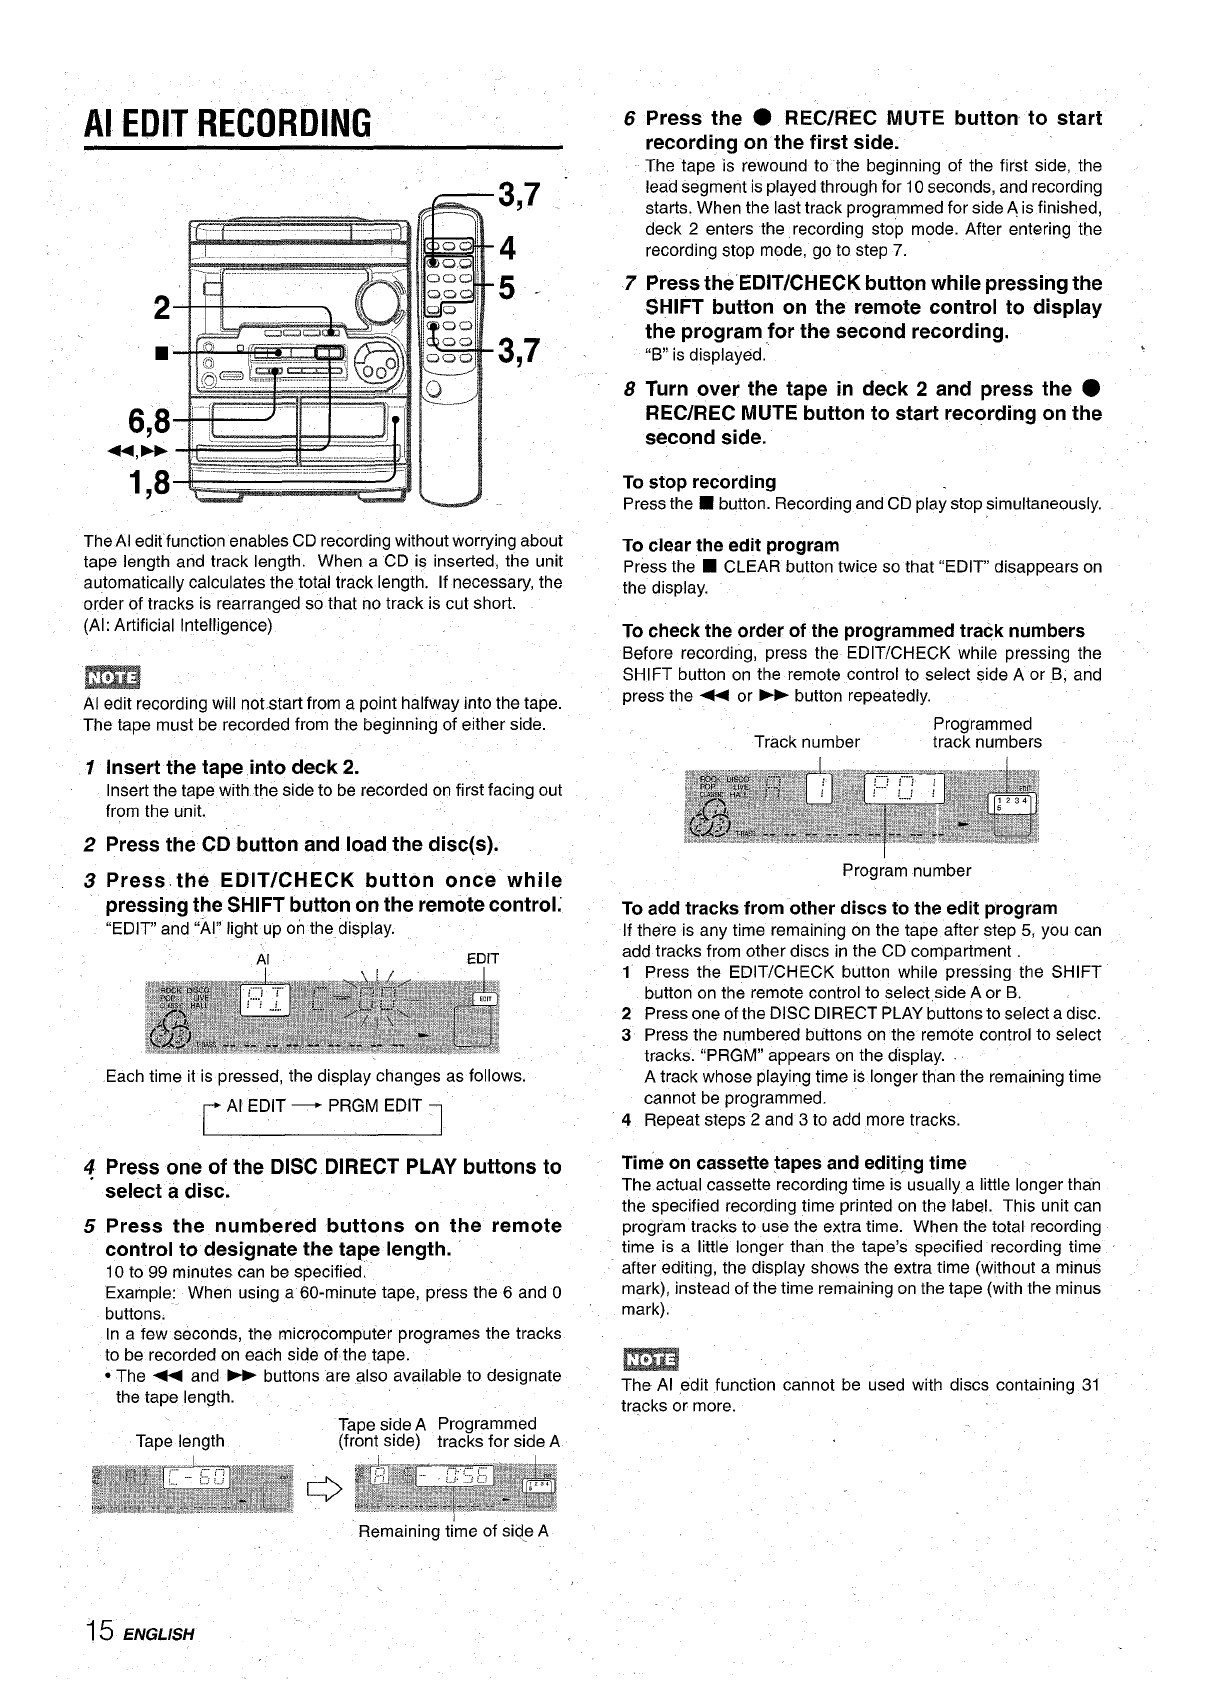
Tape side A Programmed
Tape length
(front side) tracks for side A
I
Remaining time of side A
15 ENGLISH
6
7
8
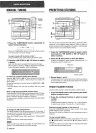
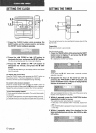
Press the ● REC/REC MUTE button to start .
recording on the first side.
The tape is rewound to the beginning of the first side, the
lead segment is played through for 10 seconds, and recording
starts. When the last track programmed for side A is finished,
deck 2 enters the recording stop mode. After entering the
recording stop mode, go to step 7.
Press the”EDIT/CHECK button while pressing the
SHIFT button on the remote control to display
the program for the second recording.
“B” is displayed.
.
Turn over the tape in deck 2 and press the ●
REC/REC MUTE button to start recording on the
second side.
To
stop recording
Press the ■ button. Recording and CD play stop simultaneously.
To clear the edit program
Press the ■ CLEAR button twice so that “EDIT disappears on
the display.
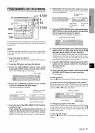
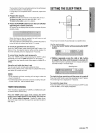
To check the order of the programmed track numbers
Before recording, press the EDIT/CHECK while pressing the
SHIFT button on the remote control to select side A or B, and
press the - or E button repeatedly.
Programmed
Track number
track numbers
1
Program number
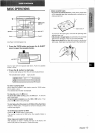
To add tracks from other discs to the edit program
If there is any time remaining on the tape after step 5, you can
add tracks from other discs in the CD compartment
1 Press the EDIT/CHECK button while pressing the SHIFT
button on the remote control to select side A or B.
2 Press one of the DISC DIRECT PLAY buttons to select a disc.
3 Press the numbered buttons on the remote control to select
tracks. “PRGM” appears on the display.
A track whose playing time is longer than the remaining time
cannot be programmed.
4 Repeat steps 2 and 3 to add more tracks.
Time on cassette tapes and editing time
The
actual cassette recording time is usually a little longer than
the specified recording time printed on the label. This unit can
program tracks to use the extra time. When the total recording
time is a little longer than the tape’s specified recording time
after editing, the display shows the extra time (without a minus
mark), instead of the time remaining on the tape (with the minus
mark).
m
The Al edit function cannot be used with discs containing 31
tracks or more.