


33
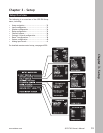
Chapter 3 - Setup
www.adcom.com
GFR-700 Owner’s Manual
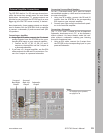
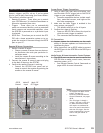
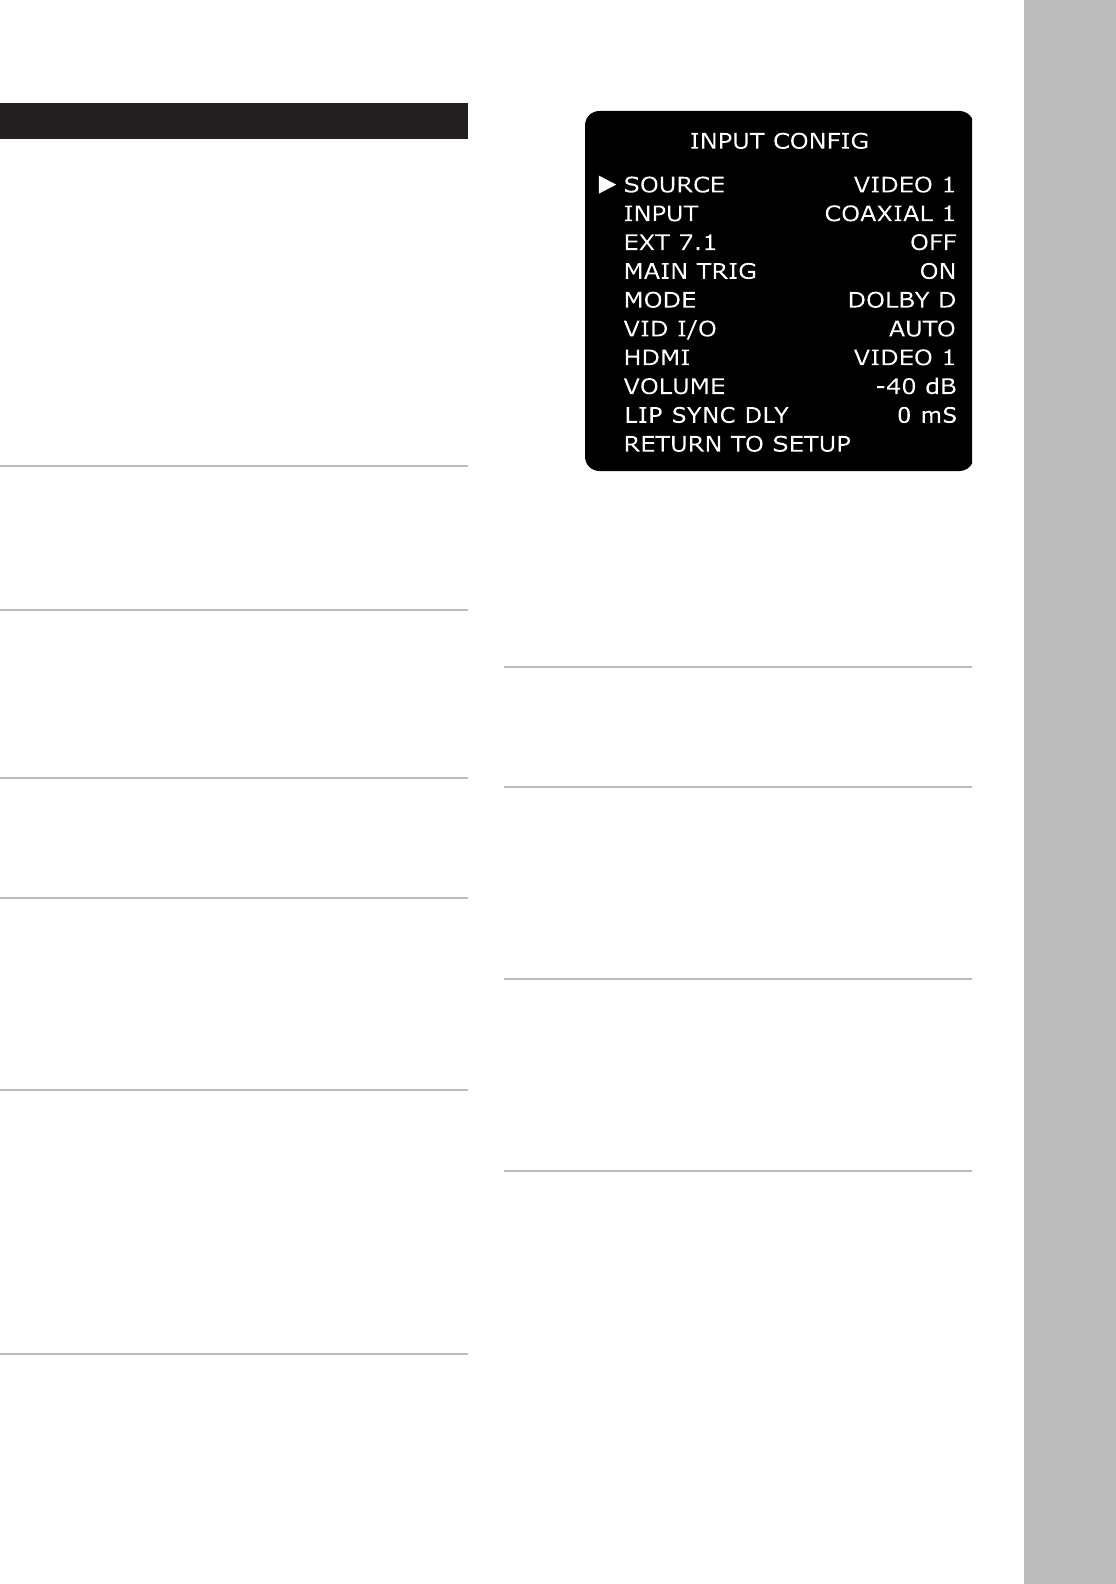
Input Configuration
What options are available when you select an input
source? The following is an overview of the configu-
ration settings available for each input.
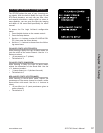
To access the Input Configuration menu:
1 Press the Main button on the remote control.
2 Press the Setup button.
3 Use the
/ buttons to select INPUT CONFIG,
then press the Select button.
4 Use the / buttons to choose from the follow-
ing menu items:
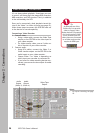
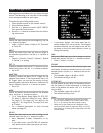
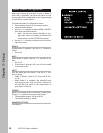
SOURCE
Selects the input source you are configuring. Use the
/ buttons to select:
• Video 1, Video 2, Video 3, Video 4, CD, Tuner AM,
or Tuner FM
INPUT
Selects the audio input that you wish to assign to
the selected input source. Use the
/ buttons to
select:
• Coaxial 1, Coaxial 2, Coaxial 3, Optical 1, Optical
2, Optical 3, or Analog
EXT 7.1
Enables or disables the External 7.1 inputs for the se
-
lected input source. Use the / buttons to select:
• On or Off
MAIN TRIG
Enables or disables the Main 12V DC Trigger for the
selected input source. If the input source has a 12V
DC Trigger input, you can use this setting to auto
-
matically power the source device on whenever this
input is selected. Use the / buttons to select:
• On or Off
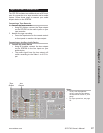
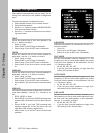
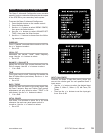
MODE
Selects the default Surround mode for the selected
input. Use the
/ buttons to select:
• 7.1 m
2
, Dolby Digital, Dolby Digital EX, DTS, DTS-
ES, Neo:6 C, Neo:6 M, Dolby Pro Logic, Stereo,
Pro Logic II-C, Pro Logic II-M, Pro Logic II-P, Pro
Logic IIX-C, Pro Logic IIX-M, Pro Logic IIX-P, Hall,
or 5 Stereo
• For a detailed description of each Surruond
mode, see page 53.
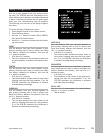
VID I/O
Selects the video source you wish to assign to the
selected input. Use the
/ buttons to select:
• Auto, Composite, S-video, Component, or By-
pass
• If you select Auto, the GFR-700 will automati-
cally detect which video input jacks are in use.
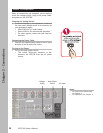
• If you select Bypass, the Setup menu and on-
screen displays will not be shown. Once Bypass
has been selected, you will need to use the Set-
up menu on the front panel display in order to
change this setting.
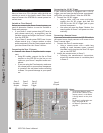
HDMI
Selects the HDMI input you wish to assign to the se
-
lected input source. Use the / buttons to select:
• Video 1, Video 2, or None
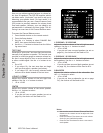
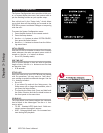
VOLUME
Sets the relative volume of the selected input. Use
this feature to balance volume levels as you switch
between inputs. Use the
/ buttons to set the vol-
ume level:
• The available range is -80 dB to +18 dB.
• The default setting is -40 dB.
LIP SYNC DLY
Sets the default lip sync delay for the selected input.
Use this feature if video processing is causing the
video to lag behind the audio. Use
/ to set the
lip sync delay:
• The available range is 0 to 169 mS.
• The default setting is 0 mS.
Notes:
• For ‘on the fly’ adjustments to the lip sync delay,
press the Sync button on the remote control, then
use
/ to override the default delay setting.
• While the Lip Sync Delay menu is displayed, press
the Sync button again to toggle the delay on and off.
This allows you to make quick comparisions with and
without delay.