


E-10
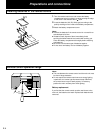
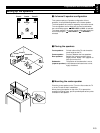
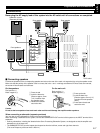
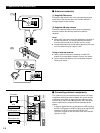
Preparations and connections
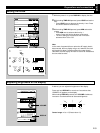
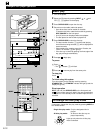
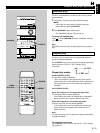
1 Turn on the power.
2 Turn down the volume to minimum.
3 Press PROGRAM once or more until “ PRO LOGIC”
lights up on the sound field program indicator.
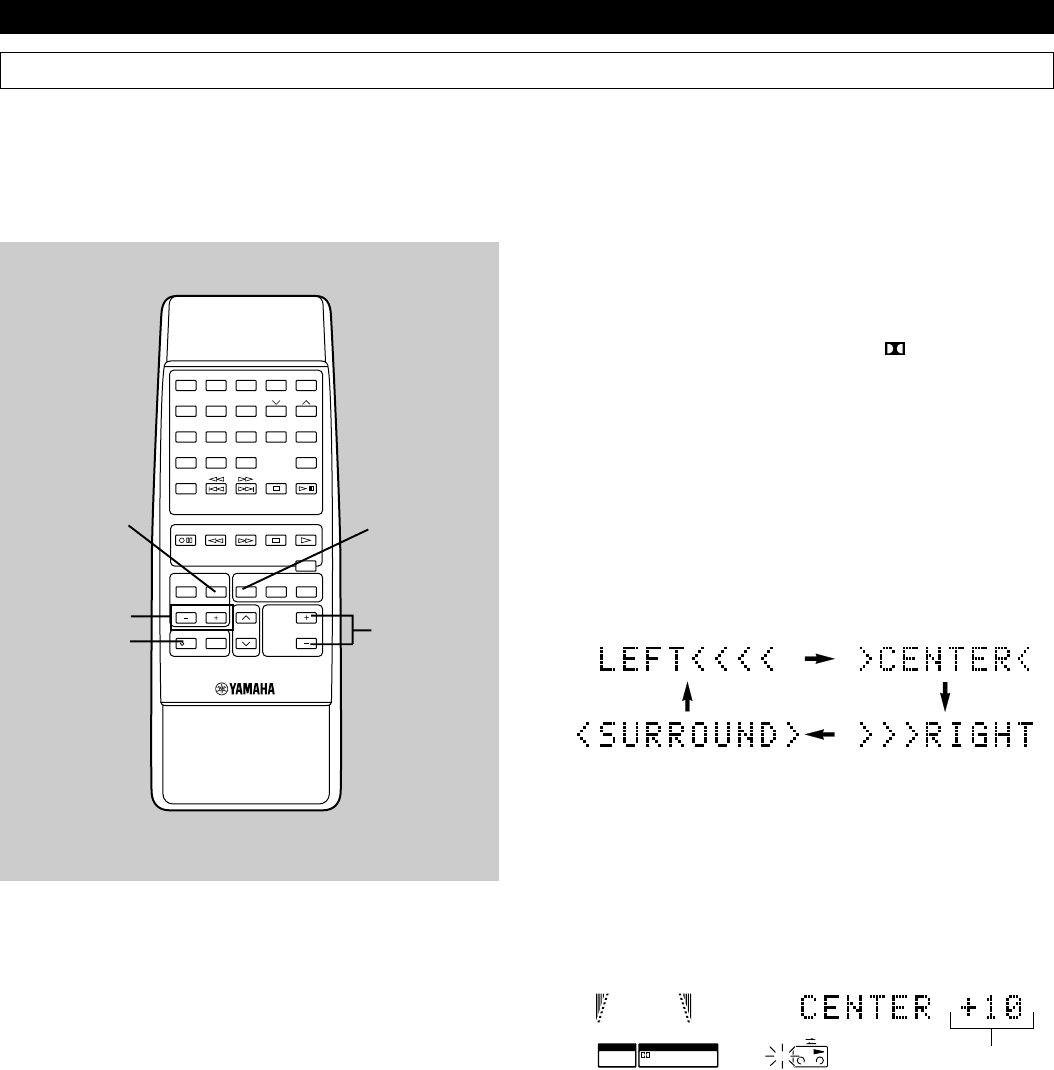
4 Press TEST.
* “TEST” flashes on and off on the display.
5 Press VOLUME + (up) to increase the volume.
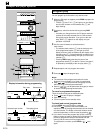
You will hear a test tone (like pink noise) from the left front
speaker, the center speaker, the right front speaker, and
then the rear speakers, for about 2.5 seconds each. The
display changes as shown below.
* The test tone from the left rear speaker and the right rear
speaker will be heard at the same time.
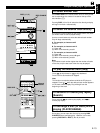
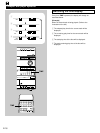
6 Press LEVEL +/– to adjust the sound output levels of the
center speaker and the rear speakers so that the level
becomes almost as same as that of the front speakers.
example)
7 When the adjustments are finished, press TEST to cancel
the test tone.
* “TEST” disappears from the display.
Note
Once you have completed these adjustments, you can adjust
whole sound level on your audio system by using VOLUME on
the main unit (or the remote control).
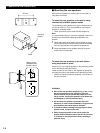
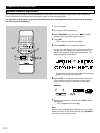
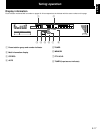
Speaker balance adjustment
You can adjust the sound output level balance between the front, center, and rear speakers using the built-in test tone generator.
This is important for the best performance of the built-in Dolby Pro Logic surround decoder.
The adjustment of each speaker output level should be done at your listening position with the remote control. Otherwise,
the result may not be satisfactory.
PROGRAMMUSIC
TEST
CD
PRO LOGIC
PROGRAM
BASS
BOOST
MUSIC
CENTER/
REAR/DELAY
TEST
LEVEL
VOLUME
POWER
SLEEP
/I
REC/PAUSE
DIRECTION
TAPE
1
1
2
2
3
3
4
4
5
5
6
6
7
7
8
8
9 0
TIME PROG R. TIME
C
EDIT
D
PRESET
+
I0
E
MODE REPEAT
RANDOM
TUNER
DISC SKIP
AB
TUNER
CD
INPUT
Changes.
3
2, 5
4, 7
6
1