12
■ Connecting an MD recorder, CD
recorder or tape deck
Connect the analog input/output jack of your recording
component to the AUDIO jacks.
Note
• When you connect a recording component to this unit, keep its
power on while using this unit. If the power is off, this unit may
distort the sound from other components.
Connecting an External Decoder
This unit is equipped with 6 additional input jacks (left and
right MAIN, CENTER, left and right SURROUND and
SUBWOOFER) for discrete multi-channel input from an
external decoder, sound processor or pre-amplifier.
Connect the output jacks on your external decoder to the
6CH INPUT jacks. Be sure to match the left and right
outputs to the left and right input jacks for the main and
surround channels.
Notes
• When you select 6CH INPUT as the input source, this unit
automatically turns off the digital sound field processor, and you
cannot listen to DSP programs.
• When you select 6CH INPUT as the input source, changing items
of “1 SPEAKER SET” in the SET MENU is not affected (except
“MAIN LVL”).
CONNECTIONS
Connecting Audio Components
■ Connecting to digital jacks
This unit has digital jacks for direct transmission of digital
signals through either coaxial or fiber optic cables. You can
use the digital jacks to input PCM, Dolby Digital and DTS
bitstreams. When you connect components to both the
COAXIAL and OPTICAL jacks, priority is given to the
input signals from the COAXIAL jack.
y
• You can designate the input for each digital jack according to
your component by using “3 I/O ASSIGN” in the SET MENU.
Notes
• When making connections between the digital signal jacks, you
should connect the components to the same-named analog audio
signal jacks of this unit, because a digital signal cannot be
recorded by a recording component connected to this unit.
• All digital signal input jacks are applicable to sampling
frequencies of 32 kHz, 44.1 kHz and 48 kHz.
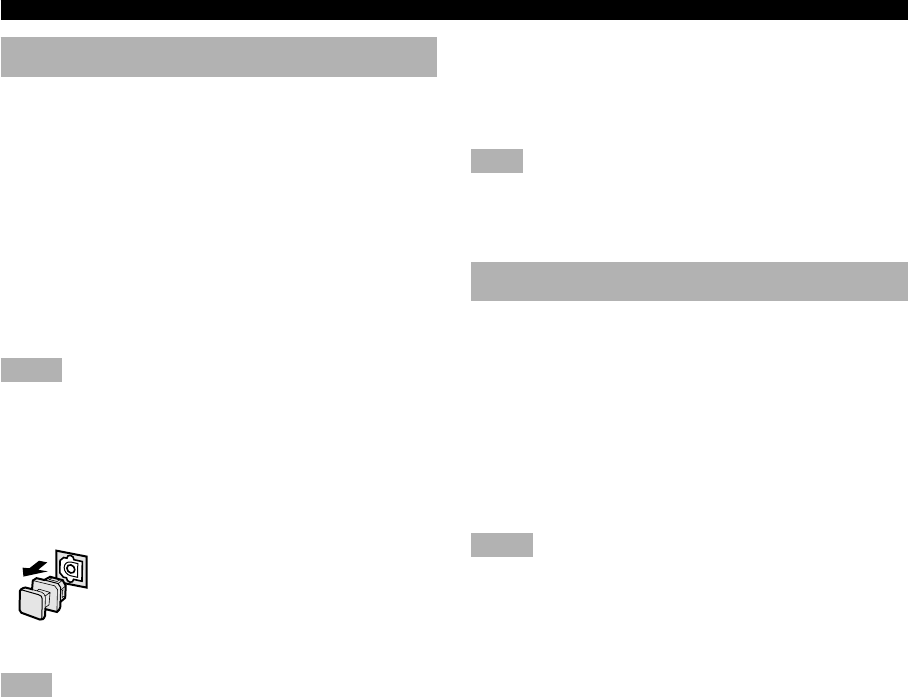
About the dust protection cap
Pull out the cap from the optical jack before
you connect the fiber optic cable. Do not
discard the cap. When you are not using the
optical jack, be sure to put the cap back in
place. This cap protects the jack from dust.
Note
• The OPTICAL jacks on this unit conform to the EIA standard. If
you use a fiber optic cable that does not conform to this standard,
this unit may not function properly.
■ Connecting a CD player
y
• The COAXIAL jack is available for a CD player which has
coaxial digital output jack.
• When you connect a CD player to both the analog and digital
jacks, priority is given to the input signals from the digital jack.
0103V420RDS10-20_EN 2/12/1, 1:34 PM12


