E-14
RECORDING TO A DISC .......................................................
Selecting an Input Source
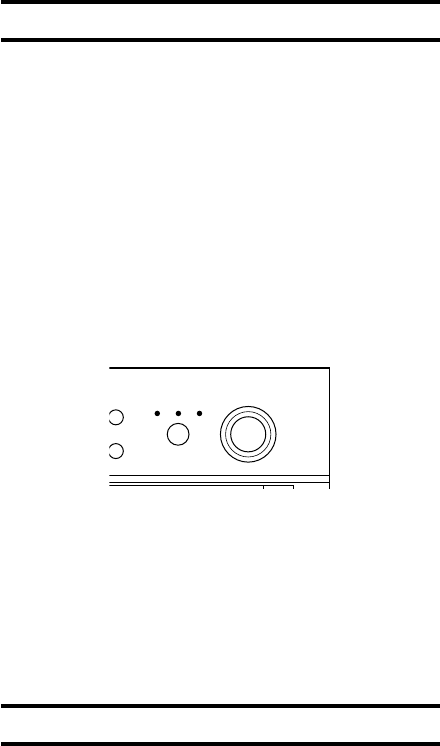
Press INPUT to select the appropriate input source to be
used for recording among optical digital recording, analog
recording, and copying from disc tray A.
• To record a digital source, press INPUT to light
DIGITAL.
• To record an analog source, press INPUT to light
ANALOG.
• To record a source CD placed on the disc tray A, press
INPUT to light DISC A. A CD placed on the disc tray A
can be recorded to a CD-R or CD-RW disc.
The copy speed can be selected at either normal speed
(as you listen) or double speed (takes half of the time of
normal speed recording).
• When CD DIRECT copy is selected, DISC A
automatically lights.
• Regardless of the INPUT setting, both digital and analog
signals are output at the same time.
• When DIGITAL or DISC A is selected using INPUT, the
input digital sampling frequency is indicated in the
display.
• Make this input source selection while this unit is in the
stop or record pause mode.
Selecting a Recording Mode
This unit features a number of recording modes. Select the
appropriate mode that suits your purpose.
■ CD DIRECT copy
A source CD placed on the disc tray A can be directly
recorded to a CD-R or CD-RW disc placed on the disc tray
B.
■ Single track synchronized recording
This unit automatically starts recording a single track when
the source component starts playback. This mode is
convenient for recording a mix of single tracks from
different sources.
■ All track synchronized recording
This unit automatically starts recording all tracks when the
source component starts playback. Track numbers are
automatically placed between the tracks being recorded.
■ Full AUTO synchronized recording
This mode automatically finalizes the disc after all track
synchronized recording. A CD-R disc can then be played
on a standard CD player.
A
CK NO.
R
ASE
INPUT
MULTI JOG
DIGITAL REC LEVEL
DISC A DIGITAL ANALOG
PUSH MODE
■ Manual recording
In this recording mode, all recording operations (such as
starting, stopping, track marking, and finalization) are
manually performed.
When recording onto a partially recorded
disc
If a CD-R or CD-RW disc has some recording time
remaining on it before finalization is performed, any of the
recording modes can be normally performed. Recording
automatically starts from the location immediately after the
last recorded track on the disc.
In the following cases recording is NOT
possible
• When the CD indicator is lit indicating that a CD or
finalized CD-R disc is loaded in this unit.
• When the CD-RW and TOC indicators are lit indicating
that a finalized CD-RW disc is loaded in this unit.
• When there is no recording time remaining on the disc
and “Disc Full” appears in the display.
• When 99 tracks have been recorded and “Track Full”
appears in the display. Only 99 tracks may be recorded
on a CD.
• When the CD-R or CD-RW disc loaded in this unit is not
intended for recording audio and “Not Audio” appears in
the display.
Before CD-R discs can be played on standard
CD players – Finalization
When you have finished recording on a CD-R disc, it is
necessary to finalize the disc to make it compatible with
standard CD players. If this procedure is not performed, the
CD-R disc will not be playable on a standard CD player.
• If Full AUTO synchronized recording or CD DIRECT
copying is performed, finalization is automatically
performed following the conclusion of recording.


