Connecting and Aligning the Aerial
In principle we recommend you have the assembly and commissioning of your aerial installation
carried out by qualified specialised staff.
Should you do the installation yourself, please adhere to the assembly instructions for your satellite
aerial and the following instructions. Please connect the aerial cable to the receiver first, then after
this connect the receiver to the power supply.
Before you align the aerial, you must connect the aerial cable to the LNB. Screw the F connector of
the cable onto the LNB connection of the aerial.
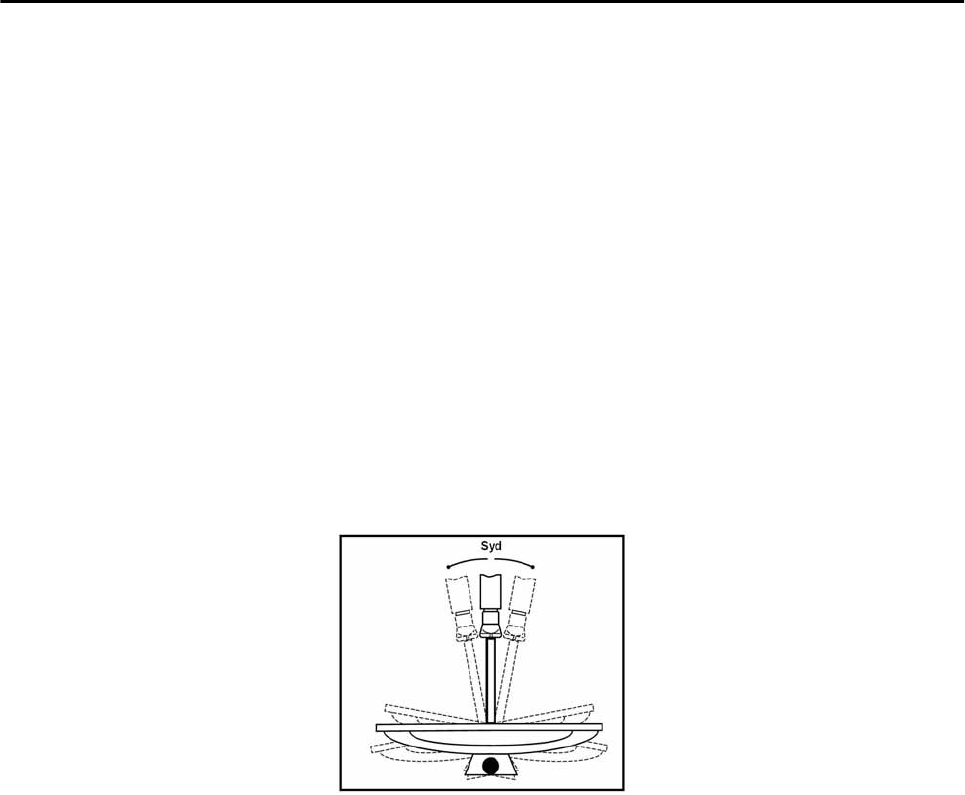
When fitting your aerial you should take care that the aerial must be pointing to the south. Please
note that the aerial must never be fitted behind a balcony rail, house parapet or other obstructions
(e.g. trees). The location of the sun helps you to find out which direction is south. The sun is located
exactly in the south at 1 pm during the summertime, and at 12 o’clock during the wintertime.
You must face south when you stand behind your aerial.
Depending on which satellite you want to receive, there must be an open view in this angle. This
must above all be adhered to when installing to a wall. Make sure, before you fix an appropriate
wall fitting to the wall of your house, that your aerial can also turn far enough without hitting the
house wall.
After you have made all the connections, you can now begin to align the aerial. Please check again
whether the receiver is connected with the LNB on the aerial and also with the TV set. If these cable
connections have been properly carried out, you can switch on the device.
Step 1:
Switch your TV set on. Please take care that your TV set is adjusted to the receiver. With a SCART
connection the TV set must be on the appropriate AV channel.
Step 2:
Now switch the receiver on. Please note in doing this that the receiver is pre-programmed for the
most common satellites and their channels and that you only have to enter the channel numbers via
the number pad on your receiver remote control
16


