


Page 2 Starlet Owner’s Manual
GETTING STARTED
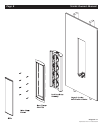
Your Starlet 4, 6 or 9 speakers are individually packed with the following:
• Back Box/Driver Assembly
• Bezel/Flange Assembly
• Cardboard Cut-Out Template and Paint Mask
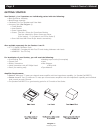
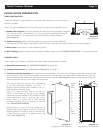
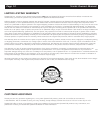
• Accessory Pack
(See Diagram 1)
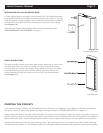
• Outer Bracket
• Inner Bracket
• Foam Support Block
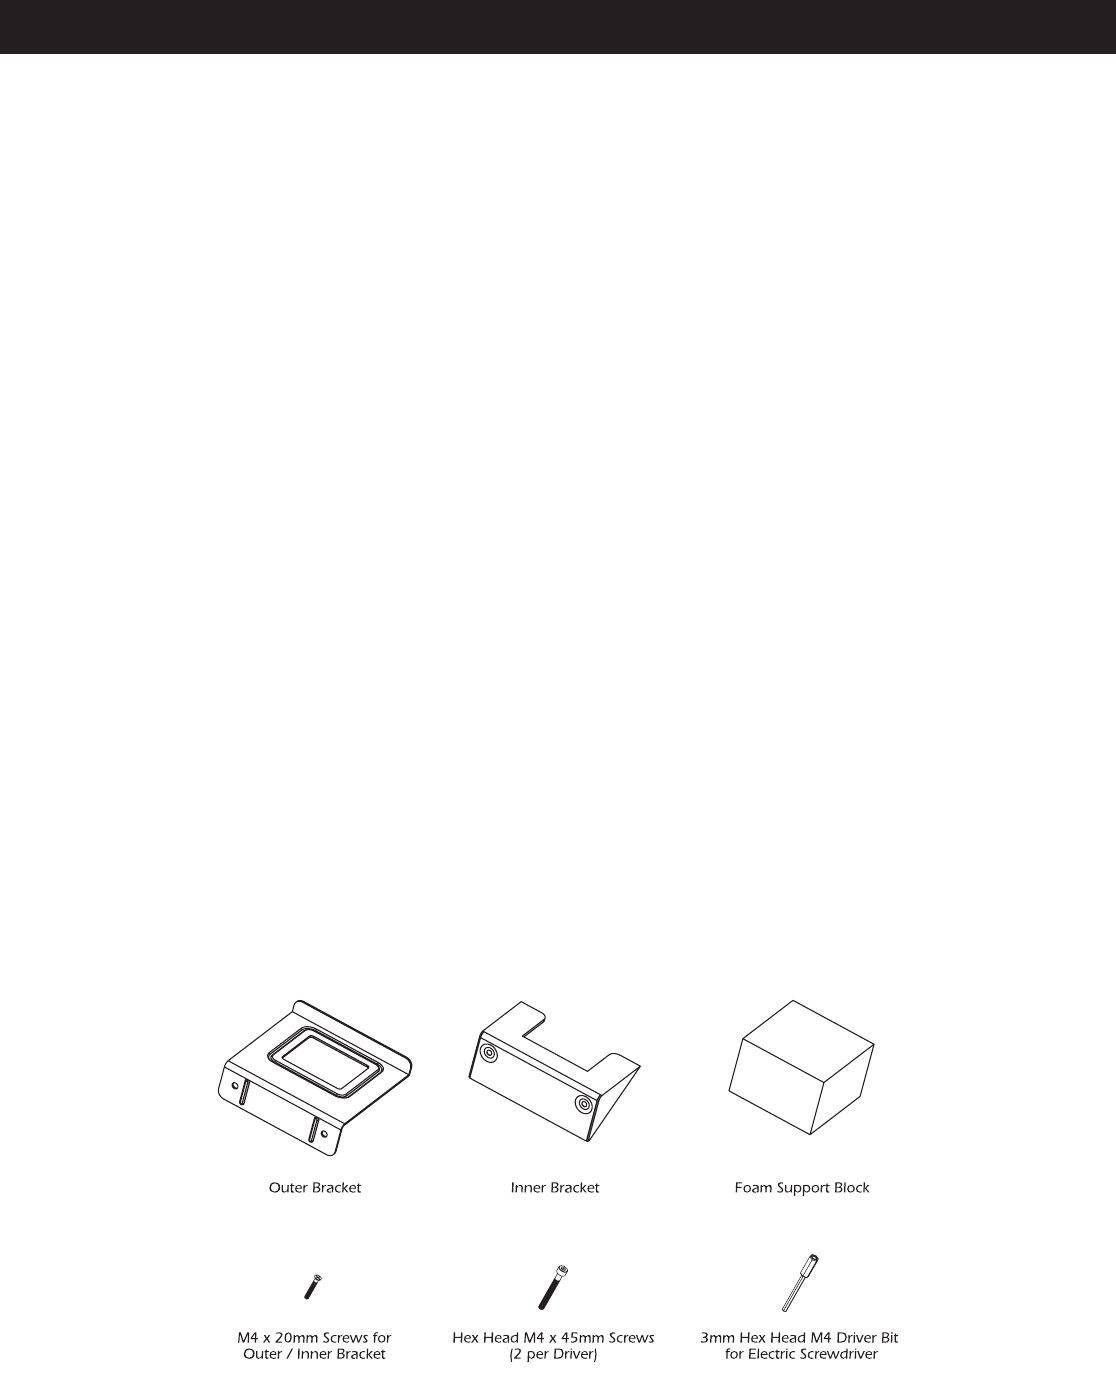
• Screws: Two M4 x 20mm for Outer/Inner Bracket
Two Hex Head M4 x 45mm Screws per Driver
(8 for Starlet 4, 12 for Starlet 6 and 18 for Starlet 9)
• 3mm Hex Head M4 Driver Bit (for electric screwdriver)
Also available separately for the Starlets 6 and 9:
• SCT-1.0 Starlet Calibration Tools
• ASM89000: Complete Kit with Test CD and Analog Voltmeter with Leads
• ASM89001: Test CD Only
For installation of your Starlets, you will need the following:
• Stud Finding Tool • Masking tape or tacks (for template)
• Drywall Saw • Level
• Electric Screwdriver • Wire Strippers
• Hand Screwdriver with #2 Phillips Head • Utility Knife
• Pencil (for marking wall) • Tape Measure
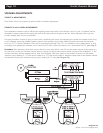
Amplifier Requirements:
• Starlet 4: Minimum 75 watts per channel stereo amplifier with low impedance capability (i.e. SpeakerCraft BB275)
• Starlets 6 and 9:
Two (2) minimum 75 watts per channel stereo amplifiers with low impedance capability and individual
level controls on each channel
• The SpeakerCraft BB275 is a good starting point for all 3 models of the Starlet
Diagram 1:
Accessory Pack