11
Recording on a Tape
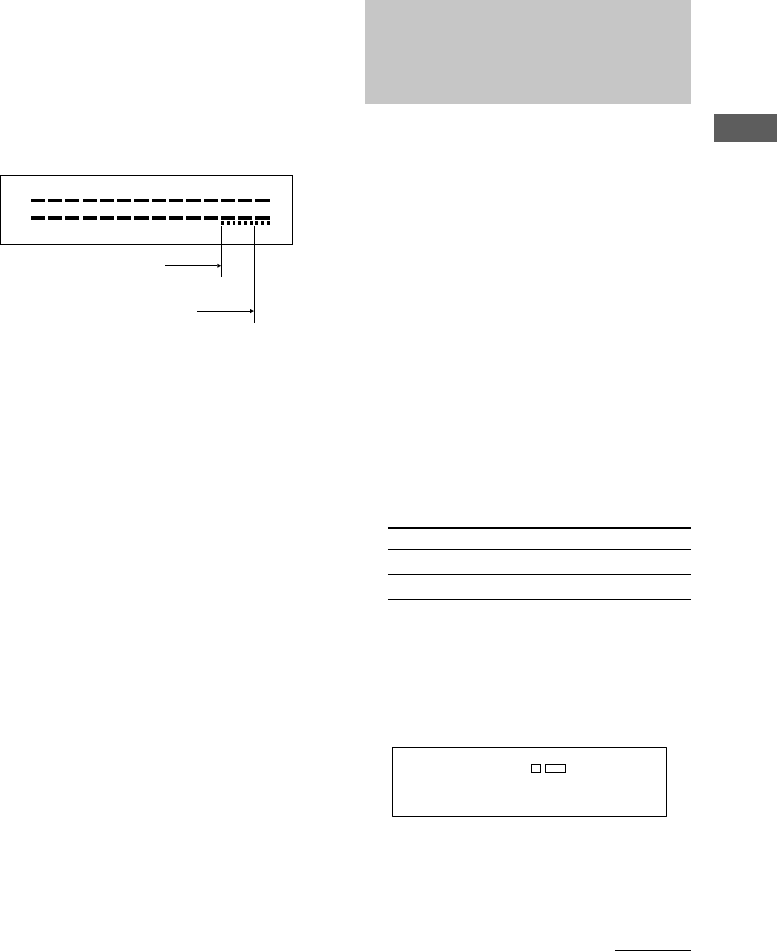
To adjust the recording level
manually
After pressing z REC in Step 4 on page 10,
turn REC LEVEL so that the peak level meters
reach the recommended level for the
corresponding tape type. After completing the
adjustments, stop playing the program source,
then continue the procedure from Step 5.
–
4
L
R
–
∞
;
+
8
dB
+
4
0
–
10
–
20
–
30
Note
Even after adjusting the recording level, distortion
may occur depending on the source that you’re
recording from. If this happens, turn REC LEVEL
counterclockwise to lower the level.
Adjusting bias and
recording level
calibration automatically
(TC-WE675 only)
Since there are many different types of
cassettes on the market, your tape deck
automatically sets the appropriate equalization
characteristics and bias current for each tape
type (ATS: Automatic Tape Selection).
However, you can get better recording results
by doing the automatic bias current and the
recording level calibration.
1 Load the cassette you want to record
on into either deck.
Make sure the record-protect tabs on the
cassette have not been removed.
2 Press DECK A or DECK B until “CAL”
appears in the display.
3 Press H or h to select the side of the
tape to be recorded.
To select Press
The front side H
The reverse side h
4 Press X PAUSE.
The automatic calibration procedure starts
(i.e., recording test tones, rewinding, and
playing back).
During the calibration, the counter changes
from 9 to 0.
CA. L9
CAL B REC
When the automatic calibration procedure
ends, the tape rewinds to the original
position, the counter returns to normal and
the tape deck stops.
continued
For type I or type II tape
For type IV tape


