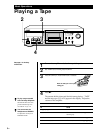
Playing CDsGetting Started
GBGB
Advanced Playback Operations
9
EN
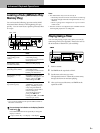
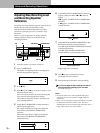
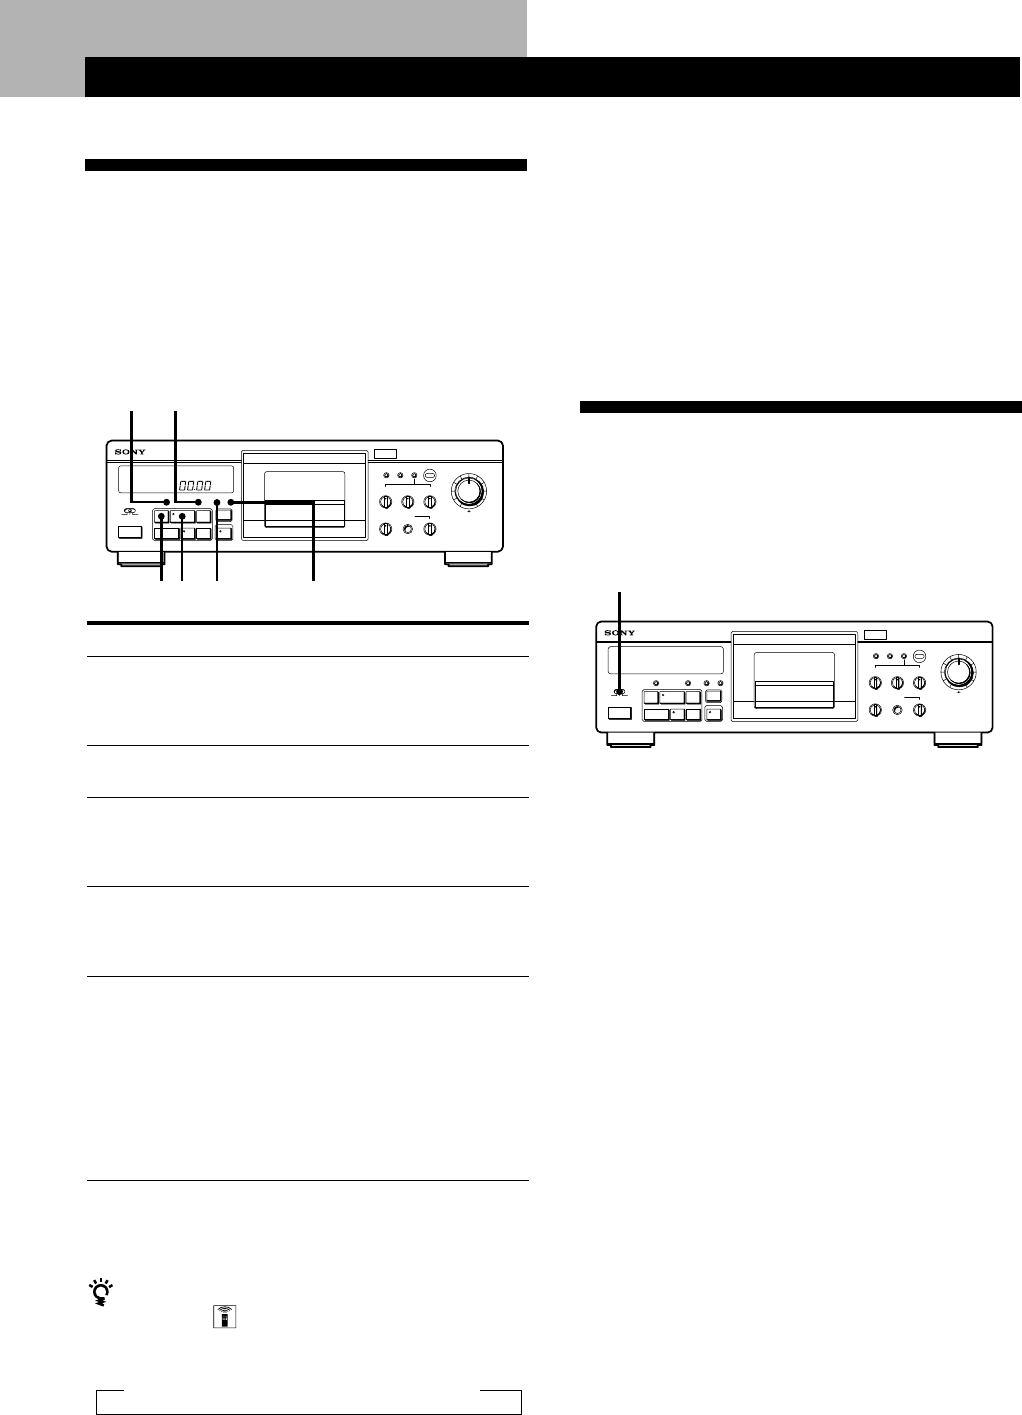
Locating a Track (AMS/Auto Play/
Memory Play)
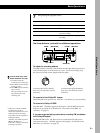
You can locate the following/previous tracks (AMS:
Automatic Music Sensor) or the beginning of a tape
quickly. You can even locate a specific point anywhere
on a tape.
To locate
the beginning of the next
or succeeding tracks
(AMS*)
the beginning of the
current track (AMS*)
the beginning of the
preceding tracks (AMS*)
the beginning of a tape
(auto play)
a particular point on a
tape (memory play)
Press
± as many times as you
want while playing.
For example, to locate 2 tracks
ahead, press twice.
≠ once while playing
≠ as many times as you
want while playing.
For example, to locate 2 tracks
behind, press three times.
MEMORY repeatedly until
“MEMORY” disappears in the
display. Then press 0
while holding down (.
MEMORY repeatedly until
“MEMORY” appears in the
display. Find the point you
want, and press RESET to
reset the tape counter and to
memorize the point.
To locate the memorized
point, press 0 while
holding down (. (Press 0
only to stop at “0.00.”)
Notes
• The AMS function may not work correctly if:
— the blank space between tracks is less than 4 seconds long.
— the signal strength of the left and right channels are very
different.
— there is a passage of low frequencies or very low volume
within a track.
• Since the counter is not a digital clock, it will differ from the
actual elapsed playback or recording time.
Playing Using a Timer
You can start playing a tape at any time you want by
connecting a timer (not supplied). Please also refer to
the instructions of the timer if you need help.
1 Insert a cassette.
2 Set TIMER on the tape deck to PLAY.
3 Set the timer to the time you want.
The tape deck turns off. When the set time comes,
the tape deck turns on and start playing.
4 After you have used the timer, set TIMER on the
tape deck to OFF.
* You can use the AMS to locate up to the 30th track after or
before the current track.
You can change the indication on the display (Canadian
model only)
Press DISPLAY on the remote repeatedly to change the
display as follows:
n tape counter only n no display n full display
RESET MEMORY(0
±≠
POWER
OFFREC PLAY
TIMER
REC LEVEL
–3
0
+3
•
•
•
•
•
•
•
•
•
•
•
DOLBY NR
OFF
B
C
S
•
•
•
•
REC EQ
–2
0
+2
•
•
•
•
•
•
•
•
•
•
•
BIAS
REC LEVEL
5
4
3
2
1
0
6
7
8
9
10
RL
MONITOR
–20
0
+20
•
•
•
•
•
•
•
•
•
•
•
PHONES
0
LEVEL
10
•
•
≠ AMS ±
0()
§
rRPp
PAUSE REC MUTE
REC
OPEN/CLOSE
RESET
MPX FILTER HX PROCALIBRATION
MEMORY
MEMORY
TIMER
POWER
OFFREC PLAY
TIMER
REC LEVEL
–3
0
+3
•
•
•
•
•
•
•
•
•
•
•
DOLBY NR
OFF
B
C
S
•
•
•
•
REC EQ
–2
0
+2
•
•
•
•
•
•
•
•
•
•
•
BIAS
REC LEVEL
5
4
3
2
1
0
6
7
8
9
10
RL
MONITOR
–20
0
+20
•
•
•
•
•
•
•
•
•
•
•
PHONES
0
LEVEL
10
•
•
≠ AMS ±
0()
§
rRPp
PAUSE REC MUTE
REC
OPEN/CLOSE
RESET
MPX FILTER HX PROCALIBRATION
MEMORY


