


model name1[MZ-RH710] model name2[MZ------]
[2-593-568-11(2)]
masterpage:Right
filename[E:\SONY
PA\5252_RH710\REVISE\DATA\J9050645_2593568112RH710_GB\2593568112\01GB
-MZ-RH710EE\04GB0OPE.fm]
51
You cannot erase non-audio data (for example,
text data or image data) on a disc used in Hi-
MD mode.
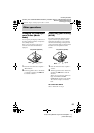
1 While playing the track you want to
erase, enter the menu and select
“Edit” - “Erase” - “ : Erase”.
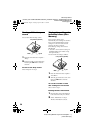
2 Turn the jog dial to select “OK”, and
then press NENT to erase the track.
The track is erased and the next track
starts to play. All the tracks after the
one erased are automatically
renumbered.
If all tracks in a group are erased, the group is
automatically deleted from the disc.
To erase a part of a track
Add track marks at the beginning and the
end of the part you want to erase, then
erase the part (page 52).
1 Select a group you want to erase and
check the contents (see page 37).
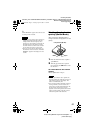
2 Press x.
3 Enter the menu and select “Edit” -
“Erase” - “ : Erase”.
4 Turn the jog dial to select “OK”, and
then press NENT to erase the group.
The group is erased.
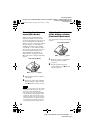
1 Play the disc you want to erase to
check the contents.
2 Press x.
3 Enter the menu and select “Edit” -
“Erase” - “AllErase”.
4 Turn the jog dial to select “OK”, and
then press NENT to erase the whole
disc.
“SYSTEM FILE WRITING” appears
in the display, and all the tracks will
be erased.
When erasing completes, “NO
TRACK” appears in the display in
Hi-MD mode and “BLANKDISC”
and “00:00” appear in MD mode.
Note
To erase a track
Note
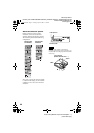
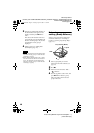
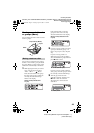
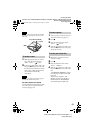
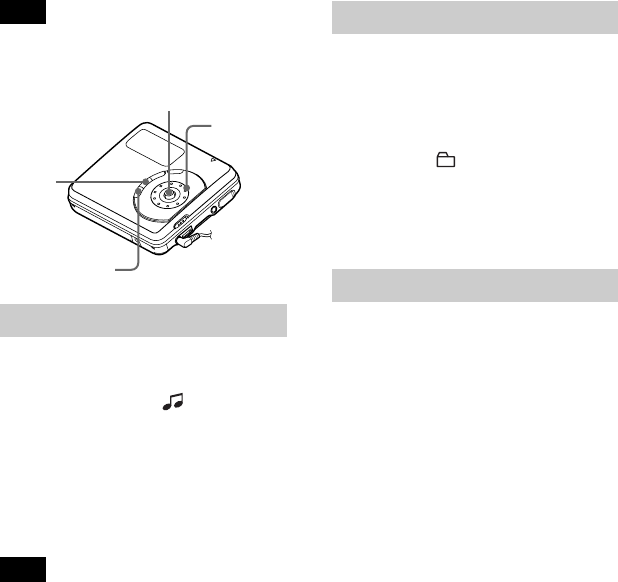
5-way control key (NENT)
MENU
Jog dial
x
To erase a group
To erase the whole disc
020REG.book Page 51 Tuesday, April 12, 2005 11:18 AM