


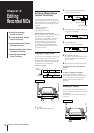
Chapter 4: Recording on MDs
15
Notes on Recording
When “TOC” flashes in the display
Do not move the unit or pull out the mains
lead. The MD deck is updating the Table Of
Contents (TOC).
Changes to an MD made through recording
are saved only when you update the TOC
by ejecting the MD or by pressing POWER
to switch the MD deck to standby.
Do not disconnect the main lead
immediately after recording
If you do so, the recorded sound may not
be saved to the MD.
If “Auto Cut” appears in the display
(auto cut)
There has been no sound input for
30 seconds while recording from a CD. The
30 seconds of silence are replaced by a
blank of about 3 seconds and the MD deck
changes to recording pause.
If “Smart Space” appears in the
display (smart space)
There has been an extended silence of 4 to
30 seconds in length while recording from a
CD. The silence is replaced with a blank of
about 3 seconds and the MD deck continues
recording. However, a new track number
may not be written during these 3 seconds.
If “REC LEVEL OVER” appears in the
display while recording from audio
equipment connected to this unit's
TAPE IN jacks
This message is displayed because a high-
level signal was input during analog
recording. If the sound is distorted, re-
record the sound source again according to
the following procedure.
1 Press EDIT/NO repeatedly during
recording or recording pause until
“Attenuate ?” appears in the display.
2 Press ENTER/YES.
“Attenuate ON?” appears in the display.
3 Press ENTER/YES again.
The ATTENUATE indicator lights up.
4 Re-record the sound.
The recording level is reduced.
Note
Once you change the setting, it is stored in
the unit. Be sure to release this setting after
recording.
To release this setting
Repeat steps 1 to 4, and confirm that
“Attenuate OFF?” is displayed in step 2.
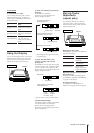
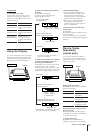
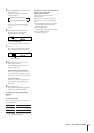
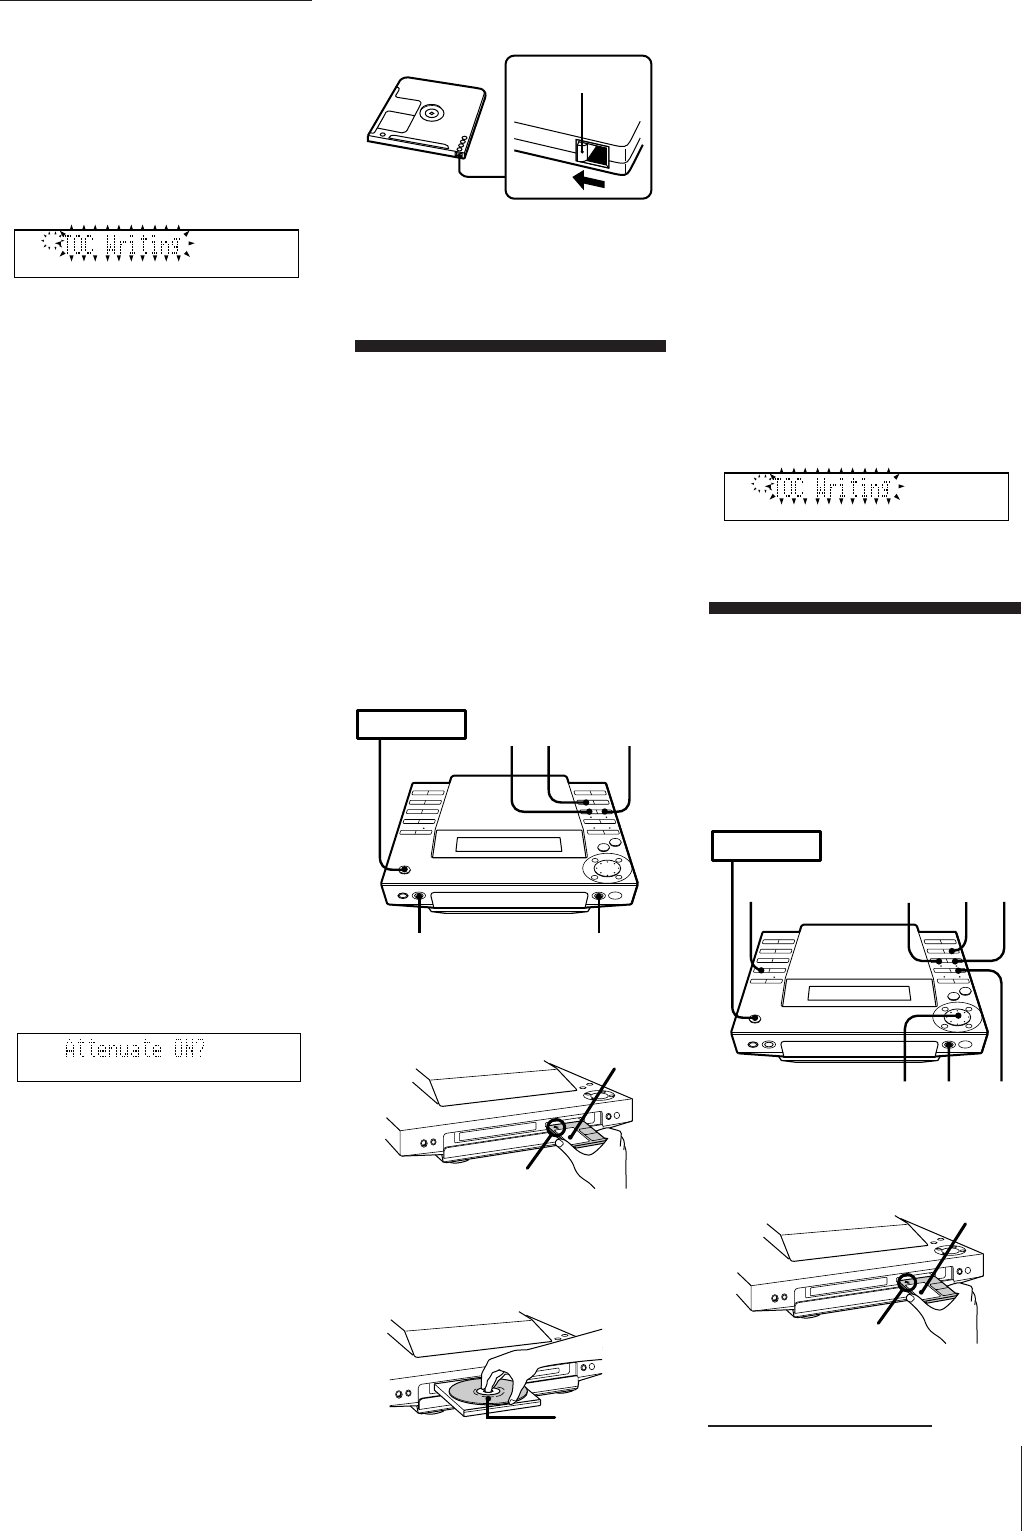
To protect the recorded sound
To make it impossible to record on an MD,
slide the tab in the direction of the arrow to
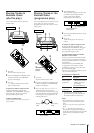
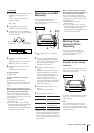
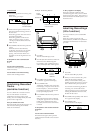
3 Press CD SYNCHRO
The unit enters CD play pause mode.
The “REC PAUSE” indicator flashes, the
MD deck stands by for recording, and
the CD player stands by for playback.
4 Press REC PAUSE (or MD P on the
remote).
The MD deck starts recording, and the
CD player starts playing.
To stop recording
Press REC STOP.
When “TOC“ flashes in the display
The MD deck is currently updating the
Table of Contents (TOC).
Do not move the MD deck or pull out the
mains lead. Changes to an MD made
through recording are saved only when
you update the TOC by ejecting the MD or
by pressing POWER to switch the deck to
standby.
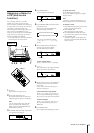
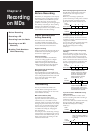
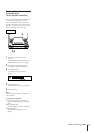
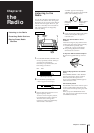
Recording from the
Radio
You can record from the tuner onto an MD
(analog recording).
If you use a recorded MD, the MD deck will
automatically start recording from the end
of the existing sound.
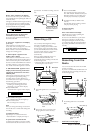
1 Press MD § and insert a recordable
MD.
open the slot. To enable recording, close the
slot.
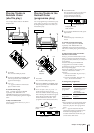
Recording a CD
You can easily make digital recordings
from CD on an MD (CD synchro
recording), marking track numbers in the
same sequence as the original CD. When
you use a blank MD*, the CD name which
you have stored using the “disc memo”
function is also record on the MD
automatically.
When recording additional tracks on a
recordable MD, the MD deck will
automatically start recording from the end
of the existing sound.
* A brand-new MD, or an MD which has been
erased using the “erase function”.
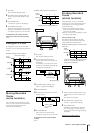
1 Press MD § and insert a recordable
MD.
2 Press CD §, place a CD, then press
CD § again to close the disc tray.
TOC
Rear of the disc
Record-protect tab
Slide the tab in the
direction indicated
by the allow
POWER m ON
4
1
3
2
REC STOP
Label side up
Arrow pointing
toward the MD
deck
TOC
POWER m ON
6
41
REC
STOP
2
53
continue to next page m
Label side up
Arrow pointing
toward the MD
deck
Label side up