Playing CDs
16
EN
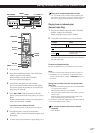
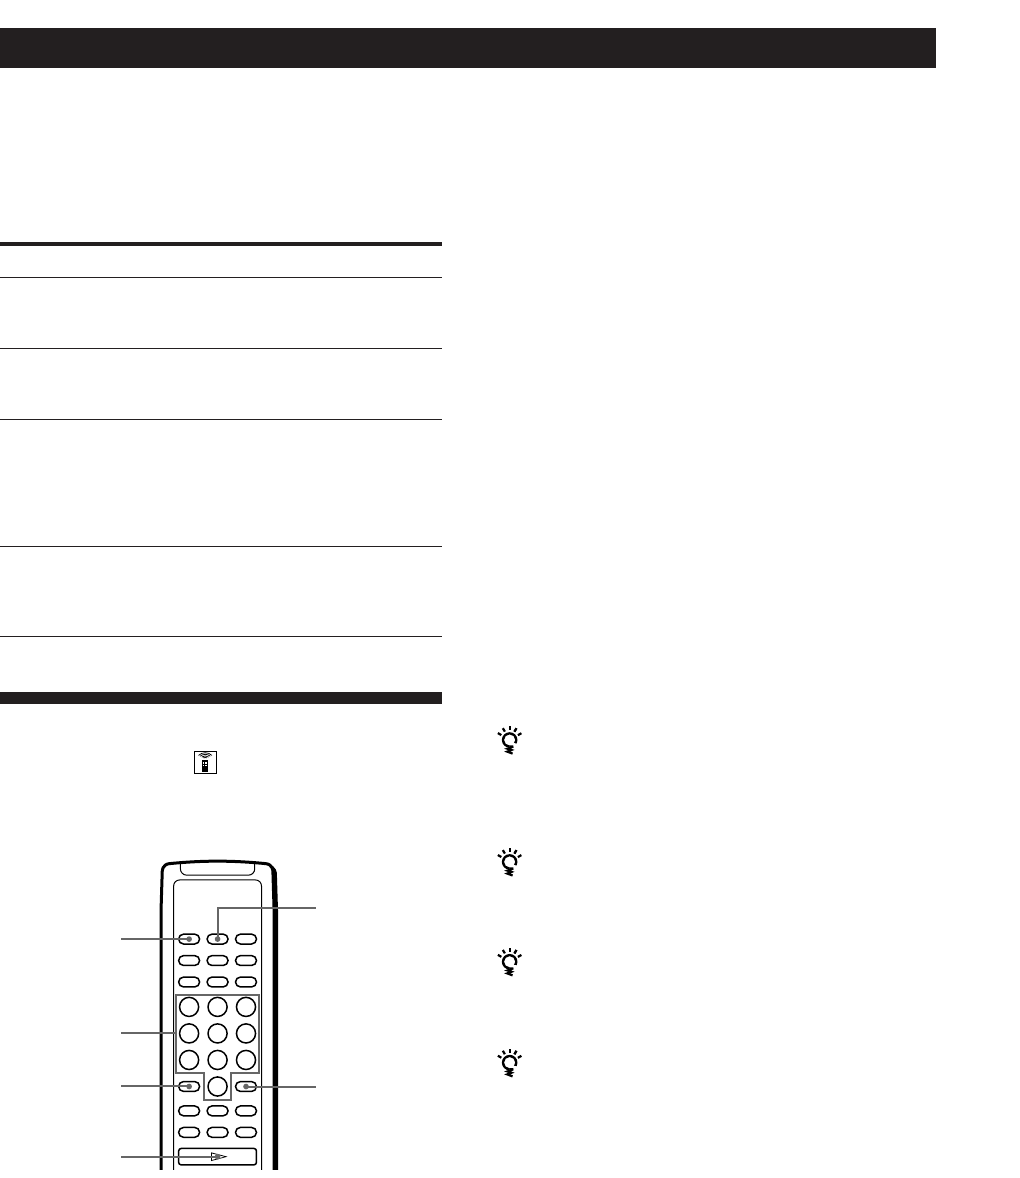
CONTINUE
SHUFFLE
CLEAR
>10
Number
buttons
·
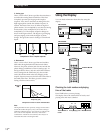
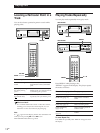
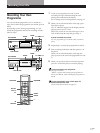
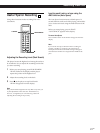
2 Press the number buttons of the tracks you want to
delete.
The track numbers disappear from the music
calendar after “OFF” appears for a while.
To delete a track numbered over 10, use the >10
button (see page 11).
If you’ve made a mistake
Press the number button of the track. “On” appears in
the display and the track will be restored.
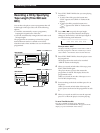
3 After you’ve deleted all the tracks you don’t want,
press CONTINUE.
“SHUFFLE” disappears from the display.
If you press PLAY MODE on the player instead of
CONTINUE on the remote
The deleted tracks will be restored. Be sure to do this step
with the remote.
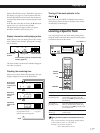
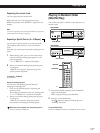
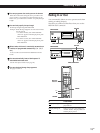
4 Press · to start Delete Play.
To cancel Delete Play
Press p in stop mode.
The player keeps the deleted tracks in memory even
after the Delete Play ends
When you press ·, you can play only the remaining
tracks again.
You can play the tracks in random order (Delete
Shuffle Play)
Just skip Step 3 in the above procedure.
You can delete a track while playing
Press CLEAR while the track is being played. The player
deletes the track and starts playing the next track.
You can store the deleted tracks of each disc
See “Storing Specific Tracks of a Disc” on page 24.
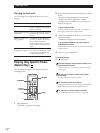
Playing Only Specific Tracks
(Delete Play)
You can delete unwanted tracks and play only the
remaining tracks.
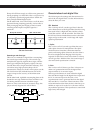
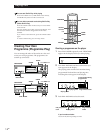
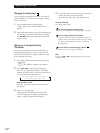
Changing the track order
You can change your programme before you start
playing.
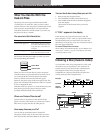
To
Erase a track
Erase the last track in the
programme
Add tracks to the end of
the programme
Change the whole
programme completely
You need to
Press CHECK until the track you
don’t want appears in the display,
then press CLEAR
Press CLEAR. Each time you press
the button, the last track will be
cleared.
Turn ≠ AMS ± until track
number you want to add appears,
then push ≠ AMS ±.
When using the remote, press the
number button of the tracks to be
added.
Hold down CLEAR until “ALL
CLr” appears in the display. Create
a new programme following the
programming procedure.
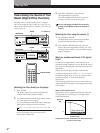
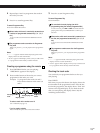
1 Press SHUFFLE.
“SHUFFLE” appears in the display.


