


- 5 -
Switching the device on and off
To supply the device with mains power, place the power switch
on the rear panel of the Micro system to the "
ON" position. The
LED
STANDBY lights up.
To switch the device on press the >
STANDBY button on
the device or the
STANDBY/ON button on the remote
control. The Micro system is now operational and the blue
background illumination lights up in the display.
To put the device back into the standby mode press the >
STANDBY button on the device once more or the
STANDBY/ON button on the remote control.
The device consumes power in the standby mode. To >
disconnect the device from mains power move the power
switch on the rear panel of the Micro system to the "
OFF"
position.
Setting the time
You can only adjust the clock in standby mode. The program-
ming for the time is not retained if the device is disconnected
from the power network or switched off with the power switch.
If, during the setting, approx. 10 seconds elapses without a
button being activated the device changes to the standby
mode and the settings must be carried out again.
Press and hold the >
PROG/CLOCK-ADJ. button on the
device until the notice 24H appears in the display.
Press the button >
SKIP/SEARCH or SKIP/SEARCH
on the device and/or on the remote control to set the time
to 24 hour or 12 hour display.
Press the >
PROG/CLOCK-ADJ. button to save the setting.
The hour indicator blinks in the display.
Press the button >
SKIP/SEARCH or SKIP/SEARCH to
set the hour.
Press the >
PROG/CLOCK-ADJ. button to save the setting.
Press the button >
SKIP/SEARCH or SKIP/SEARCH to
set the minutes.
Press the >
PROG/CLOCK-ADJ. button to save the setting.
The time of day is now set and activated.
Selecting mode of operation
You can select from the following modes:
• CD - Playback of audio CDs or MP3/WMA CDs
• USB - Playback of MP3/WMA files on a USB
data carrier
• RAD - Playback of radio stations
• LINE - Playback of audio sources through the LINE
IN connection.
• TAPE - Playback of audio cassettes
For this press repeatedly the > FUNCTION button on the
device or on the remote control until the desired operation
mode is shown in the display.
Setting the sound volume levels
To increase the volume press or hold the > VOL + button on
the device and/or
VOLUME + on the remote control until
the desired volume is reached.
To decrease the volume press or hold the >
VOL - button on
the device and/or
VOLUME - on the remote control until
the desired volume is reached.
To switch the sound to mute, press the button >
MUTE on
the remote control
.
To switch the sound back on press the > MUTE button
once more or one of the buttons
VOL + or VOL -.
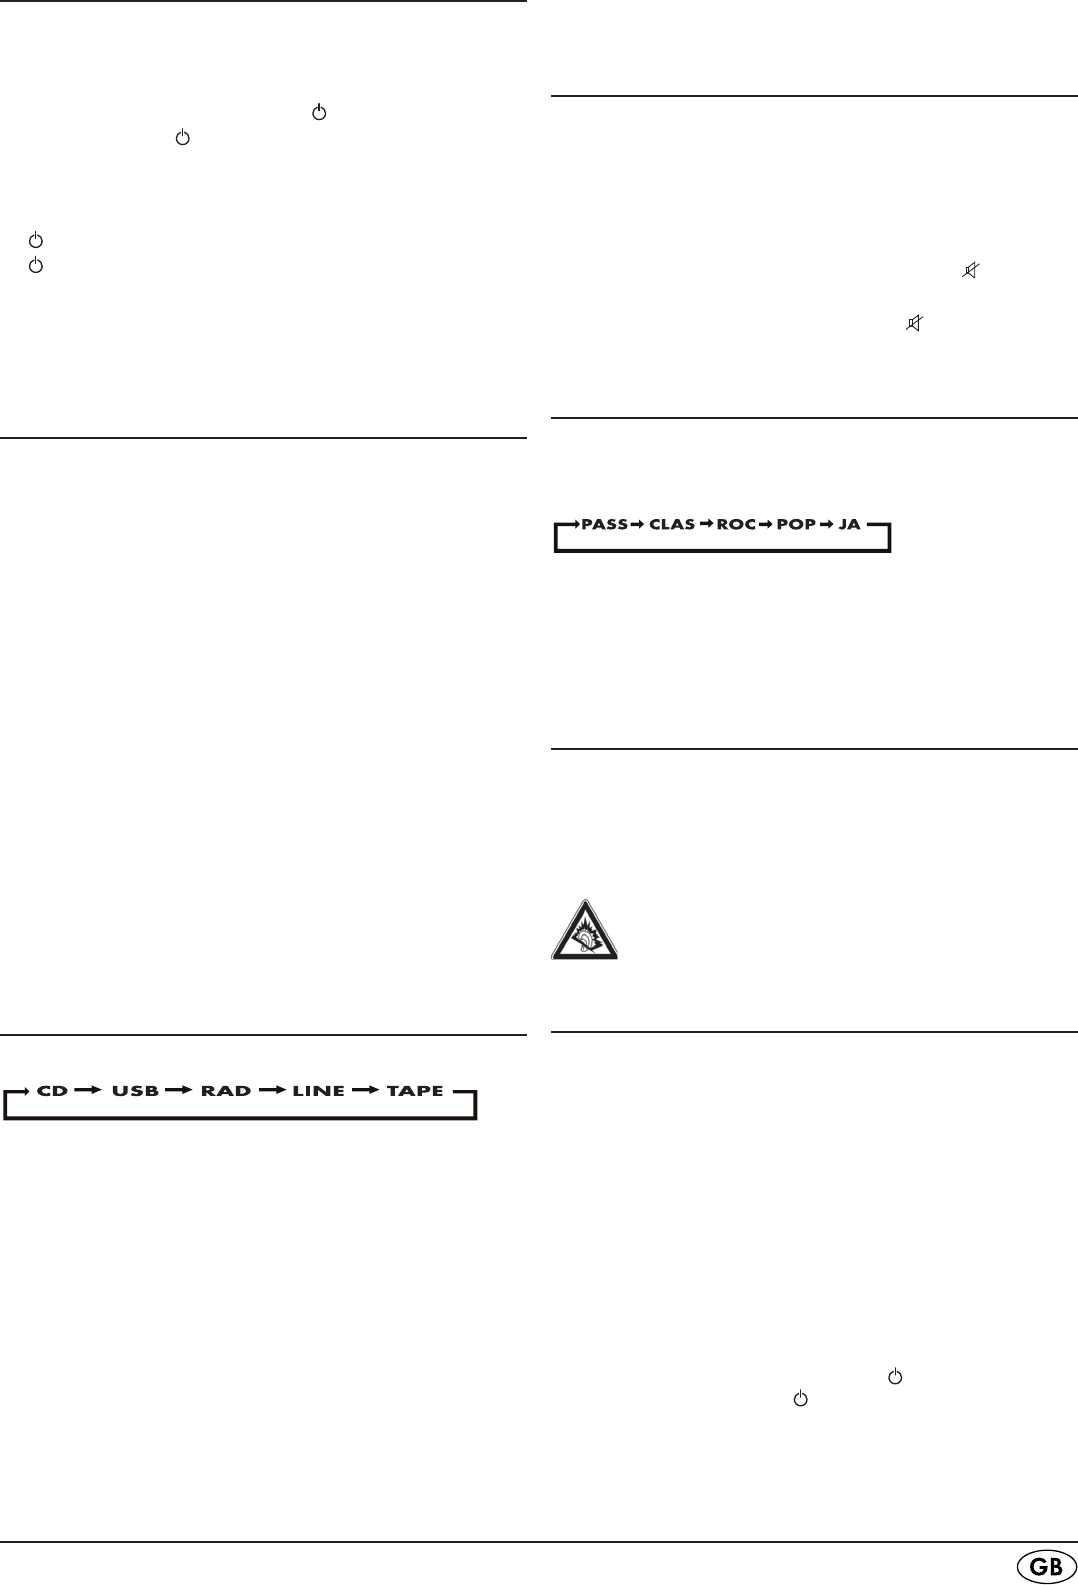
Setting the sound quality
The Micro system is equipped with several sound settings
(CLASSIC, ROCK, POP, JAZZ), which you can access accord-
ing to the currently playing music.
For this press repeatedly the > EQ button on the remote con-
trol until the desired sound setting is shown in the display.
With the initial pressing of the
EQ button the current setting
(PASS) is shown. PASS stands for "Passive" (neutral).
Using headphones
You can connect headphones to the Micro system with a 3.5mm
jackplug (not supplied). The headphones socket is located on
the front of the Micro system. When you have connected the
headphones, the loudspeakers are disconnected and you will
only hear sound via the headphones.
Attention! Listening to music with headphones for
long periods and at high sound volume levels can
lead to hearing damage!
Operating the radio
This device receives radio stations on the frequency bands, Ul-
tra short wave (USW or engl. FM) and Medium wave (MW
or engl. AM).
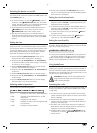
In order to receive a good VHF reception with the Micro >
system unwind the dipole antenna on the rear panel of the
device completely.
Should FM radio reception be inadequate, change the >
position of the wire antenna. Secure the dipole antenna, if
necessary, with sticky tape.
The device has a built in ferrite antenna for reception of >
MW stations. When the MW reception is insufficient turn
the device in a more favourable direction.
Switch the Micro system on with the >
STANDBY button
on the device or with the STANDBY/ON button on the
remote control.