23
ENGLISH
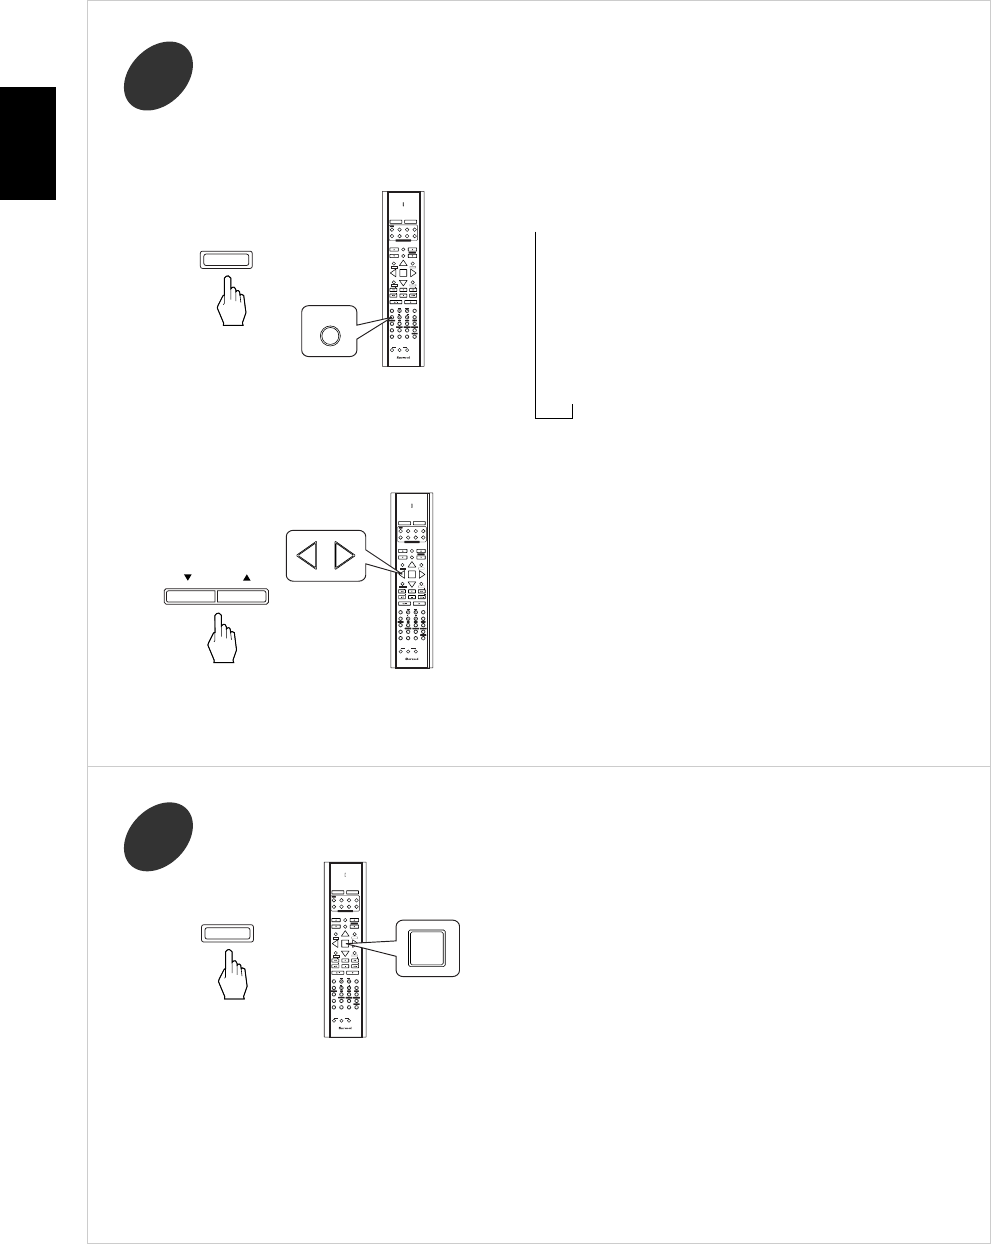
Specify the setting condition.
4
When specifying the number of speakers installed.
• Each time this button is pressed, the speaker layout changes
as follows:
ALL : All speakers
3/2 : 2 front, center and 2 surround speakers
2/2 : 2 front and 2 surround speakers
3/0 : 2 front and center speakers
2/0 : 2 front speakers
When specifying the subwoofer or the crossover frequency.
• Each time the ADJUST UP() or CURSOR RIGHT()
button is pressed, the subwoofer changes as follows:
S No display
(Subwoofer: Yes) (None)
• Each time the ADJUST DOWN() or CURSOR LEFT()
button is pressed, the crossover frequency(“CUT”) changes
within the range of 40~130 Hz in 10 Hz intervals.
• In case that the subwoofer setting is “S”(Subwoofer:Yes), if
it is possible to adjust the volume and crossover frequency
on your subwoofer, set the volume to about medium level
(or slightly less), and set the crossover frequency to the
maximum.
Start the auto speaker setup procedure.
5
Notes:
• Because the test tones are very loud, ensure there
are no infants or small children in the room.
• For best results, ensure the room is as quiet as
possible during the auto speaker setup procedure.
If there is too much ambient noise, the results may
not be satisfactory.
• Loud test tones are output from each speaker.
• To stop the auto speaker setup procedure, press the
(MEMORY/) ENTER button.
To retry the procedure, press the (MEMORY/) ENTER
button again.
•After the auto speaker setup procedure has been completed,
“SET MEMO” will be displayed.
• If “>ERROR<” is displayed, there may be a problem with
the speaker or microphone connection.
While displaying “>ERROR<”, to retry the procedure,
press the ADJUST UP() or CURSOR RIGHT() button
and to exit from the procedure, press the ADJUST
DOWN() or CURSOR LEFT() button.
• If retrying the procedure does not fix the problem, turn off
the power and check the speaker or microphone
connections.