


30
CD-BA250(U)3.fm00/12/4
References
- Troubleshooting Chart / Maintenance -
Troubleshooting Chart (continued)
„
If trouble occurs
When this product is subjected to strong external interference (mechanical shock,
excessive static electricity, abnormal supply voltage due to lightning, etc.) or if it is
operated incorrectly, it may malfunction.
If such a problem occurs, do the following:
Caution:
This operation will erase all data stored in memory including clock, timer settings,
tuner preset, and CD program.
„
Before transporting the unit
Maintenance
„
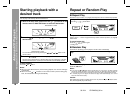
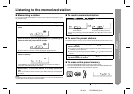
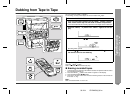
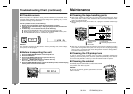
Cleaning the tape-handling parts
z
Dirty heads, capstans or pinch rollers can cause poor sound and tape jams. Clean
these parts with a cotton swab moistened with commercial head/pinch roller
cleaner or isopropyl alcohol.
z
When cleaning the heads, pinch rollers, etc., unplug the unit which contains high
voltages.
z
After long use, the deck's heads and capstans may become magnetized, causing
poor sound. Demagnetize these parts once every 30 hours of playing/recording
time by using a commercial tape head demagnetizer. Read the demagnetizer's
instructions carefully before use.
„
Cleaning the CD pickup lens
In order to ensure proper operation of the CD player, preventative maintenance
(cleaning of the laser pickup lens) should be performed periodically. Lens cleaners
are commercially available. Contact your local CD software dealer for options.
„
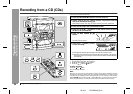
Cleaning the cabinet
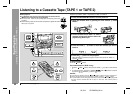
1 Set the unit to the stand-by mode and turn the power on again.
2 If the unit is not restored in step 1, unplug and plug in the unit, and then turn
the power on.
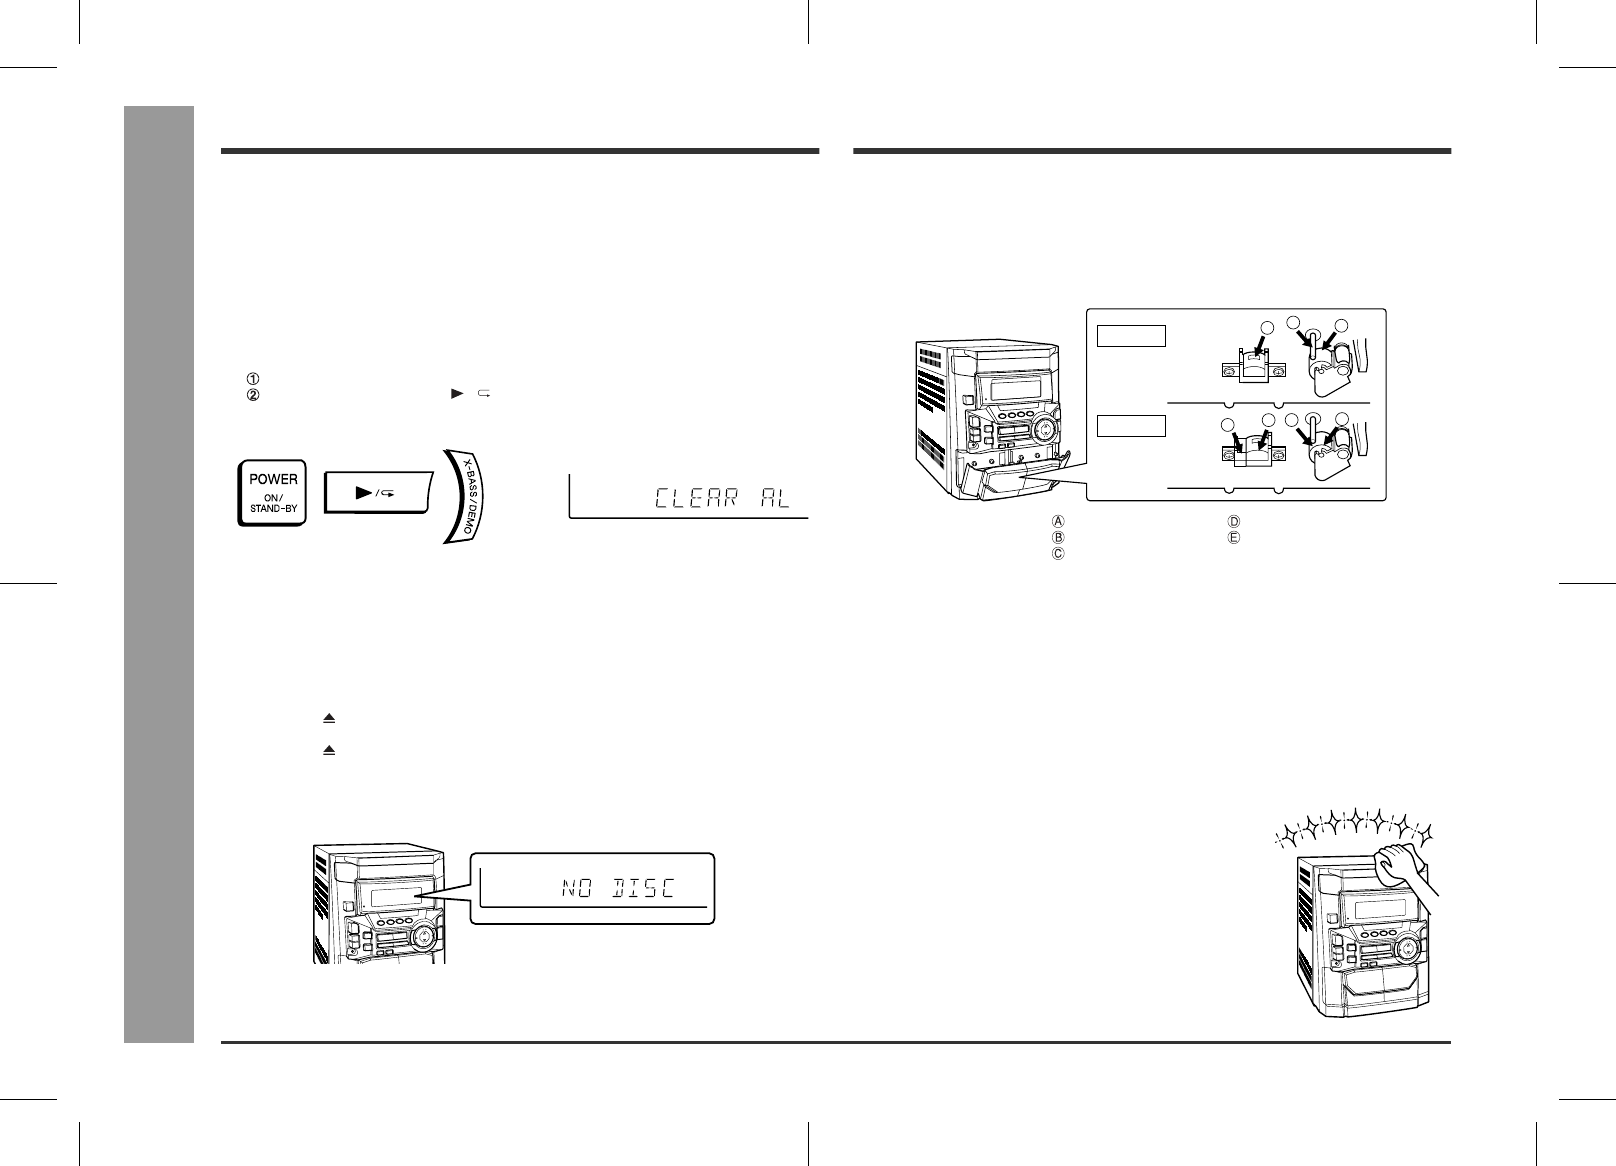
3 If neither step 1 nor 2 restores the unit, do the following:
Press the ON/STAND-BY button to enter the power stand-by mode.
While pressing down the / button and the X-BASS/DEMO button, press
the ON/STAND-BY button until "CLEAR AL" appears.
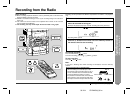
1 Press the ON/STAND-BY button to turn the power on.
2 Press the CD button.
3 Press the OPEN/CLOSE button to open the disc tray.
Remove all CDs inserted in the unit.
4 Press the OPEN/CLOSE button to close the disc tray.
Make sure that "NO DISC" is displayed.
5 Press the ON/STAND-BY button to enter the stand-by mode, and then unplug
the AC power cord from the AC outlet.
Playback head Erase head
Capstan Recording/Playback head
Pinch roller
Periodically wipe the cabinet with a soft cloth and a diluted
soap solution, then with a dry cloth.
Caution:
Do not use oil, solvents, gasoline, paint thinners or insecti-
cides on the unit.
TAPE 1
TAPE 2
A
C
C
D
E
B
B