


42
system setup
43
ENG
● SYSTEM SETUP
SETTING TV SCREEN TYPE
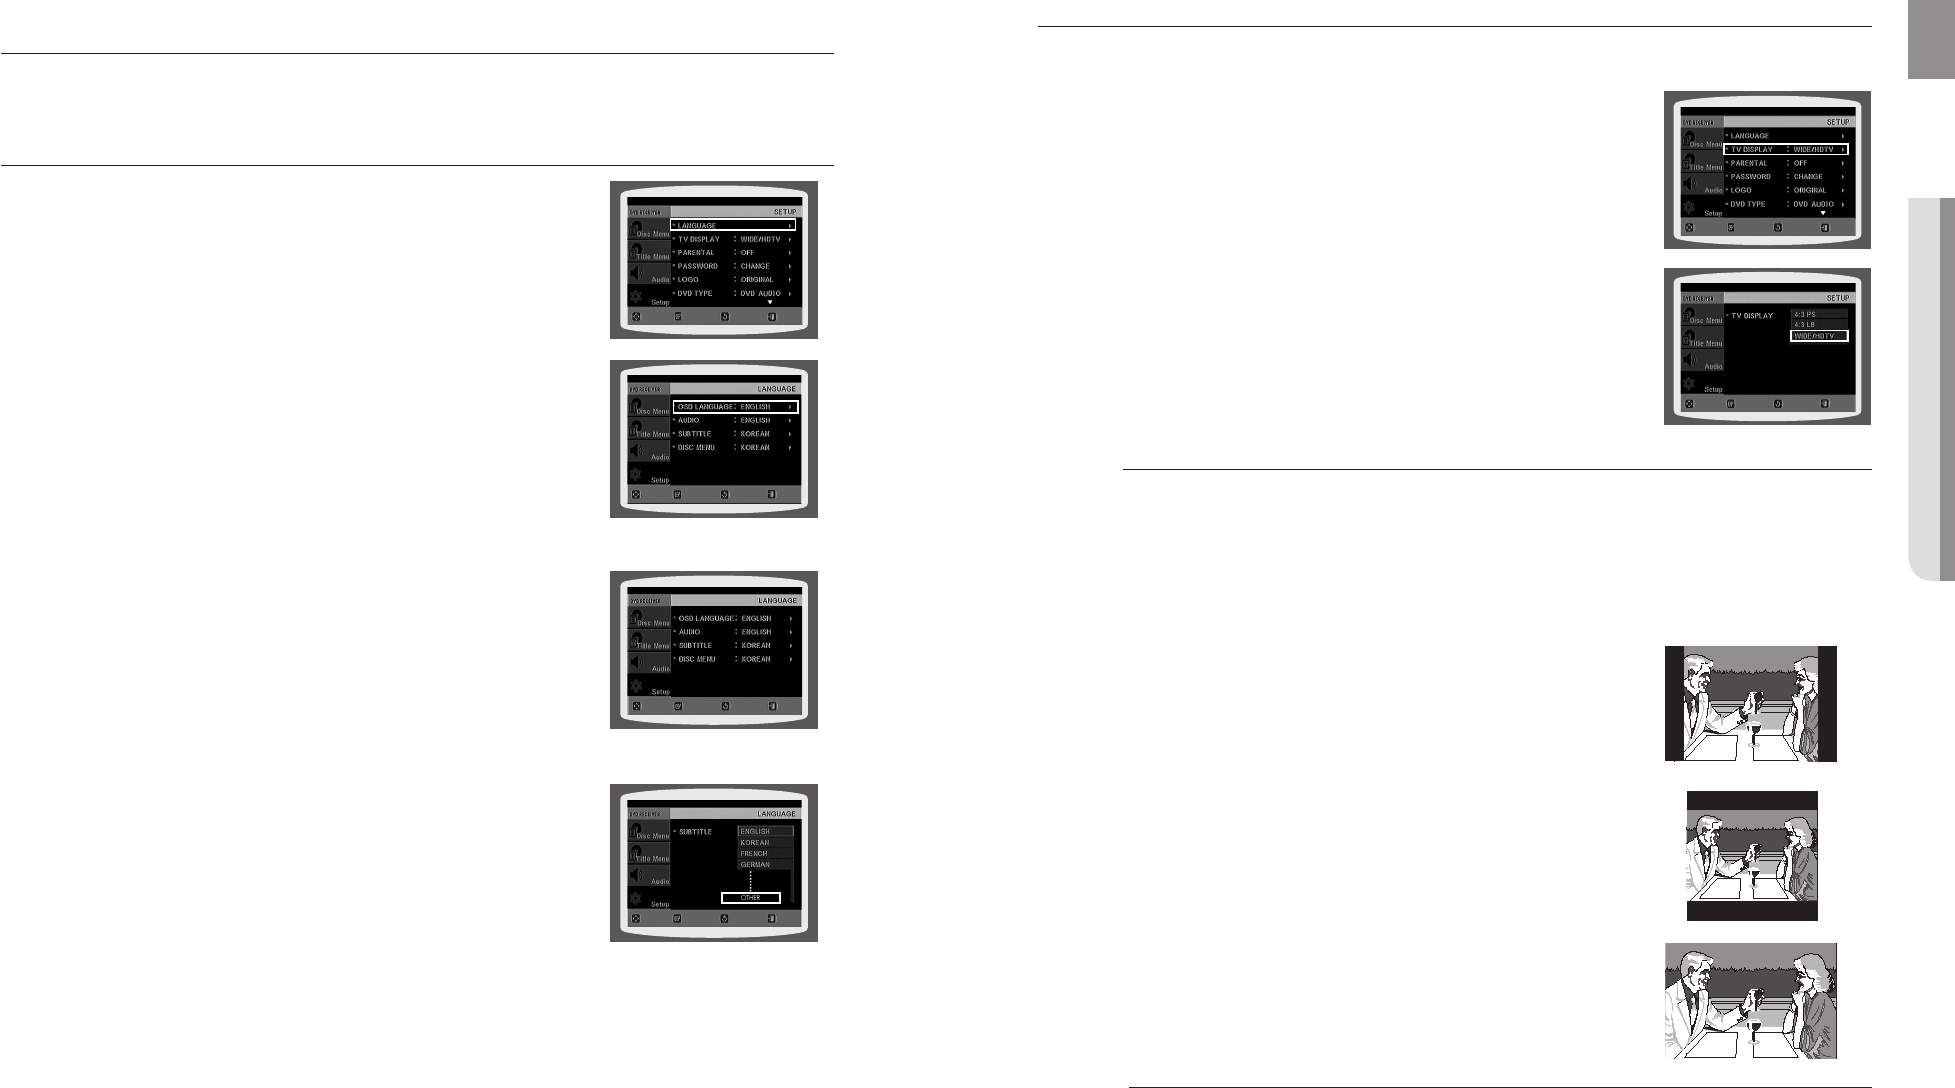
Depending on your TV type (Wide Screen or conventional 4:3), you can select the TV's aspect ratio.
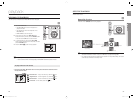
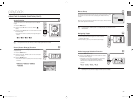
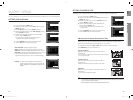
In Stop mode, press the MENU button.
Press the Cursor
▼
button to move to Setup and then press the
ENTER or ► button.
Press the Cursor
▼
button to move to TV DISPLAY and then
press the ENTER or ► button.
Press the Cursor
▲
,
▼
button to select the desired item
and then press the ENTER button.
Once the setup is complete, you will be taken to the
previous screen.
d Press the RETURN button to return to the previous level.
d Press the EXIT button to exit the setup screen.
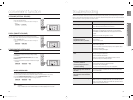
Adjusting the TV Aspect Ratio (Screen Size)
The horizontal to vertical screen size ratio of conventional TVs is 4:3, while that of widescreen and high
defi nition TVs is 16:9. This ratio is called the aspect ratio. When playing DVDs recorded in different
screen sizes, you should adjust the aspect ratio to fi t your TV or monitor.
For a standard TV, select either 4:3PS or 4:3LB option according to personal preference.
Select WIDE/HDTV if you have a widescreen TV.
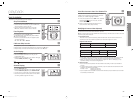
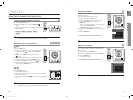
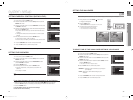
4:3PS (4:3 Pan&Scan)
Select this to play a 16:9 picture in the pan & scan mode on a
conventional TV.
You can see the central portion of the screen only (with the sides of
the 16:9 picture cut off).
4:3LB (4:3 Letterbox)
Select this to play a 16:9 picture in the letter box mode on a
conventional TV.
Black bars will appear at the top and bottom of the screen.
WIDE/HDTV
Select this to view a 16:9 picture in the full-screen mode on your
widescreen TV.
You can enjoy the widescreen aspect.
If a DVD is in the 4:3 ratio, you cannot view it in widescreen.
Since DVD discs are recorded in various image formats, they will look different depending on the software, the
type of TV, and the TV aspect ratio setting.
When using HDMI, the screen is automatically converted to Wide mode.
1.
2.
3.
4.
•
•
•
•
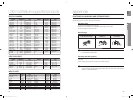
M
MOVE ENTER EXITRETURN
MOVE SELECT EXIT
RETURN
For your convenience, you can set this Home Cinema's features for the best use in your home environment.
SETTING THE LANGUAGE
OSD(On-Screen Display) language is set to English by default.
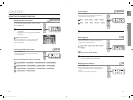
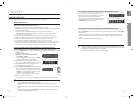
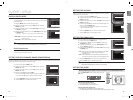
In Stop mode, press the MENU button.
Press the Cursor
▼
button to move to Setup and then press the
ENTER or ► button.
Select Language and then press the ENTER or ► button.
Press the Cursor
▲
,
▼
button to select OSD Language and then
press the ENTER or ► button.
Press the Cursor
▲
,
▼
button to select the desired language
and then press the ENTER button.
Once the setup is complete, the OSD will be English if
English has been selected as the language.
d Press the RETURN button to return to the previous level.
d Press the EXIT button to exit the setup screen.
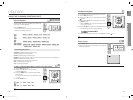
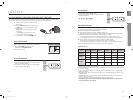
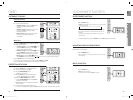
OSD LANGUAGE : Selecting the OSD Language
AUDIO : Selecting the Audio Language (recorded on the disc)
SUBTITLE : Selecting the Subtitle Language (recorded on the disc)
DISC MENU : Selecting the Disc Menu Language (recorded on the disc)
a If the language you selected is not recorded on the disc, menu
language will not change even if you set it to your desired language.
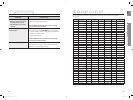
OTHERS : To select another language, select OTHERS and
enter the language code of your country (see page 53).
AUDIO, SUBTITLE and DISC MENU languages can be
selected.
1.
2.
3.
4.
5.
•
•
•
•
•
•
MOVE ENTER
EXITRETURN
MOVE ENTER EXITRETURN
MOVE ENTER EXITRETURN
MOVE SELECT EXIT
RETURN
HT-X810_NO EUR_0401.indd 42-43HT-X810_NO EUR_0401.indd 42-43 2008-4-9 15:41:542008-4-9 15:41:54