17
HOW – Hooking up the Speakers
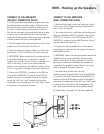
CONNECT TO THE AMPLIFIER
(NO WALL CONNECTOR PLATE)
1. Cut off excess wire, leaving enough to easily reach from
the wall opening to your stereo system. If there’s a possi-
bility that you may move the amplifier to another part of
the room, consider leaving some excess wire coiled up.
Coil wire into concentric circles and secure with a tie wrap
or tape. If you’ve used sufficiently thick wire, this extra
length will not affect speaker performance and could make
re-routing easier if the room is rearranged later.
2. Pull the speaker wire conductors apart so they’re sep-
arated for the last two inches from the end.
3. Using wire strippers, diagonal cutters, or a knife, care-
fully remove 1/2 inch of insulation from each conductor.
4. IMPORTANT: Before connecting the speaker wires to
the amplifier/receiver, use a multimeter to test the
speaker wires for short circuits. If there is indication of a
short in the wiring, it must be corrected before the
speakers are connected to the amplifier/receiver. Failure
to do so may result in damage to the stereo equipment.
5. Connect the POSITIVE (+) conductor to the RED ter-
minal and the NEGATIVE (-) conductor to the BLACK
speaker terminal of the amplifier/receiver. For proper
sound, the “left” and “right” speaker wires must be
connected to the corresponding “left” and “right” speak-
er terminals on the amplifier/receiver.
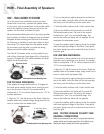
CONNECT TO THE AMPLIFIER
(WALL CONNECTOR PLATE)
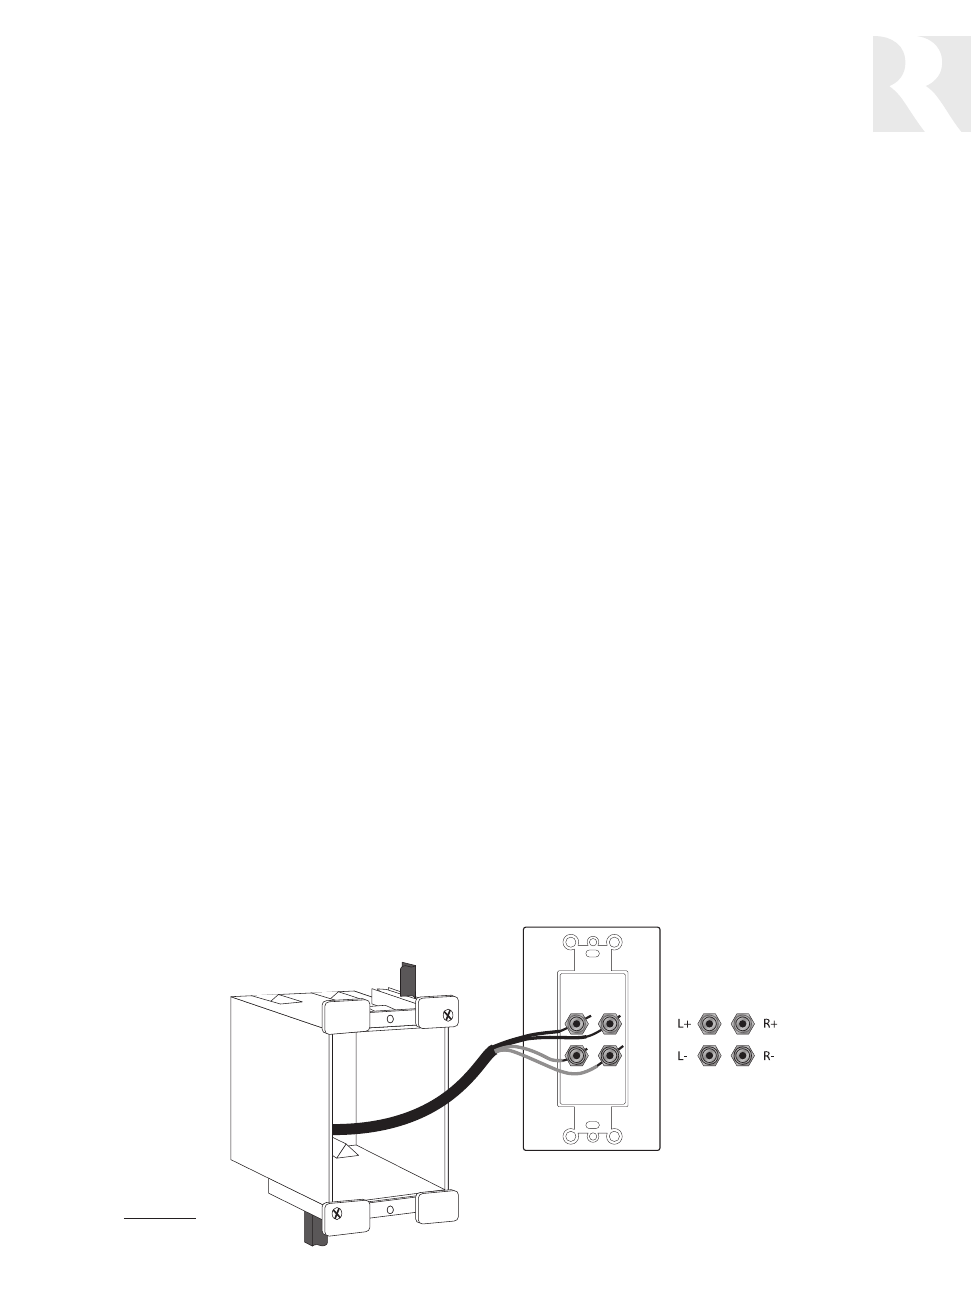
1. Route wiring through an electrical outlet box, retrofit
junction box, or low voltage mounting ring. Mount the
box or ring to the drywall.
2. Terminate the wires to a wall plate with binding posts
(Russound PlateMate BP10D is suitable), attaching the
POSITIVE (+) conductor to the RED terminal and the
NEGATIVE (-) conductor to the BLACK terminal. Mount
the wall plate to the outlet box.
3. Using the remaining speaker wire, cut two pieces
long enough to reach from the wall plate to the back of
the amplifier/receiver.
4. IMPORTANT: Before connecting the speaker wires to the
amplifier/receiver, use a multimeter to test the speaker
wires for short circuits. If there is indication of a short in
the wiring, it must be corrected before the speakers are
connected to the amplifier/receiver. Failure to do so may
result in damage to the stereo equipment.
5. Terminate wiring at both ends, from the
amplifier/receiver to the wall plate. Connect the POSITIVE
(+) conductor to the RED terminal and the NEGATIVE (-)
conductor to the BLACK speaker terminal of the amplifi-
er/receiver. For proper sound, the “left” and “right” speak-
er wires must be connected to the corresponding “left”
and “right” speaker terminals on the amplifier/receiver.
6. Repeat Steps 1 through 5 for the other speaker(s).
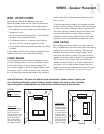
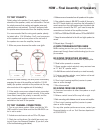
Figure 13


