www.polkaudio.com
15
Wall Mounting The Satellites
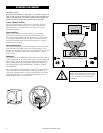
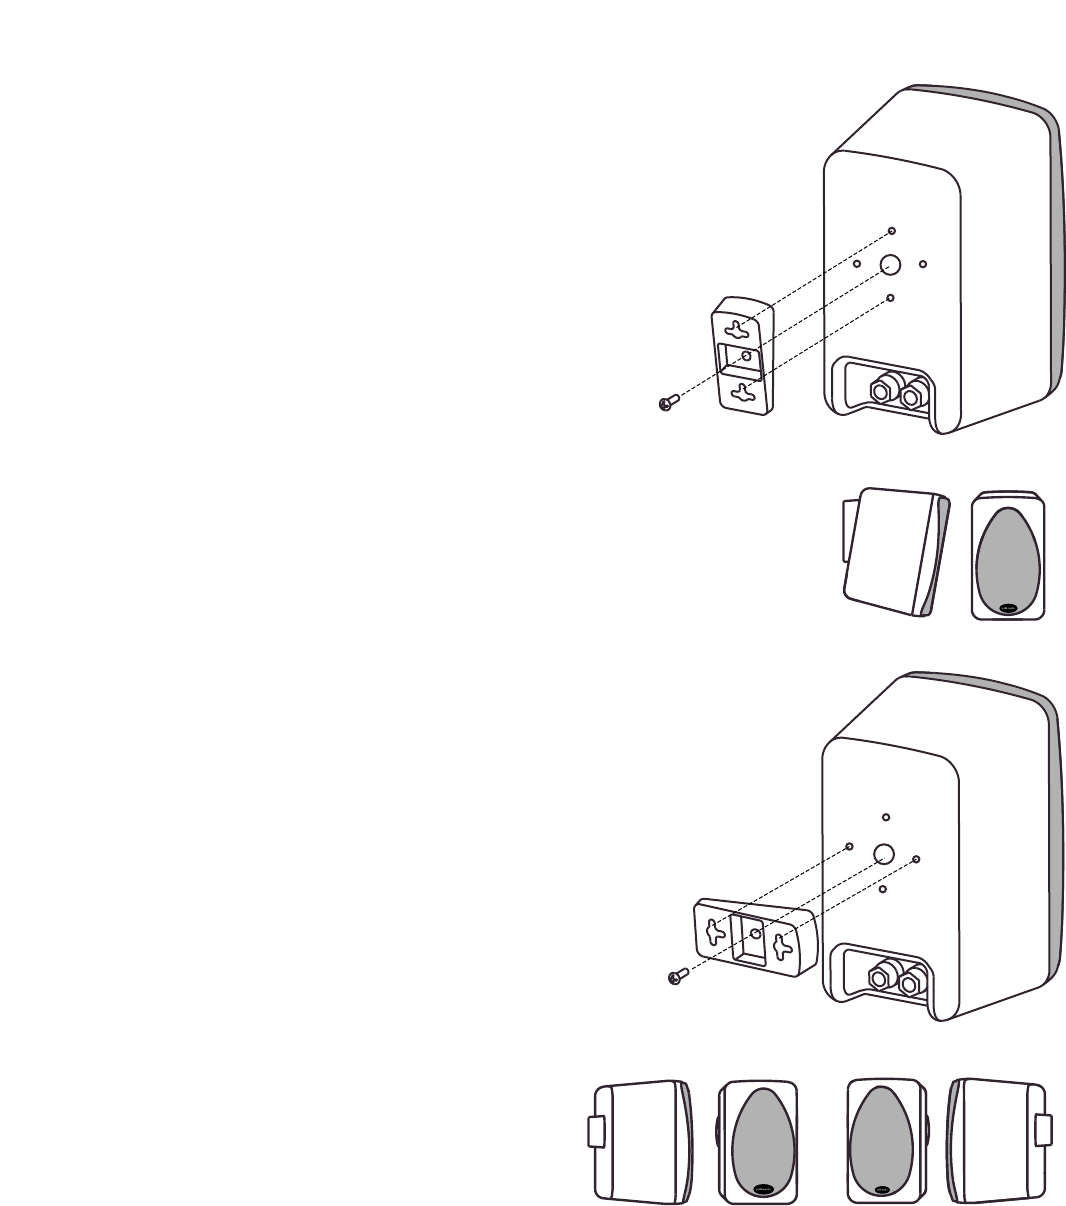
The satellite speakers are supplied with wall mounting brackets.
Follow the steps below to safely secure the brackets and speakers.
On-wall installation of RM satellites requires basic skills in using tools
such as a drill and screwdriver. If you are in doubt that you possess
the necessary skills or tools, consult your Polk dealer or a
professional installer.
• Make sure the locations you select do not conceal electrical
wiring or plumbing.
• Hold the speaker in the chosen location to make sure it clears the
ceiling, adjacent walls, corners, beams, lighting fixtures and door/
window frames.
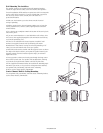
• Use a bracket as a template to mark the location of the two key-hole
slots with a pencil.
• If you are certain that there is a stud behind the wall surface, drive
#10 screws (not supplied) through the wall and into the stud leaving
screw heads protruding 1/16”.
• If there is no stud behind the chosen location, install #10 wall
anchors (not supplied) into the wall by following wall anchor
manufacturer’s instructions, leaving screw heads protruding 1/16.”
Always use two wall anchors and screws per speaker.
• Attach the bracket to the satellite with the supplied screw as shown.
The angle of the bracket allows you to point the speaker toward your
listening position. Turn the bracket to get the angle you want and
tighten the screw.
• Line up speaker so that screw heads pass through the large center
holes of the keyhole slots. Let speaker slide straight down, allowing
screw heads to slip behind the smaller end of the keyhole slots.
• If the supplied wall mount brackets do not allow the mounting angle
that meets your needs, or if you wish to ceiling-mount the satellites,
use optional, fully articulating “ball and socket” mounting
brackets, such as those made by Omnimount.
Center Channel Wall Or Ceiling Mounting
Use an optional, fully articulating “ball and socket” mounting bracket,
such as those made by Omnimount.


