26
7 Using the Tape Deck
Playing a tape (UK model only)
The tape deck features auto-reverse, Dolby B NR (noise
reduction) and auto tape select. The auto-reverse feature lets
you play or record both sides of the tape without physically
taking it out and turning it over. Dolby B NR reduces tape hiss
on tapes recorded using Dolby NR (which includes almost all
commercially recorded tapes). Auto tape select means that the
deck automatically detects the type of tape you're playing—
normal (type I) or high-position/CrO2 (type II)—so there's
no need to check the tape type and switch manually. Here,
we'll run through the basic tape deck controls; instructions for
other features, such as recording, start on page 28.
DIRECT PLAY 3
1
7
¡
4¢
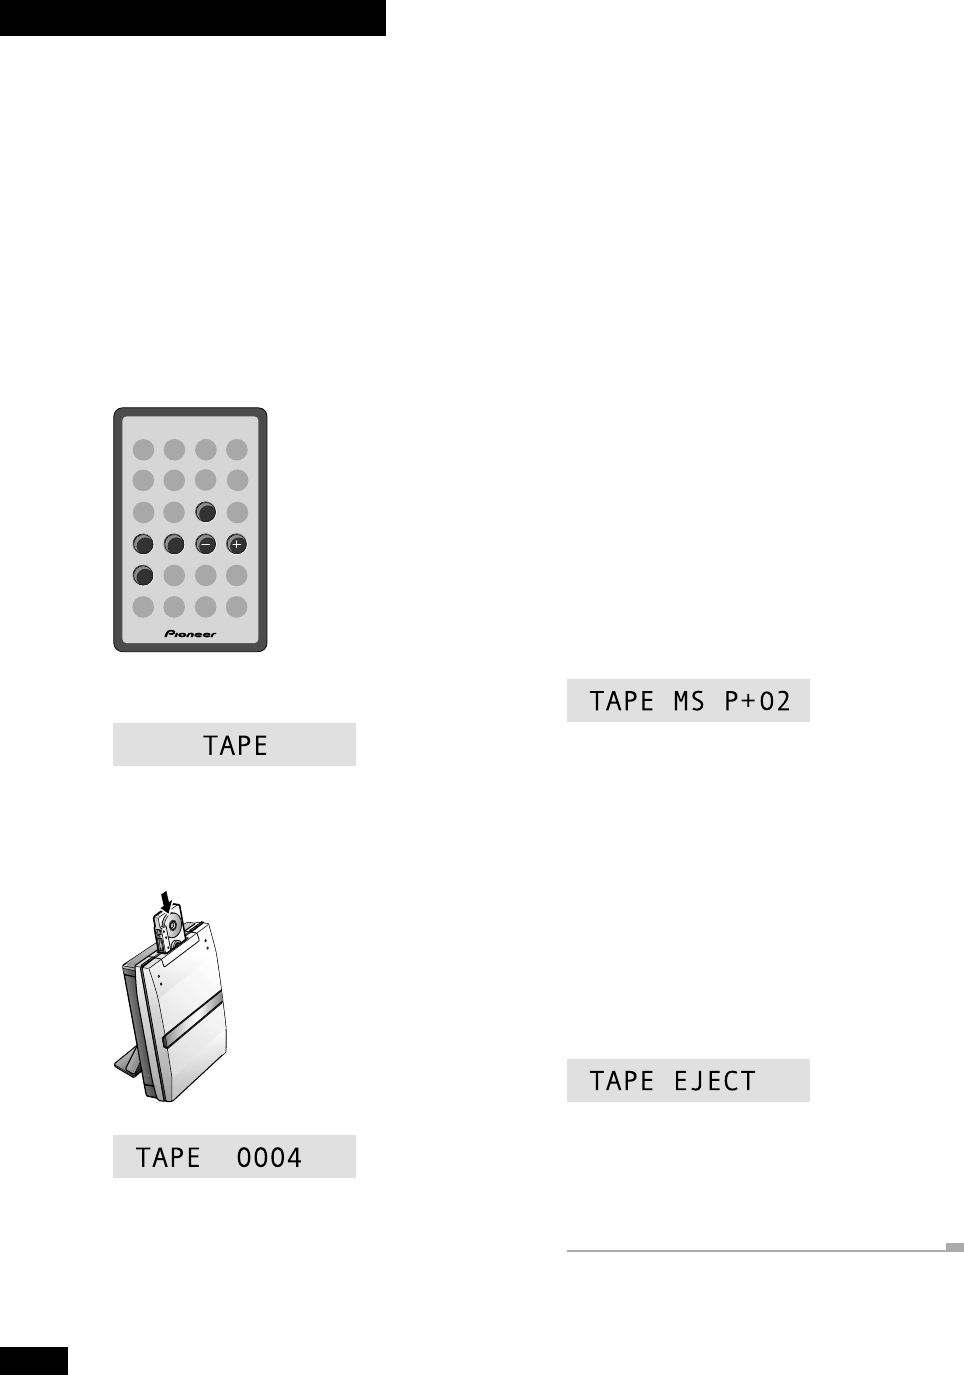
TAPE
1 Press TAPE to switch to tape mode.
2 Load a cassette tape then press TAPE to start
playback.
Playback will start from the side facing you when you load it.
If you’re using the top panel controls, press 23 to start
playback.
Use a tape that's already recorded on so you can hear
something in the following steps!
The side of the tape you'll hear is whichever is facing toward
you when you load it. This is the 'forward' (3) direction,
while the other side is 'reverse' (2). The forward indicator is
shown in the display.
3 To play the other side of the tape, press TAPE.
Each time you press tape during playback, the other side of
the tape starts playing. Pressing tape when the tape is stopped
starts playback on the side it was playing previously.
The current tape direction is indicated in the display.
4 To rewind or fast forward the tape, press 1
or ¡.
5 To skip back or forward a track on the tape,
press 4 or ¢.
¢ searches for the next blank space between tracks on the
side currently playing (in other words, to the start of the next
track), then resumes playback.
4 searches for the previous blank space between tracks on
the side currently playing (in other words, to the start of the
current track), then resumes playback.
By pressing 4 or ¢ more than once, the tape deck will
skip several tracks at once (up to a maximum of 15). For
example, press ¢ twice to skip forward two tracks.
Note: Track search is unlikely to work reliably in the
following cases:
• if the space between tracks is less than about 4 seconds
• if the recording is particularly noisy so the spaces are not
recognized
• if the recording contains frequent silences, such as a
language study tape.
• if the recording contains sections of very quiet material,
such as some classical music recordings
6 To stop the tape, press 7.
Press 0 on the top panel to eject the tape.
Tip
If there's already a tape in the deck, then pressing the TAPE
button—even when the system is in standby mode—will
switch the system on and start the tape playing.


