


33
En
6 More recording features
English
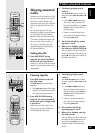
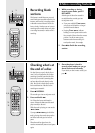
Automatically
numbering tracks
If you're recording from CD, MD, DCC or
DAT, you can usually let the recorder
number the tracks automatically as they
change on the source material. When
recording other digital or analog sources,
the recorder will start a new track if it
detects more than 2 seconds of silence.
However if you’re recording a noisy vinyl
record or a classical recording with long
quiet sections, the recorder may not always
regognize the gap between tracks. For this
reason you can adjust the level of sound
that the recorder regards as ‘silence’.
Each input (analog, coaxial and optical)
has its own threshold level, which can be
set independently.
Note: The minimum analog threshold
level is -66dB.
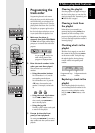
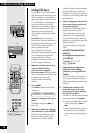
1 When the recorder is stopped,
press MENU/DELETE.
2 Turn the jog dial until A.LVL
appears in the display, then
press to ENTER.
DIGITAL
REC LEVEL
ANALOG
REC LEVEL
MENU/
DELETE
TEXT
SYNCHRO
PUSH ENTER
RL
ANALOG
REC BALANCE
Legato Link Conversion
CD TEXT
2,3
1
ENTER
CURSOR
MENU/
DELETE
NAMEMARK
SET
CLEAR
DISPLAY
/CHARA
7
1
¡
8
3
4
¢
ABC DEF
GHI MNOJKL
PQRS TUV WXYZ
REC SYNCHRO
REPEAT RANDOMNAME CLIP
I
NPUT
SELECTER
FADER
SKIP PLAY
SKIP ID
PROGRAM CHECK CLEAR
AUTO /
MANUAL
123
4
56
78
9
10/0 >10
SCROLL
TIME
Î
•
1
2
3
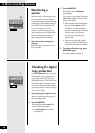
The display shows the current ‘silence’
threshold for automatic track numbering.
The default is -54dB.
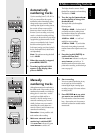
3 Turn the jog dial (4 and ¢
on the remote) to change the
threshold level.
Turning the dial cycles through the
following levels:
-78dB to -66dB – Use these levels if
you find the recorder is putting in new
track numbers during very quiet sections
of classical music, for example.
-60dB to -48dB – A ‘mid’ level
suitable for most recordings.
-42dB to -24dB – If you find that
the recorder is not putting in new track
numbers because the original source is too
noisy.
4 Press the jog dial (ENTER) to
confirm the new level.
If the AUTO TRK indicator is not lit, press
AUTO/MANUAL to switch it on. To
check that tracks will start at the correct
points on the recording, see Monitoring a
source on page 36.
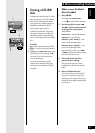
Manually
numbering tracks
Although automatic track numbering is
the default mode of the recorder, you can
number tracks manually as recording is
taking place. In some cases—such as
recording from digital satellite or
Laserdisc, or from an analog source—
auto track numbering may not work
reliably (in these cases, a new track is
started after the recorder detects two
seconds of silence), and it's better to use
manual track numbering.
Remember: It is not possible to edit
track numbers after recording.
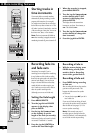
1 Make sure automatic track
numbering is switched OFF.
If the AUTO TRK indicator is lit, press
AUTO/MANUAL to switch it off.
2 Start recording.
You can use manual numbering in any
record mode, but it is best suited to
manual digital-input or analog-input
recording (see page 18 for more on these
recording modes).
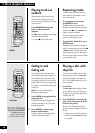
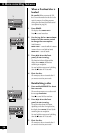
3 Press RECORD ¶ at any point
you want a new track to start.
CD tracks must be at least four seconds
long—the recorder won’t let you start a
new track less than four seconds into the
current track.
DIGITAL
REC LEVEL
ANALOG
REC LEVEL
MENU/
DELETE
TEXT
SYNCHRO
PUSH ENTER
RL
ANALOG
REC BALANCE
Legato Link Conversion
CD TEXT
3
◊ÛB
-
>?/
MONITOR
INPUT
SELECTOR
AUTO
MANUAL
AUTO
MANUAL
TRACK NO.
WRITE
TIME
FINALIZEERASE
SCROLL
1
MENU/
DELETE
NAMEMARK
DISPLAY
/CHARA
ABC DEF
GHI MNOJKL
PQRS TUV WXYZ
REC SYNCHRO
AUTO /
MANUAL
123
4
56
78
9
SCROLL
TIME
•
1
3