Changing the settings
20
En
09
Proxy Setup
Select Use Proxy Server when you connect this
unit to the Internet via a proxy server. Enter the IP
address of your proxy server in the Proxy Server
Address field. Also, enter the port number of your
proxy server in the ‘Proxy Port’ field.
Friendly Name
1 Press
SETUP
.
2Select
Network Setting
Friendly
Name
.
3Use
///
to enter
Friendly Name
,
then press ENTER.
• / : Moves the adjusting digit.
• / : Changes displayed character.
• SOUND : Switches character types.
• CLEAR : Deletes one characters at a time.
Parental lock setup
Restrict internet radio access for children. When
Internet Parental Lock is set to On, you cannot listen to
internet radio without entering the password.
Note
• Even if Internet Parental Lock is set to On,
automatic clock adjustment using network will
work.
Turn on/off the parental lock
1 Press
SETUP
.
The Initial Setup screen is displayed on the main
display.
2 Select Option Setting
Internet
Parental Lock
Internet Parental Lock
.
3Use
///
or number buttons to
enter the password, then press ENTER.
• / : Moves the adjusting digit.
• / : Increase or decreases the numbers.
• CLEAR : Deletes one characters at a time.
• The factory default setting is "0000".
4Use
/
to select On or Off, then press
ENTER
.
Changing the password
1 Press
SETUP
.
The Initial Setup screen is displayed on the main
display.
2 Select Option Setting
Internet
Parental Lock
Change Password
.
3Use
///
or number buttons to
enter the current password, then press
ENTER.
4Use
///
or number buttons to
enter the new password, then press ENTER.
• If you press RETURN, the previous screen will be
displayed.
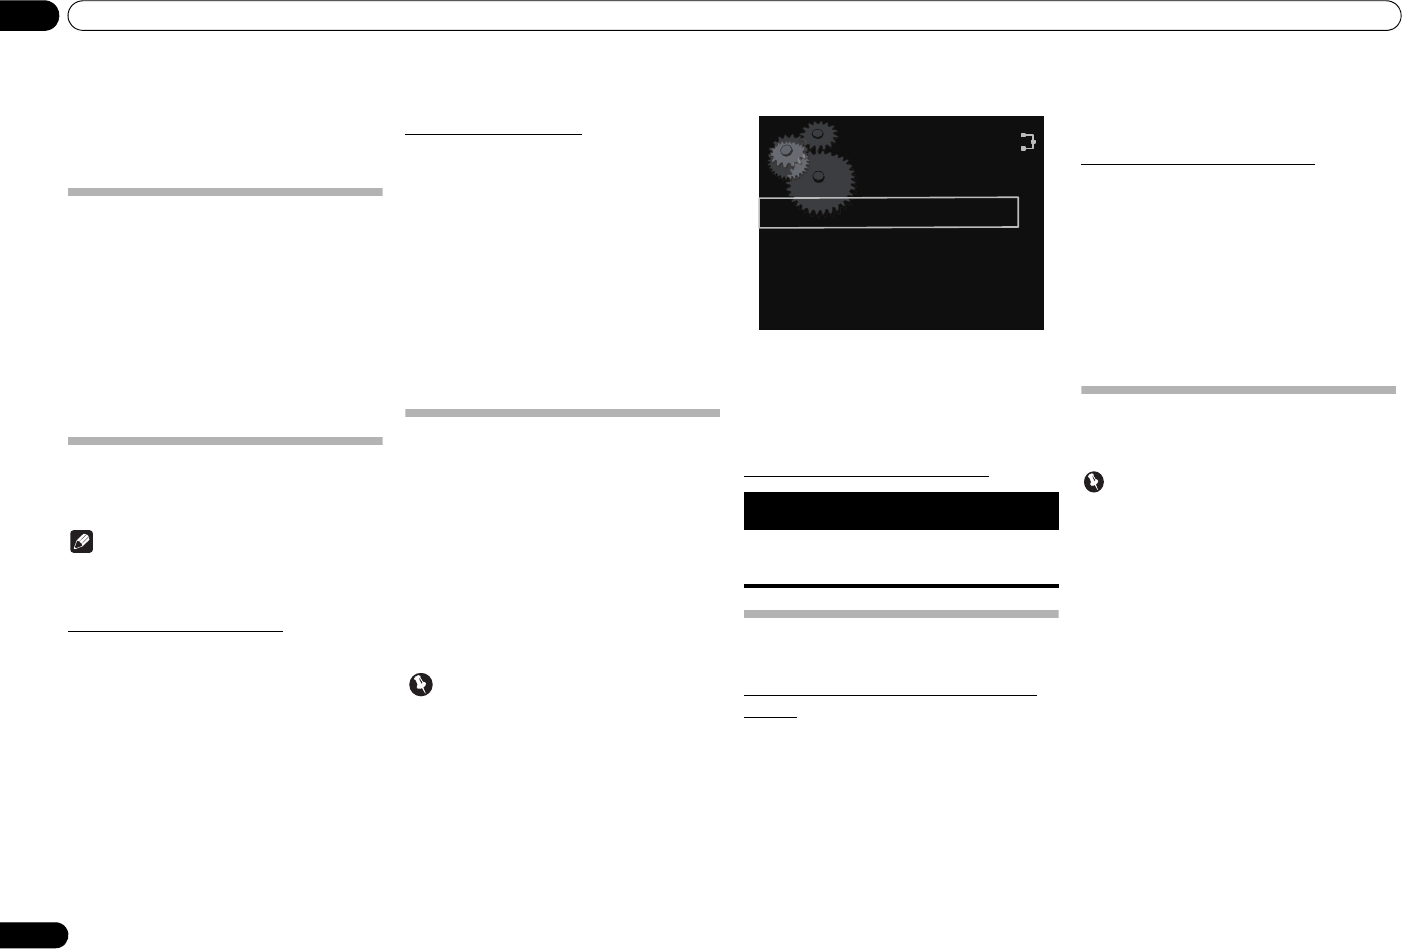
Software Update
Use this procedure to update the unit’s software. You
can update the software via a USB storage device.
Updating via a USB storage device is performed by
downloading the update file from a computer, reading
this file onto a USB storage device then inserting the
USB storage device into the USB port on the unit’s front
panel.
• If an update file is provided on the Pioneer website,
download it onto your computer. When
downloading an update file from the Pioneer
website onto your computer, the file will be in ZIP
format. Unzip the ZIP file before saving it on the
USB storage device. If there are any files or folders
on the USB storage device, delete them.
Important
• DO NOT unplug the power cord during updating.
• When updating via a USB storage device, do not
disconnect the USB storage device.
1 Press
SETUP
.
The Initial Setup screen is displayed on the main
display.
2 Select Option Setting
Software
Update
Start
, then press ENTER.
3 To update, press ENTER.
The display will temporarily disappear, and after about
twenty seconds, the update menu will be displayed and
update will begin.
• When the update is completed, the unit will
automatically reboot.
Software Update error messages
Power Off settings
Make settings to control the power ON/OFF mode.
Changing the Auto Power Off function
setting
The factory default setting for the Auto Power Off
function is On. As a result, when no action is performed
for thirty minutes, the unit will automatically turn Off.
This setting can be changed as follows:
1 Press
SETUP
.
The Initial Setup screen is displayed on the display.
2 Select Option Setting
Power Off
Setting
Auto Power Off
.
3Use
/
to select
On
or
Off
.
Changing the Quick Start Mode
When this is set to On, the time required for bootup will
be shortened. In addition, power-on will occur
simultaneously when AirPlay or DMR is performed. The
unit’s factory default setting for this mode is Off, to
reduce electrical consumption in the STANDBY mode.
1Press
SETUP
.
The Initial Setup screen is displayed on the display.
2 Select Option Setting
Power Off
Setting
Quick Start Mode
.
3Use
/
to select
On
or
Off
.
Resetting the system
Use this procedure to reset all system settings to the
factory default.
Important
• Disconnect all components connected to this unit
before the operation.
1Press
SETUP
.
The Initial Setup screen is displayed on the display.
2Select
Reset
from the Initial Setup
screen, then press ENTER.
The display shows Reset?.
3 To reset settings, press
SETUP
.
The unit turns off (standby mode).
All the settings will be reset to the factory default next
time the unit is turned on.
Status
messages
Descriptions
File Not
Found.
No update file was found on the USB
storage device. Store the file in the USB
storage device’s root directory.
Software Update
Start
Cancel
N-50-K_En.book 20 ページ 2011年9月7日 水曜日 午後5時4分


