


Adjusting initial settings
1
2
Initial settings lets you perform initial setup of
different settings for this unit.
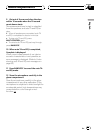
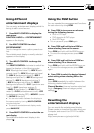
1 Function name tag
Shows the function currently selected in
highlighted manner.
2 Function display
Shows the function status.
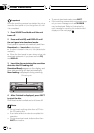
1 Press SOURCE and hold until the unit
turns off.
2 Press MULTI-CONTROL and hold until
the clock appears in the display.
3 Turn MULTI-CONTROL to select one of
the initial settings.
Turn MULTI-CONTROL clockwise to switch be-
tween the functions in the following order:
CLOCK (clock)AUX (auxiliary input)DIM
(dimmer)BRIGHT (brightness)D.ATT (digi-
tal attenuator)MUTE (telephone muting/at-
tenuation)WARN (warning tone)DEMO
(feature demo)REV (reverse mode) FONT
(font)SCROLL (ever scroll)AUTO OPEN
(flap auto open)
# You can also switch between the functions in
the reverse order by turning MULTI-CONTROL
counterclockwise.
# To cancel initial settings, press BAND/ESC.
Setting the clock
Use these instructions to set the clock.
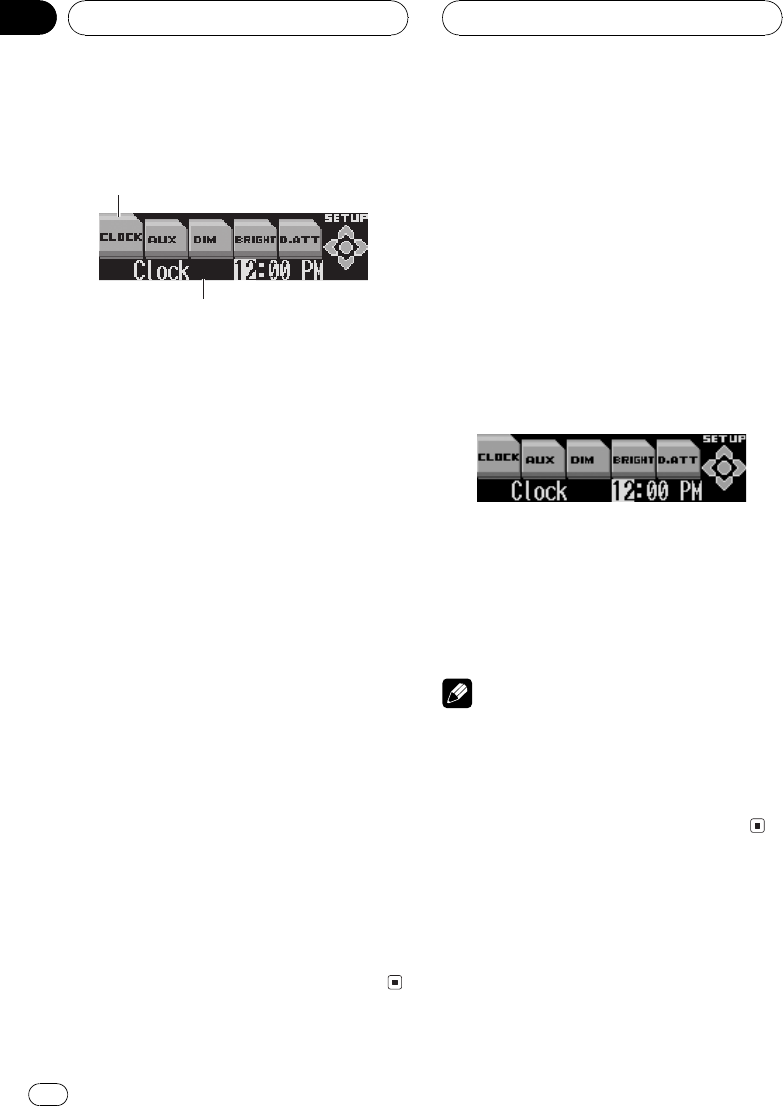
1 Use MULTI-CONTROL to select CLOCK.
The function name tag CLOCK is highlighted.
2 Push MULTI-CONTROL left or right to
select the segment of the clock display you
wish to set.
Pushing MULTI-CONTROL left or right will se-
lect one segment of the clock display:
HourMinute
As you select segments of the clock display
the segment selected will blink.
3 Push MULTI-CONTROL up or down to
set the clock.
Pushing MULTI-CONTROL up will increase
the selected hour or minute. Pushing
MULTI-CONTROL down will decrease the se-
lected hour or minute.
Note
You can match the clock to a time signal by
pressing MULTI-CONTROL.
! If the minute is 0029, the minutes are
rounded down. (e.g., 10:18 becomes 10:00.)
! If the minute is 3059, the minutes are
rounded up. (e.g., 10:36 becomes 11:00.)
Switching the auxiliary setting
It is possible to use auxiliary equipment with
this unit. Activate the auxiliary setting when
using auxiliary equipment connected to this
unit.
Initial Settings
En
62
Section
12