14 Pelco Manual C585M-B (11/98)
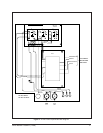
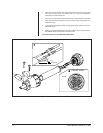
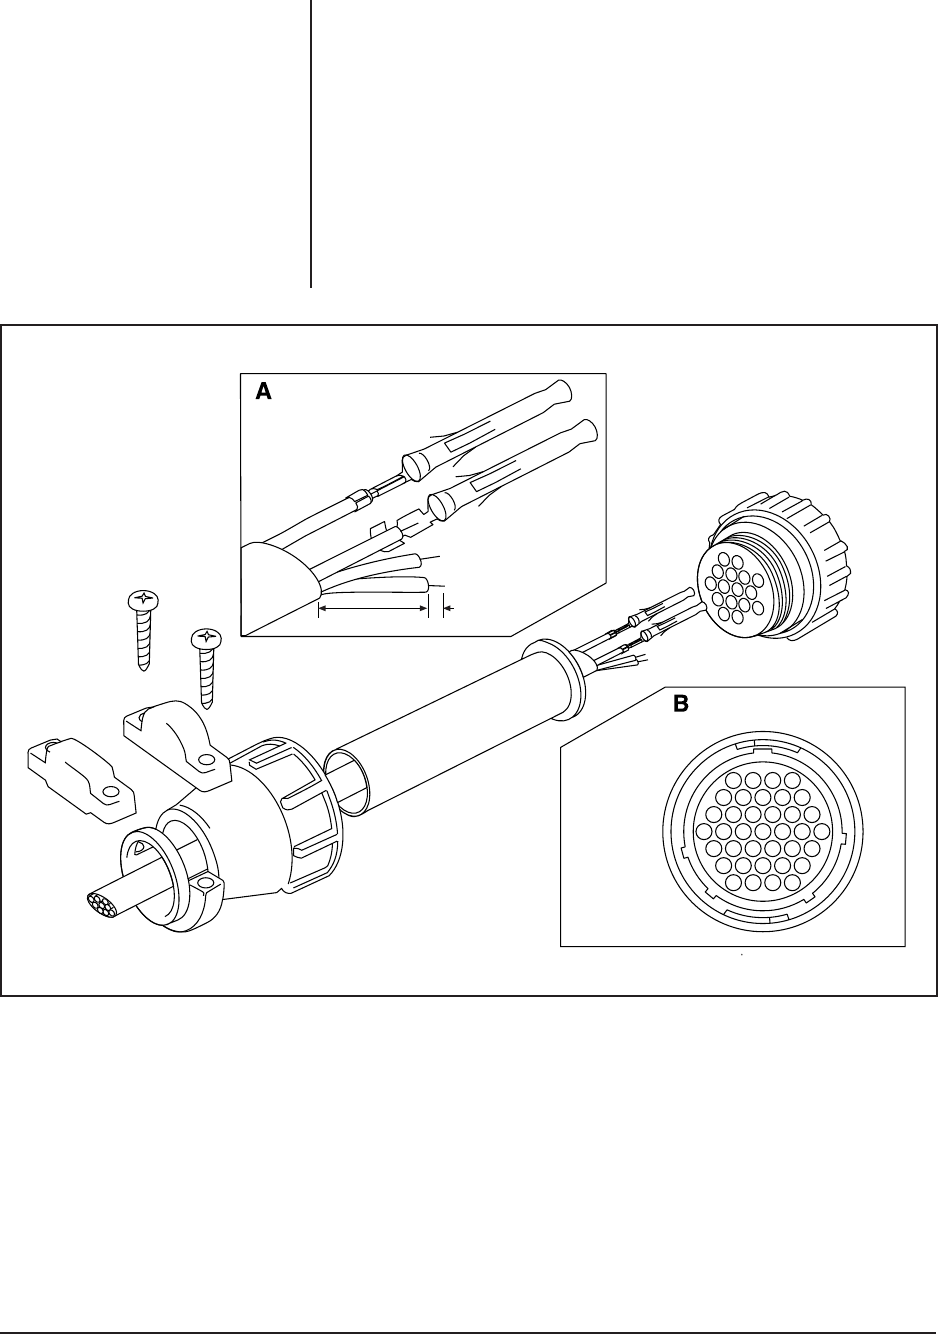
Figure 6. Connector Assembly
3. Slide the connector pins into the appropriate holes in the connector body until
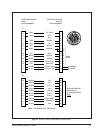
they snap into place. Refer to Figures 4 and 5 for correct pin arrangement,
depending on model and options.
4. Push the connector clamp assembly (with boot, if used) toward the connector
body. Screw the clamp assembly onto the connector body, being careful not to
disturb the wires.
5. To complete the assembly, attach the appropriate clamp with the screws pro-
vided and tighten.
6. When you are finished wiring the connector, connect the 37-pin assembly to
the WX8000 Series receiver/driver and the pan/tilt.
Proceed to Section 3.3.2, AUXILIARY FUNCTIONS.
OR
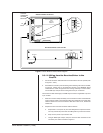
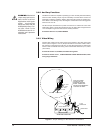
1" (2.54 cm)
1/8"
(0.318 cm)
FRONT VIEW
14
59
15 10
22 16
28 23
33 29
37 34
37-PIN


