


DISC OPERATIONS
ENGLISH ENGLISH
25
RQT8043
RQTX0038
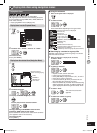
Other Settings (continued)
7 Picture Menu (continued)
Transfer
Mode
If you have chosen “xxx p” (progressive) or
“1080i” (interlace) ( page 24, “Video Output
Mode”), select the method of conversion for
progressive output to suit the type of material.
• The setting will return to Auto or Auto1 when
the disc tray is opened, the unit is turned off or
another source is selected.
When playing PAL discs or MPEG4 or DivX video
contents
Auto : Automatically detects the fi lm and video
content, and appropriately converts it.
Video : Select when using Auto, and the content
is distorted.
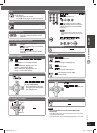
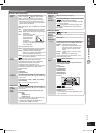
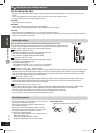
Film : Select this if the edges
of the fi lm content
appear jagged or
rough when Auto
is selected.
However, if the video content is distorted
as shown in the illustration to the right,
then select Auto.
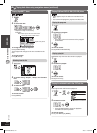
When playing NTSC discs
Auto1 : Automatically detects the fi lm and video
content, and appropriately converts it.
Auto2 : In addition to Auto1, automatically
detects fi lm contents with different frame
rates and appropriately converts it.
Video : Select when using Auto1 and Auto2, and
the content is distorted.
Source
Select
When you select “Auto” the constructing
method of the DivX contents is automatically
distinguished and output. If the picture
is distorted, select “I (Interlace)” or “P
(Progressive)” depending on which constructing
method was used when the contents were
recorded to disc.
Auto
I (Interlace)
P (Progressive)
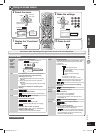
HD Picture
Enhancer
This works when the HDMI connection is being
used and “Video Mode” (\ page 28, “HDMI” tab)
is set to “On”.
To sharpen the “720p”, “1080i” and “1080p”
picture quality
Off 1 2 3 (sharpest picture)
HDMI Colour
Space
(or HDMI
Color
Space)
This works when the HDMI connection is being
used and “Video Mode” (\ page 28, “HDMI” tab)
is set to “On”.
To select suitable picture colour with your
television
RGB
YCbCr (4:4:4)
YCbCr (4:2:2)
• If the setting above is not compatible with your
television, it will not be displayed.
• “RGB Range” (\ page 28, “HDMI” tab) is
available when “RGB” is selected.
7 Audio Menu
Dolby Pro
Logic II
(\ page 33, Dolby Pro Logic II)
Dialogue
Enhancer
To make the dialogue in movies easier to hear
(Dolby Digital, DTS, MPEG,
3-channel or higher, with the dialogue recorded
in the center channel)
(Dolby Digital, 3-channel or higher, with
the dialogue recorded in the center channel)
On Off
7 Display Menu
Information
: On Off
Subtitle
Position
0 to –60
Subtitle
Brightness
Auto, 0 to –7
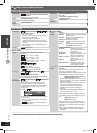
4:3 Aspect To select how to show images made for 4:3
aspect screens on a 16:9 aspect television
Normal : Laterally stretches images.
Auto : Expands 4:3 letterbox images to fi ll
more of the screen. Other images
appear in full in the center of the
screen.
Shrink : Images appear in the center of the
screen.
Zoom : Expands to 4:3 aspect ratio.
If your television has a similar feature, use it
instead for a better effect.
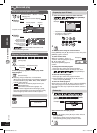
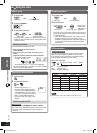
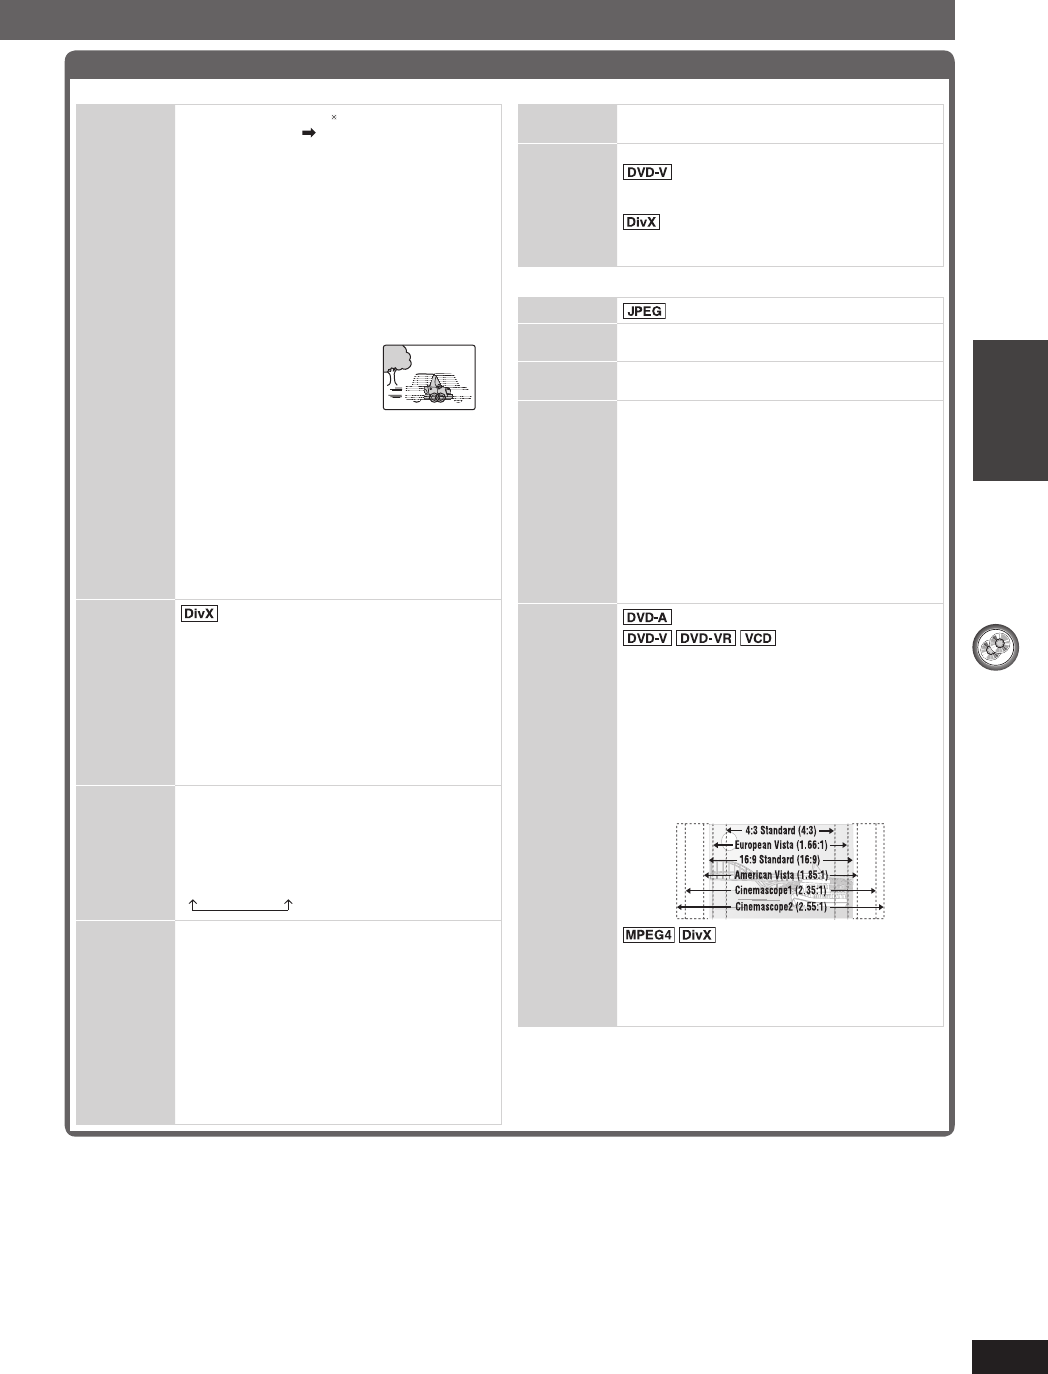
Just Fit
Zoom
(Motion picture part)
To select the appropriate screen size to fi t
your television screen
Auto
4:3 Standard
European Vista
16:9 Standard
American Vista
Cinemascope 1
Cinemascope 2
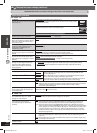
Example:
Standard (x0.25 full-screen)
Original (actual recorded size)
Full (full-screen)
• This function may not work depending on the
disc’s recording.
RQTX0038-3B.indd 25RQTX0038-3B.indd 25 4/2/07 1:46:07 PM4/2/07 1:46:07 PM