


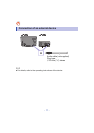


- 19 -
You can change this unit’s name on the network, and use specific IP
address, subnet mask, default gateway, primary DNS, etc.
Preparation
≥ Complete the network settings.
1 Check this unit’s IP address (l 26), and note it down.
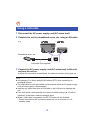
2 Connect your device to the same network as this unit.
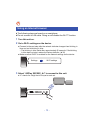
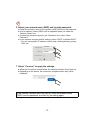
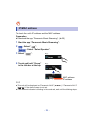
3 Start an Internet browser on your device and then type this
unit’s IP address into the address field to display the settings
page.
≥ It may take a few minutes until the settings page is displayed depending on
the environment. In that case, reload the browser.
≥ If the unit is connected with Wi-Fi, only a device name can be changed.
Close the settings page after changing the device name.
– To change the device name, select “Change”, and type a new device
name, and then select “Apply”.
4 Type a device name and then select “Next”.
≥ Refer to the step 5 of “Using an Internet browser” (l 14) for details on a
device name.
5 Select and input the details.
≥ If your network requires specific settings, select “DHCP” to disable DHCP.
– You can use specific IP address, subnet mask, default gateway, primary
DNS, etc.
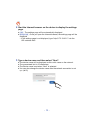
6 Select “Connect” to apply the settings.
≥ When the connection is established, the network indicator (blue) lights up.
To make network-related settings