


12
RQTX0271
ESPAÑOLESPAÑOLESPAÑOLESPAÑOL ENGLISH
The USB connectivity enables you to record sound or music tracks
from various sources to MP3 format and store into the USB mass
storage device which can be played back. Typically, USB memory
devices (bulk only transfer).
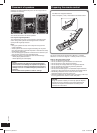
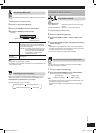
Connecting a USB mass storage device
Connecting a USB mass storage device
Preparation
Before connecting any USB mass storage device to the unit, ensure
that the data stored therein has been backed up.
It is not recommended to use a USB extension cable. The device
connected via the cable will not be recognised by this unit.
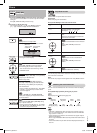
USB enabled device
(not included)
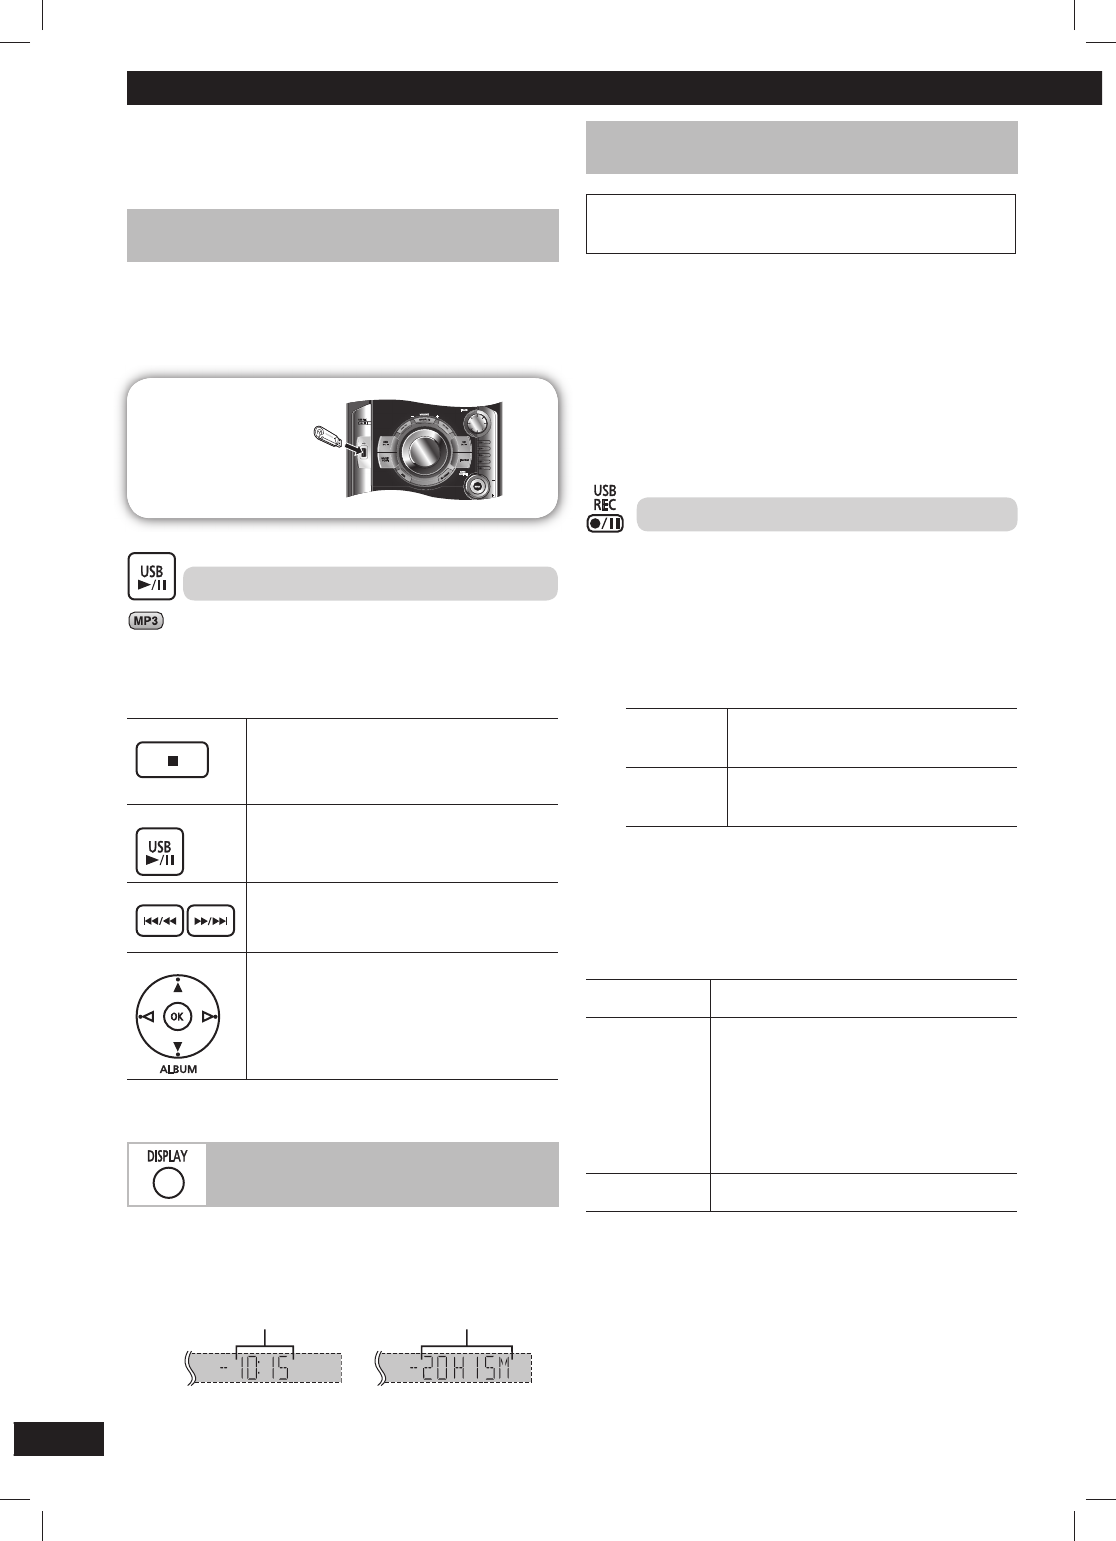
Playing a USB mass storage device
1 Reduce the volume and connect the USB mass storage
device to the USB port.
2 Press [6, USB] to start play.
Stop playback Press [7] (stop) during play.
The current track will be memorised.
Press [6, USB] to resume play.
OR
Press [7] (stop) again to clear the position.
Pause play
Press [6, USB] during play.
Press again to resume play.
Skip tracks
Press [4 / 1] or [¡ / ¢], or turn
[TRACK] (
\ page 9, “Basic play”).
OR
Press the numeric buttons.
Skip album
Press [5/∞, ALBUM] to select the desired
album during play or when in stop mode.
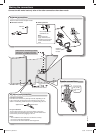
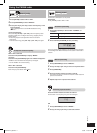
Checking the USB status
Checking the USB status
You can check the available recording time of the USB device.
1 Press [6, USB] and then [7] (stop).
2 Press [DISPLAY].
Shows the time is 10 minutes
and 15 seconds
Shows the time 20 hours
and 15 minutes
USB
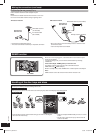
Recording to a USB mass storage device
Recording to a USB mass storage device
Panasonic will not be held responsible on the consumer’s action
to record copyrighted music in the form of various audio fi les
which results in copyright infringement.
Note:
• This function does not work during any “RANDOM” mode
selection.
• Repeat mode will turn off when recording starts.
• A new album is created each time you perform a recording.
Depending on the memory, the album’s sequence may change
once the recording has completed.
• The recorded sound or music tracks are stored in a folder named
“REC_DATA”.
• All tracks are recorded to .mp3 format.
Basic recording
1 Connect the USB device.
2 Select the source to be recorded.
Radio recording:
Tune in the station (
\ page 11).
CD recording:
1) Insert the disc(s) you want to record.
Press [6, CD] and then [7] (stop).
2) Prepare the desired disc recording mode.
Record
programmed
tracks
Program the tracks you want (
\ page 10).
Record
specifi c
tracks
Press [PLAY MODE] to select the desired
mode (
\ page 9).
Ensure the disc has stopped.
MUSIC PORT or AUX recording:
Connect and play the equipment (
\ page 17).
3 Press [
¶¥8
, USB REC] to start recording.
“REC” is displayed and USB recording indicator blinks.
“REXXXXXX MAKING” is displayed, where “REXXXXXX” is the
folder’s name.
Stop recording Press [7] (stop).
“WRITING” is displayed for a few second.
Pause recording Press [
¶¥8
, USB REC].
“REC” blinks.
Press again to resume recording.
Note:
Pause can only be performed during
recording from the radio, music port or AUX
source (except in SYNCHRO mode). A track
mark (
\ page 14) is inserted every time you
pause.
Erase a
recorded track
(
\ page 14)
Note:
“RENAME” and “ALBUM” will be displayed when the system
rearranges and renames the folders in ascending order.
RQTX0271-B_GB.indd 12RQTX0271-B_GB.indd 12 5/6/09 11:00:03 AM5/6/09 11:00:03 AM