


19
RQT9522
Operations
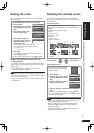
Using the timer
Photos or audio are automatically played at the set time.
“Timer 1”, “Timer 2” and “Timer 3” can be set.
Set the clock beforehand (¼P9)
To listen to the radio, tune in to channels beforehand.
In the timer setting, set only audio source and volume for audio playback. For Random, Repeat play, etc. make the settings
before the timer playback starts.
•
•
To return to the previous screen
Press [ RETURN].
To return to the timer setting menu
Press [zTIMER].
To disable the set timer
Select “Disable This Timer” in step 3 -2 and press [OK].
To delete the timer setting
Select “Initialize This Timer” in step 3 -2 and press [OK].
When the timer is set
When the unit is turned on, if the audio playback is “On”,
“z” is displayed one minute before the timer start time.
At the timer start time, the sound is faded in to the set
volume and the audio is played back. (z blinks)
•
•
Note
The timer operates at the set time unless you set it to
“Disable”.
The timer less than 10 minutes may not be displayed on
the timer setting screen. (When the audio playback is “On”,
only “ ” is displayed.)
When the Setup Menu, etc. is displayed, audio playback
with the timer does not start.
Audio playback with the timer may not start if the audio
media selected for “Audio Playback” is the same as the
one selected when the timer starts.
During CD playback, pause or search
During iPod playback or search
When the radio frequency being received is the same,
and the Auto/Monaural setting is the same
•
•
•
•
–
–
–
Using the setup menu / Changing the dimmer / Using the timer
The following explains the case when setting “Timer 1” as
an example.
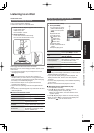
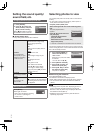
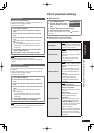
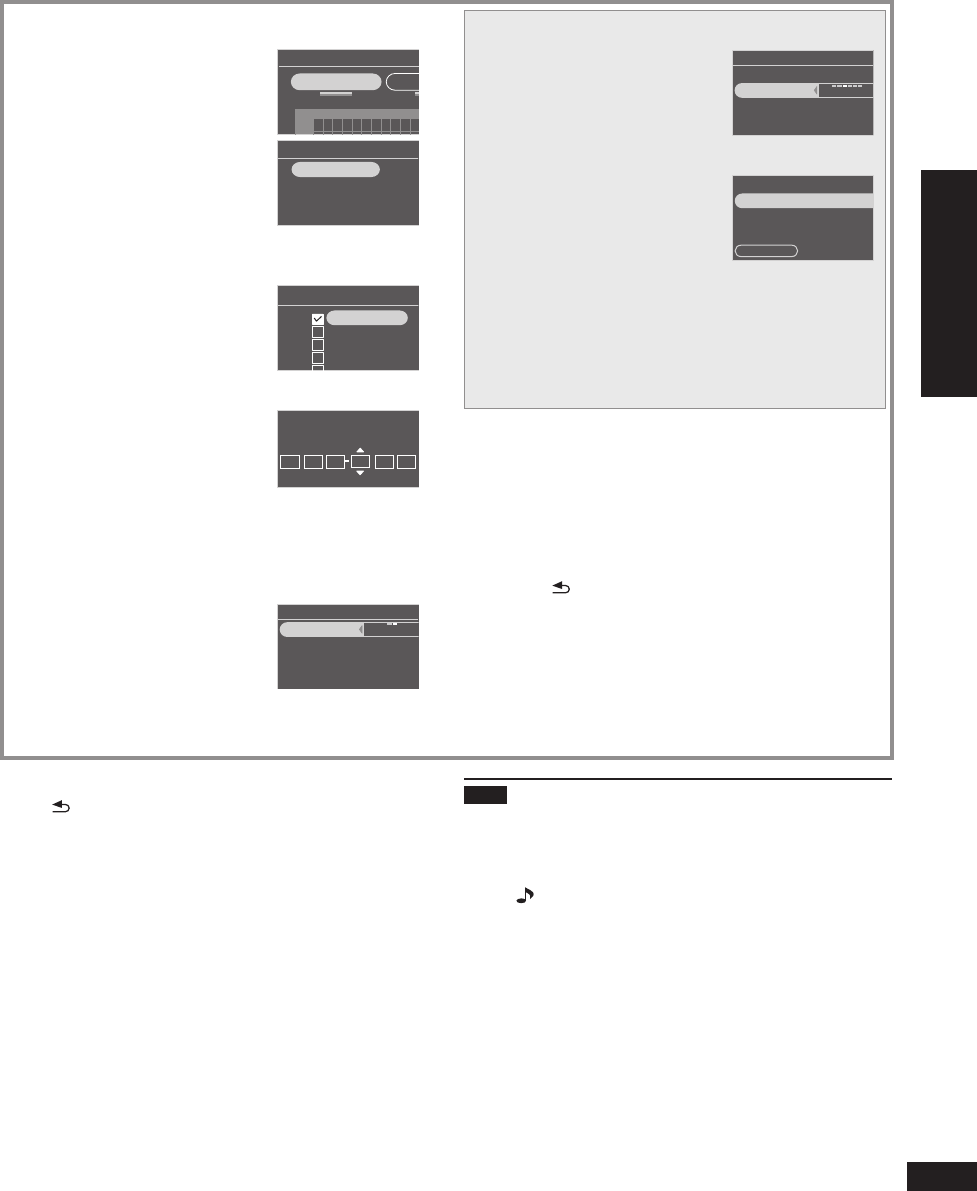
1. Press [zTIMER].
Timer Setting Menu
Timer 1 Settings Time
r
3AM12 6 9
Sun
M
2. Press [w, q] to select “Timer
1 Settings” and press [OK].
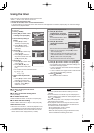
3. Set the standby setting to
Enable.
1. Press [e, r] to select
“Standby” and press [OK].
2. Press [e, r] to select
“Enable This Timer” and
press [OK].
Timer 1 Settings
Standby
Day
Time
Enable
Unset
12:00 A
4. Set the day.
1. Press [e, r] to select “Day”
and press [OK].
2. Press [e, r] to select the
day, add the check mark with
[w, q] and press [OK].
Timer 1 Day Settings
Sunday
Monday
Tuesday
Wednesday
Thursday
5. Set the time.
1. Press [e, r] to select “Time”
and press [OK].
2. Press [w, q, e, r] to set
the start/end time and press
[OK].
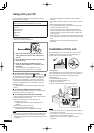
Ʒ7
⿉
00
AM
⿉
Ʒ800
AM
Start Time End Time
You can also use the numbered buttons.
e.g.) 9: [0] [9]
10: [1] [0]
•
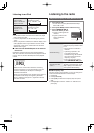
6. Select Audio Playback ON/
OFF.
1. Press [e, r] to select “Audio
Playback” and press [OK].
2. Press [e, r] to select “Audio
Playback”, press [w, q] to
select “On” or “Off”.
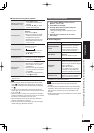
Timer 1 Audio Settings
Source: CD
Audio Playback
Playback Time
Update Source/Volume
On
30 minutes
Only when audio playback is set
7. Press [e, r] to select
“Playback Time” and press
[w, q] to select the playback
time.
10 minutes/30 minutes/1 hour/
2 hours/3 hours/No Limit
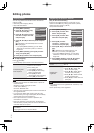
Timer 1 Audio Settings
Audio Playback
Playback Time
Update Source/Volume
On
1 hour
Source: CD
8. Press [e, r] to select
“Update Source/Volume” and
press [OK].
Source:CD
Volume:25
Playback Time
Update Source/Volume
1 hour
Confirm
The sound source and volume are displayed.
When you do not change, press [w, q] to select
“No” and press [OK].
When you change, make the setting using the
audio selection button or volume button, press
[w, q] to select “Yes” and press [OK].
As a test, the sound source can be played.
•
•
9. Press [e, r] to select “Confi rm” and press [OK].
10. Press [e, r] to select “Confi rm” and press [OK].
If the operation time overlaps other timer settings, the
confi rmation message appears.
If “Yes” is selected, other timers with the overlapped
time are disabled.
If “No” is selected, the original screen is restored with
the contents of timer setting reserved.
•
•
11. Press [
RETURN].
The standard screen is restored.