


EN
7
1. Connect the AC adaptor connector into the DC IN
9V jack at the back of the Transmitter.
2. Plug your AC adaptor into an electrical socket.
Always use the supplied 9V AC power adaptor
that is designed specifically for the Transmitter only.
Using any other AC power adaptor may cause the unit
to malfunction and increase the risk of fire or injury.
Should you notice any abnormality in the
Transmitter AC adaptor, disconnect it from the electrical
socket and Transmitter immediately.
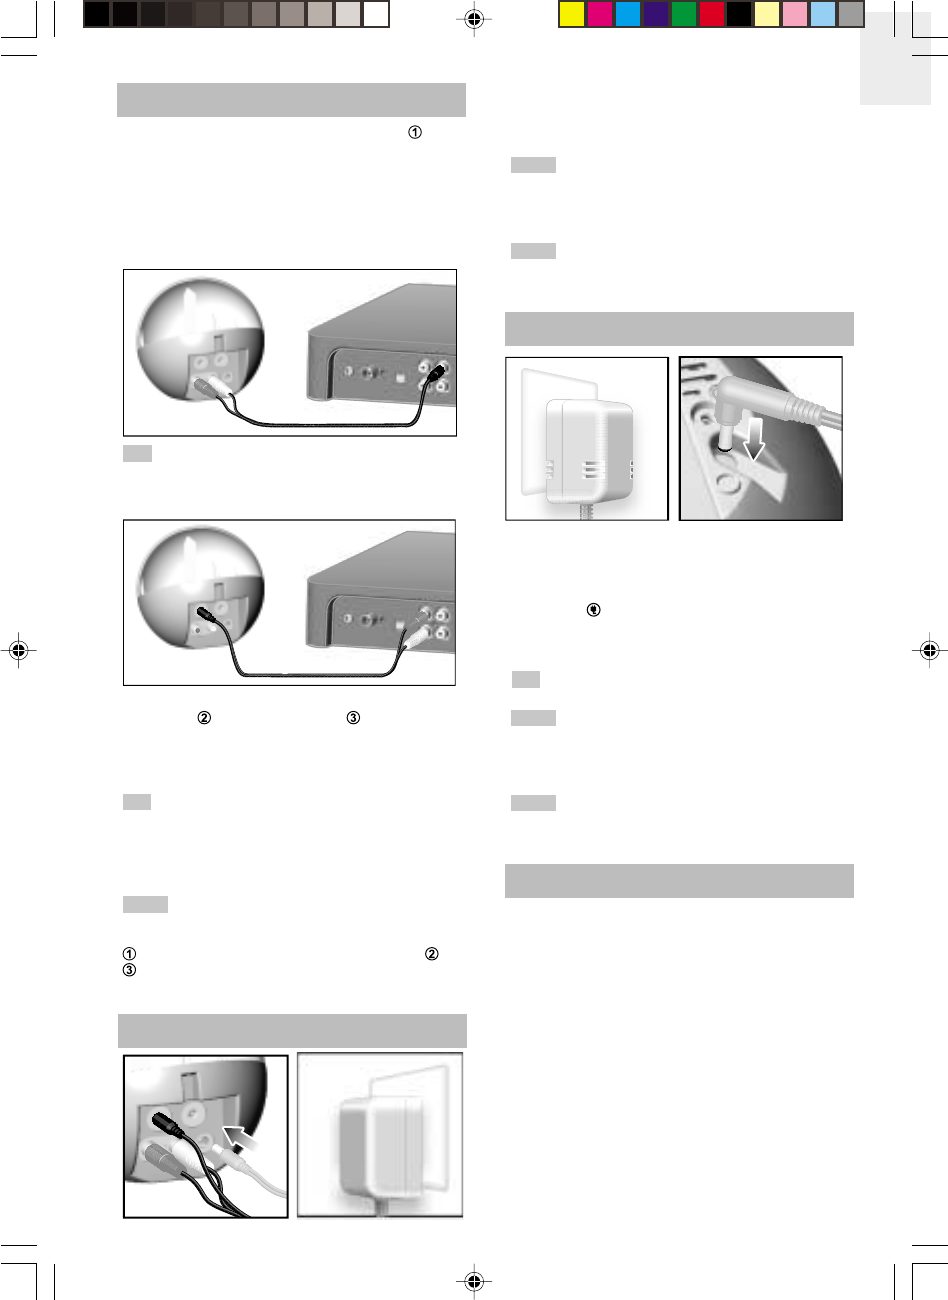
CONNECTING THE AC ADAPTOR TO THE
WIRELESS REMOTE SPEAKER
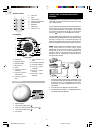
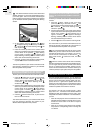
1. Connect the AC adaptor into the DC IN 9V jack on
the Wireless Remote Speaker as shown in the
diagram.
2. Plug your AC adaptor into an electrical socket. You
will see
appear on the LCD when the speaker
is powered on (see section on "BASIC SPEAKER
OPERATION" for more information).
Using the AC adaptor will help to save on batteries.
Always use the supplied 9V AC adaptor that is
designed specifically for the Wireless Remote Speaker
only. Using any other AC adaptor may cause the unit to
malfunction and increase the risk of fire or injury.
Should you notice any abnormality in the
Wireless Remote Speaker AC adaptor, disconnect it from
the electrical socket and speaker immediately.
INSTALLING BATTERIES INTO WIRELESS REMOTE
SPEAKER
While using the AC adaptor to operate the Wireless
Remote Speaker will help to save on batteries, the option
to use batteries provides added flexibility and portability
to move and place the unit almost anywhere without
being restricted by cables.
The Wireless Remote Speaker requires 6 "C" batteries
(not included). To install the batteries:
1. Open the battery compartment cover.
2. Insert 6 "C" batteries into battery compartment
according to the correct polarity indicators.
3. Close the battery cover.
TIP
NOTE
NOTE
NOTE
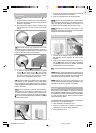
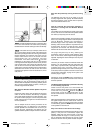
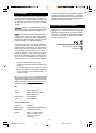
CONNECTING AUDIO SOURCES TO THE
TRANSMITTER
Use the Y audio cable to connect audio source
to the
Transmitter:
1. On one end of the cable are red / white connectors.
Plug them into the RCA red / white input jack at the
back of the Transmitter.
2. At the other end of cable is a stereo connector. Plug
the connector into the line-out jack of the audio
source.
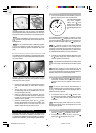
Your audio source may require the red / white
connector plugged in instead of the stereo connector. If
so, simply plug the Y cable's stereo connector to a line
in jack on the Transmitter, as shown below.
3. To connect a second and third audio source (audio
source
and audio source
), use another
Y audio cable or stereo cable (in which both ends
are stereo connectors) and connect the audio
sources to the Transmitter's stereo jacks.
The line-out jacks on the audio source may already
be occupied by other connectors. If the audio source
has a headphone jack available, the stereo connector
can be plugged into the headphone jack as an alternative
line-out connection.
It is not necessary to prioritize the connections.
That is, if you are connecting just 1 audio source you do
not need to connect it to the Transmitter's audio source
jack. It can be connected to the audio source
, or
line-in jack instead, depending on whether a Y cable
or stereo cable is used.
CONNECTING THE AC ADAPTOR TO THE
TRANSMITTER
TIP
TIP
NOTE
NOTE
WRS368 Eng (US) R18 OP 7/30/05, 10:51 AM7