12
Step 3:
Playing Back
3
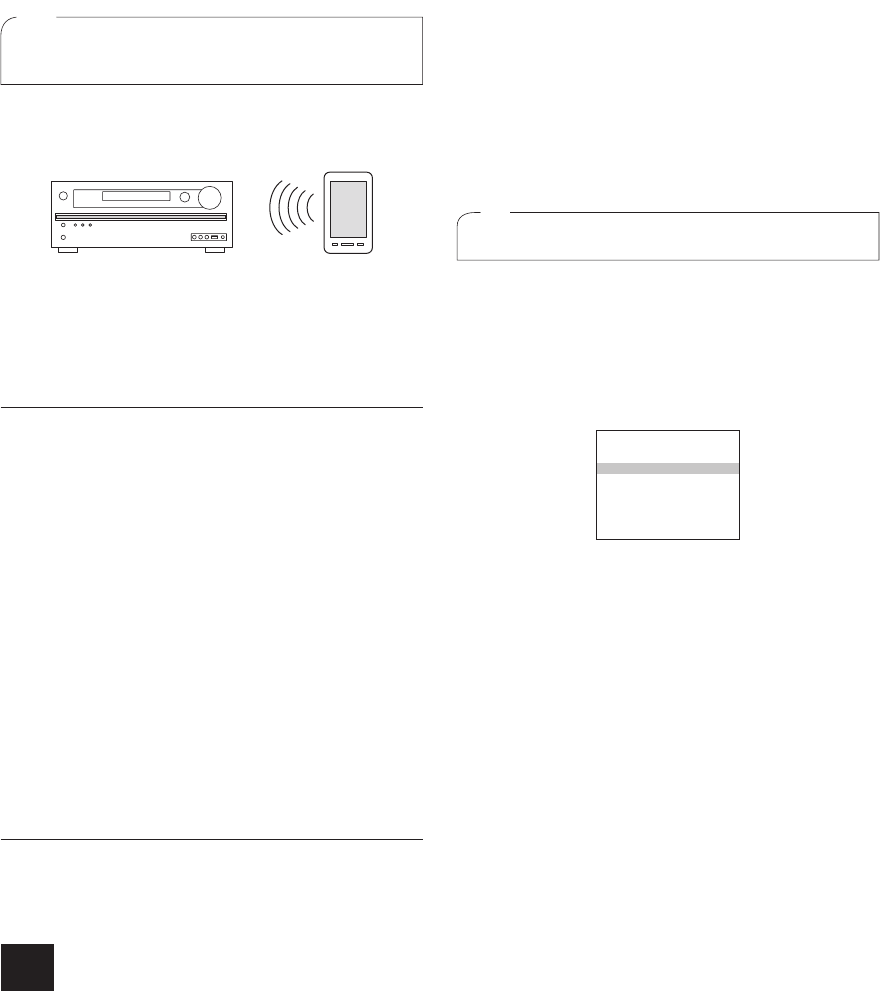
Connecting and playing the Bluetooth-
enabled device
You can wirelessly enjoy music files stored in a smartphone
or other Bluetooth-enabled device. The coverage area is
48 feet (15 meters).
r The Bluetooth-enabled device needs to support the
A2DP profile.
r Note that connection is not always guaranteed with all
Bluetooth-enabled devices.
Pairing
Pairing is necessary when using the Bluetooth-enabled
device for the first time. Before starting the procedure, learn
how to enable the Bluetooth setting function and to connect
with other devices on the Bluetooth-enabled device.
1.
Press BLUETOOTH on the remote controller.
The unit enters the pairing mode and the BLUETOOTH
indicator starts flashing.
2.
While the BLUETOOTH indicator is flashing,
complete connection on the Bluetooth-enabled
device in the nearby area within about 2 minutes.
If the name of this unit is displayed on the Bluetooth-
enabled device's display, select this unit. Paring will end
after a short time.
r If a password is requested, enter "0000".
r
When connecting the unit to any other Bluetooth-
enabled device, start pairing by pressing and holding
BLUETOOTH until the BLUETOOTH indicator starts
flashing. This unit can store the data of up to ten paired
devices.
Playing sound of the Bluetooth-enabled device
If the unit is on and the Bluetooth-enabled device is
connected, the input will be automatically switched to
BLUETOOTH. Play music in this state.
r It may take about a minute until connection is established
when the unit is on since the Bluetooth function takes
some time to start up.
r If the volume setting on the Bluetooth-enabled device is
low, the sound will not be output from this unit.
r Due to the characteristics of Bluetooth wireless
technology, the sound produced on this unit may slightly
be behind the sound played on the Bluetooth-enabled
device.
4
Using the Home menu
In the Home menu, you can make advanced settings and
use Internet radio and DLNA. For more information about
the operation, see the Advanced Manual.
1.
Press RCV on the remote controller and then press
HOME.
The Home menu displays on the TV screen. You can
also use the HOME button on the main unit.
Home
Setup
Network Service
USB
Sleep Timer
InstaPrevue
2.
Select the item with the cursor buttons of the
remote controller and press ENTER to confirm your
selection.
To return to the previous screen, press RETURN. To
return to the Home menu, press HOME.
Setup: You can change the assignment of input terminals
and input selector buttons and also make various speaker
settings and other advanced settings.
Network Service: Select to use Internet radio services
and the DLNA function. When you connect the unit to the
network and press ENTER, the network service screen
will be displayed on the TV. On the TV screen, select the
desired service or music file with the cursors of the remote
controller and press ENTER to confirm and start playback.
Internet radio service: You can listen to TuneIn or such
other Internet radio stations registered in advance.
DLNA : You can play music files stored in the PC or
NAS device connected to the network. Select the server
with the cursors, select the desired music file and press
ENTER to start playback.
Home Media: You can play music files in a shared folder
on the PC or NAS device connected to the network.
Select the server with the cursors, select the desired
music file and press ENTER to start playback.
r "Network Service" becomes selectable after the network
starts up even if it cannot be selected first. It may take
about a minute to start up.
USB: Select "USB" in the TV screen and connect a
USB storage device to the USB port on the front panel. On
the TV screen, select the desired folder or music file with
the cursors of the remote controller and press ENTER to
confirm and start playback.
r "USB" becomes selectable after the USB function starts
up even if it cannot be selected first. It may take about a
minute to start up.
Sleep Timer: Select to turn the unit into standby mode
automatically when the specified time elapses.
InstaPrevue:
Select to preview videos input from the HDMI
input jacks collectively in a single screen. The screen has a
main window (current input video) and sub windows (other
input videos). To switch the current input, select the desired
sub window with the cursor buttons and press ENTER.
r A black sub window is shown for the input with no video
signals.
r "InstaPrevue" cannot be selected if the video is being
input from HDMI IN 6 or there is no signal from the input
currently selected.
r Depending on video signals, the picture may not be
properly rendered on the preview thumbnails.


