


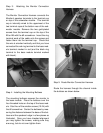
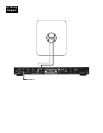
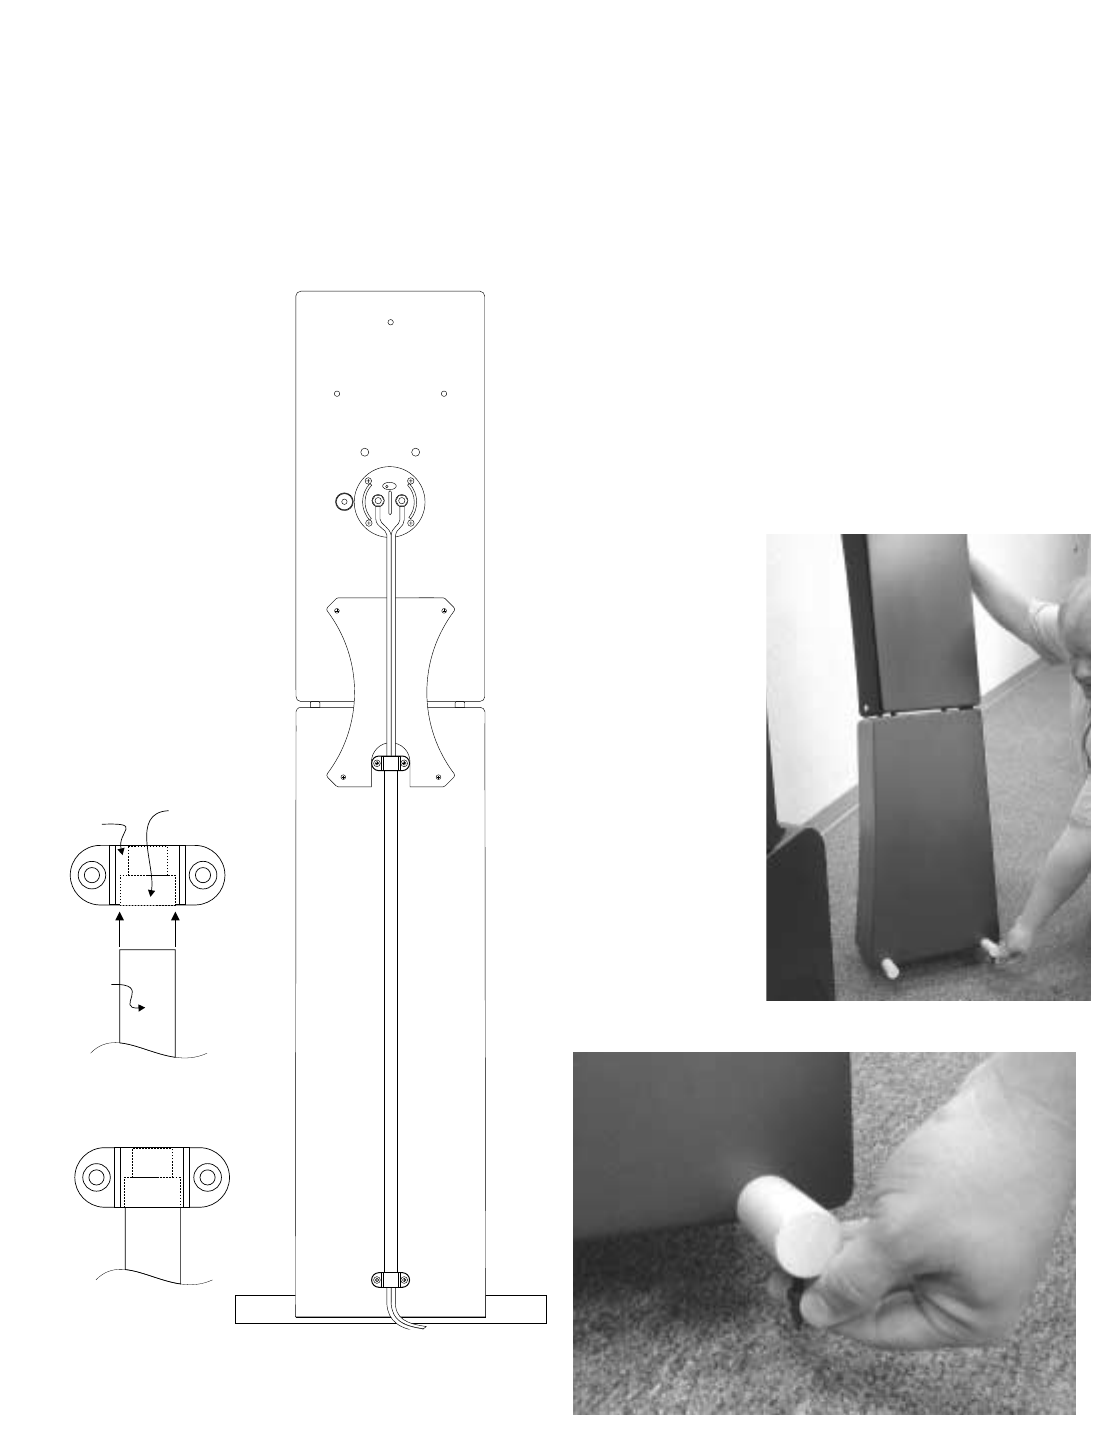
Step 4: Install Wire Channel Assembly
The wire channel assembly for the P5 and P6
pedestals neatly routes the speaker wire down
the back of the pedestal. It consists of two plas-
tic U shaped brackets, one plastic channel and
four 6-3/4 screws.
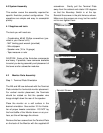
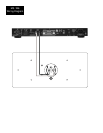
To install, first strip ½” -
¾” of insulation from
the ends of your speak-
er wire and connect
them to the monitor’s
binding post by loosen-
ing the binding post
nuts and slipping the
wire into the hole
behind each nut.
Tighten the nuts with
your NHT wrench.
Remember to check for
the correct polarity (see
section 5.3 and 5.3).
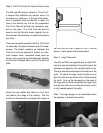
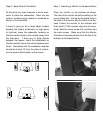
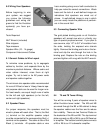
Slip the channel over the speaker wire. The
brackets are recessed on one side to accept the
ends of the wire channel. These recesses
should face each other when the channel is
installed. There are small pilot holes in the rear
of the pedestal to accept the 6-3/4 bracket
screws. Fasten the channel to the pedestal with
the brackets and the four screws as shown.
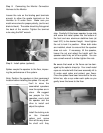
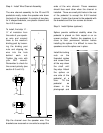
Step 5: Install Spikes (optional)
Spikes provide additional stability when the
pedestal is placed on thick carpet or on an
uneven surface. Position the speakers in or
close to their permanent location before
installing the spikes. It is difficult to move the
speakers once the spikes are in place.
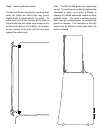
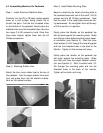
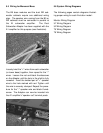
Install the locking
nuts on the
threaded spikes
and screw them
all the way down
the shaft until
they stop. Attach
the spikes on
one side of the
pedestal at a
time. Tilt the
pedestal as
shown in the
photograph and
0
1
Channel
Bracket
Recess