


3. TV Features 21
3D Video
To display 3D content, your Mitsubishi TV requires:
• Active-shutter 3D glasses compatible with any one
of the following:
A matching external synchronization emitter
connected to the TV's back panel
DLP link
• A compatible 3D source device connected to the
TV via HDMI and outputting a 3D signal in one of
these formats:
Frame Packing 1080p/24-Hz or 720p/60-Hz
Top-Bottom 1080p/24-Hz or 720p/60-Hz
Side-by-Side format, 1080p, 24/30/60-Hz;
720p, 60-Hz
Checkerboard format, 1080p, 60-Hz; (lower resolu-
tions may be supported but will not fill the screen)
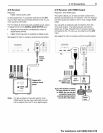
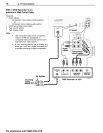
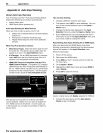
Initial Setup
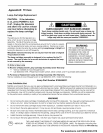
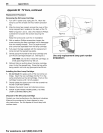
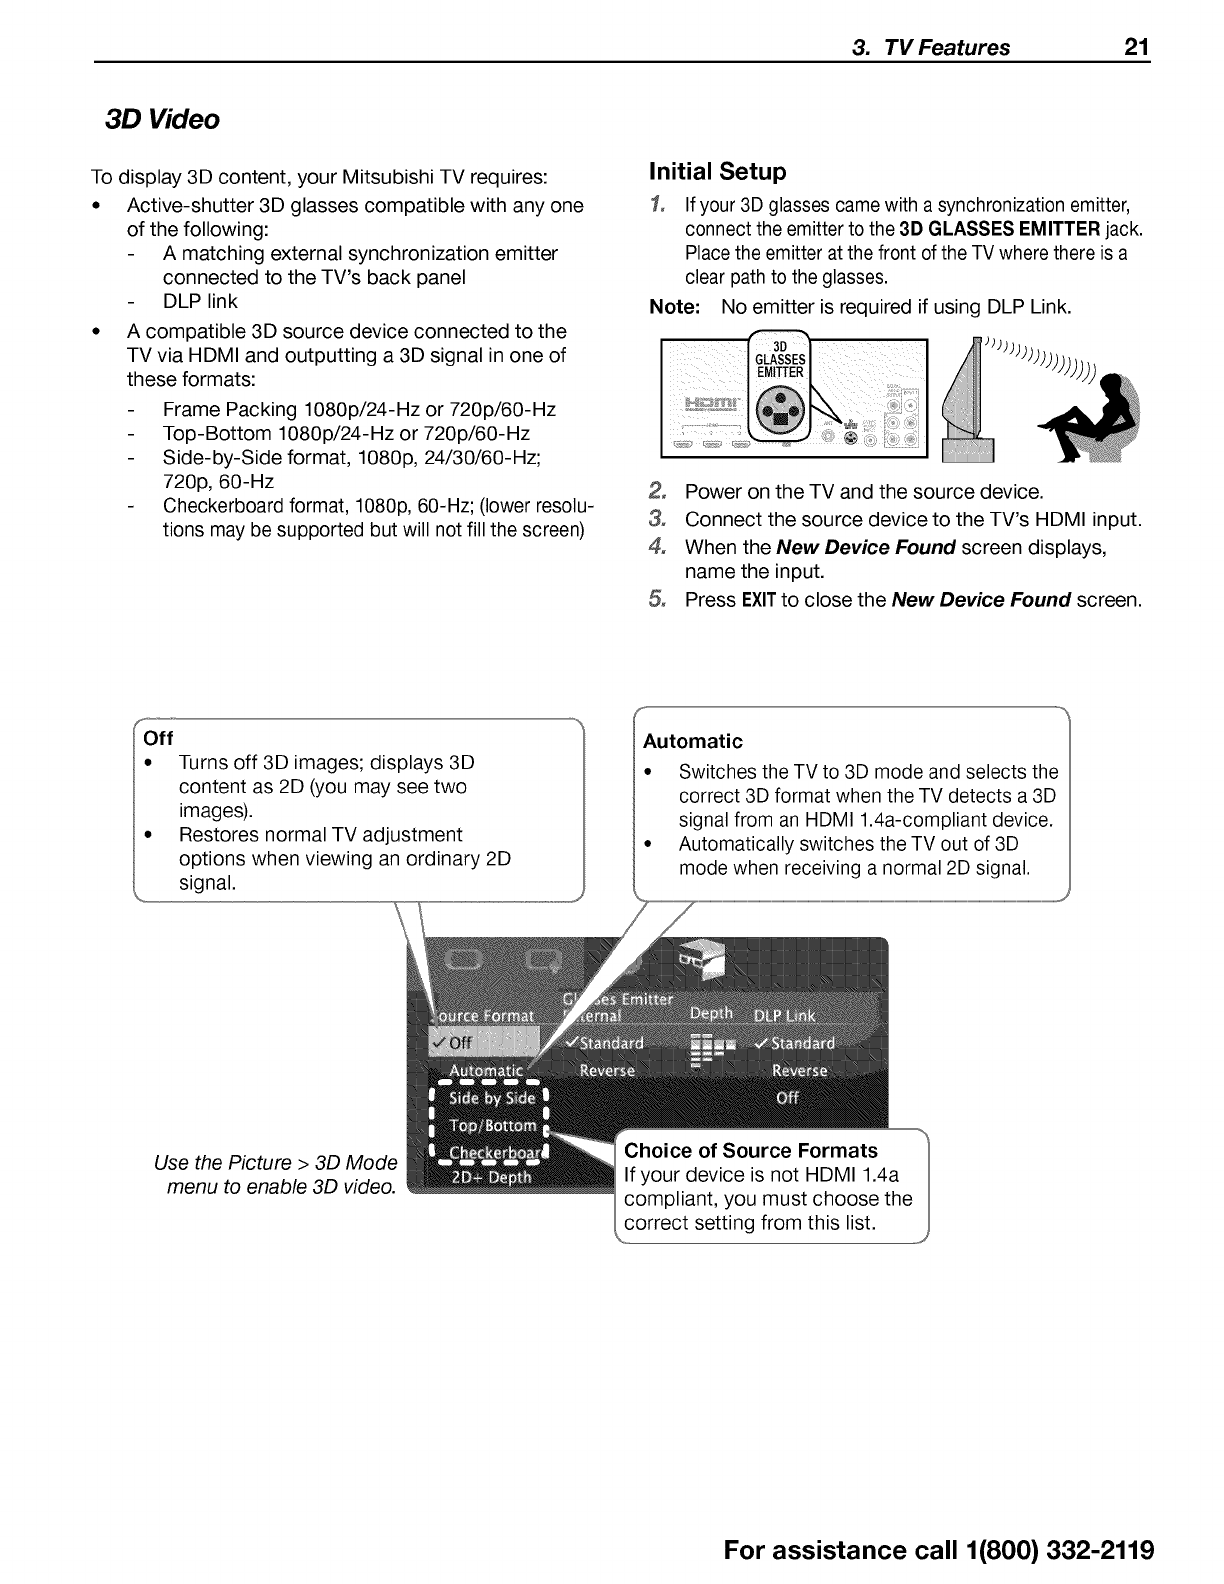
1, If your 3D glasses came with a synchronization emitter,
connect the emitter to the 3D GLASSES EMITTER jack.
Place the emitter at the front of the TV where there is a
clear path to the glasses.
Note: No emitter is required if using DLP Link.
2, Power on the TV and the source device.
3, Connect the source device to the TV's HDMI input.
4° When the New Device Found screen displays,
name the input.
5° Press EXITto close the New Device Found screen.
F
Off
• Turns off 3D images; displays 3D
content as 2D (you may see two
images).
• Restores normal TV adjustment
options when viewing an ordinary 2D
signal.
Automatic
Switches the TV to 3D mode and selects the
correct 3D format when the TV detects a 3D
signal from an HDMI 1.4a-compliant device.
Automatically switches the TV out of 3D
mode when receiving a normal 2D signal.
Use the Picture > 3D Mode
menu to enable 3D video.
For assistance call 1(800) 332-2119